
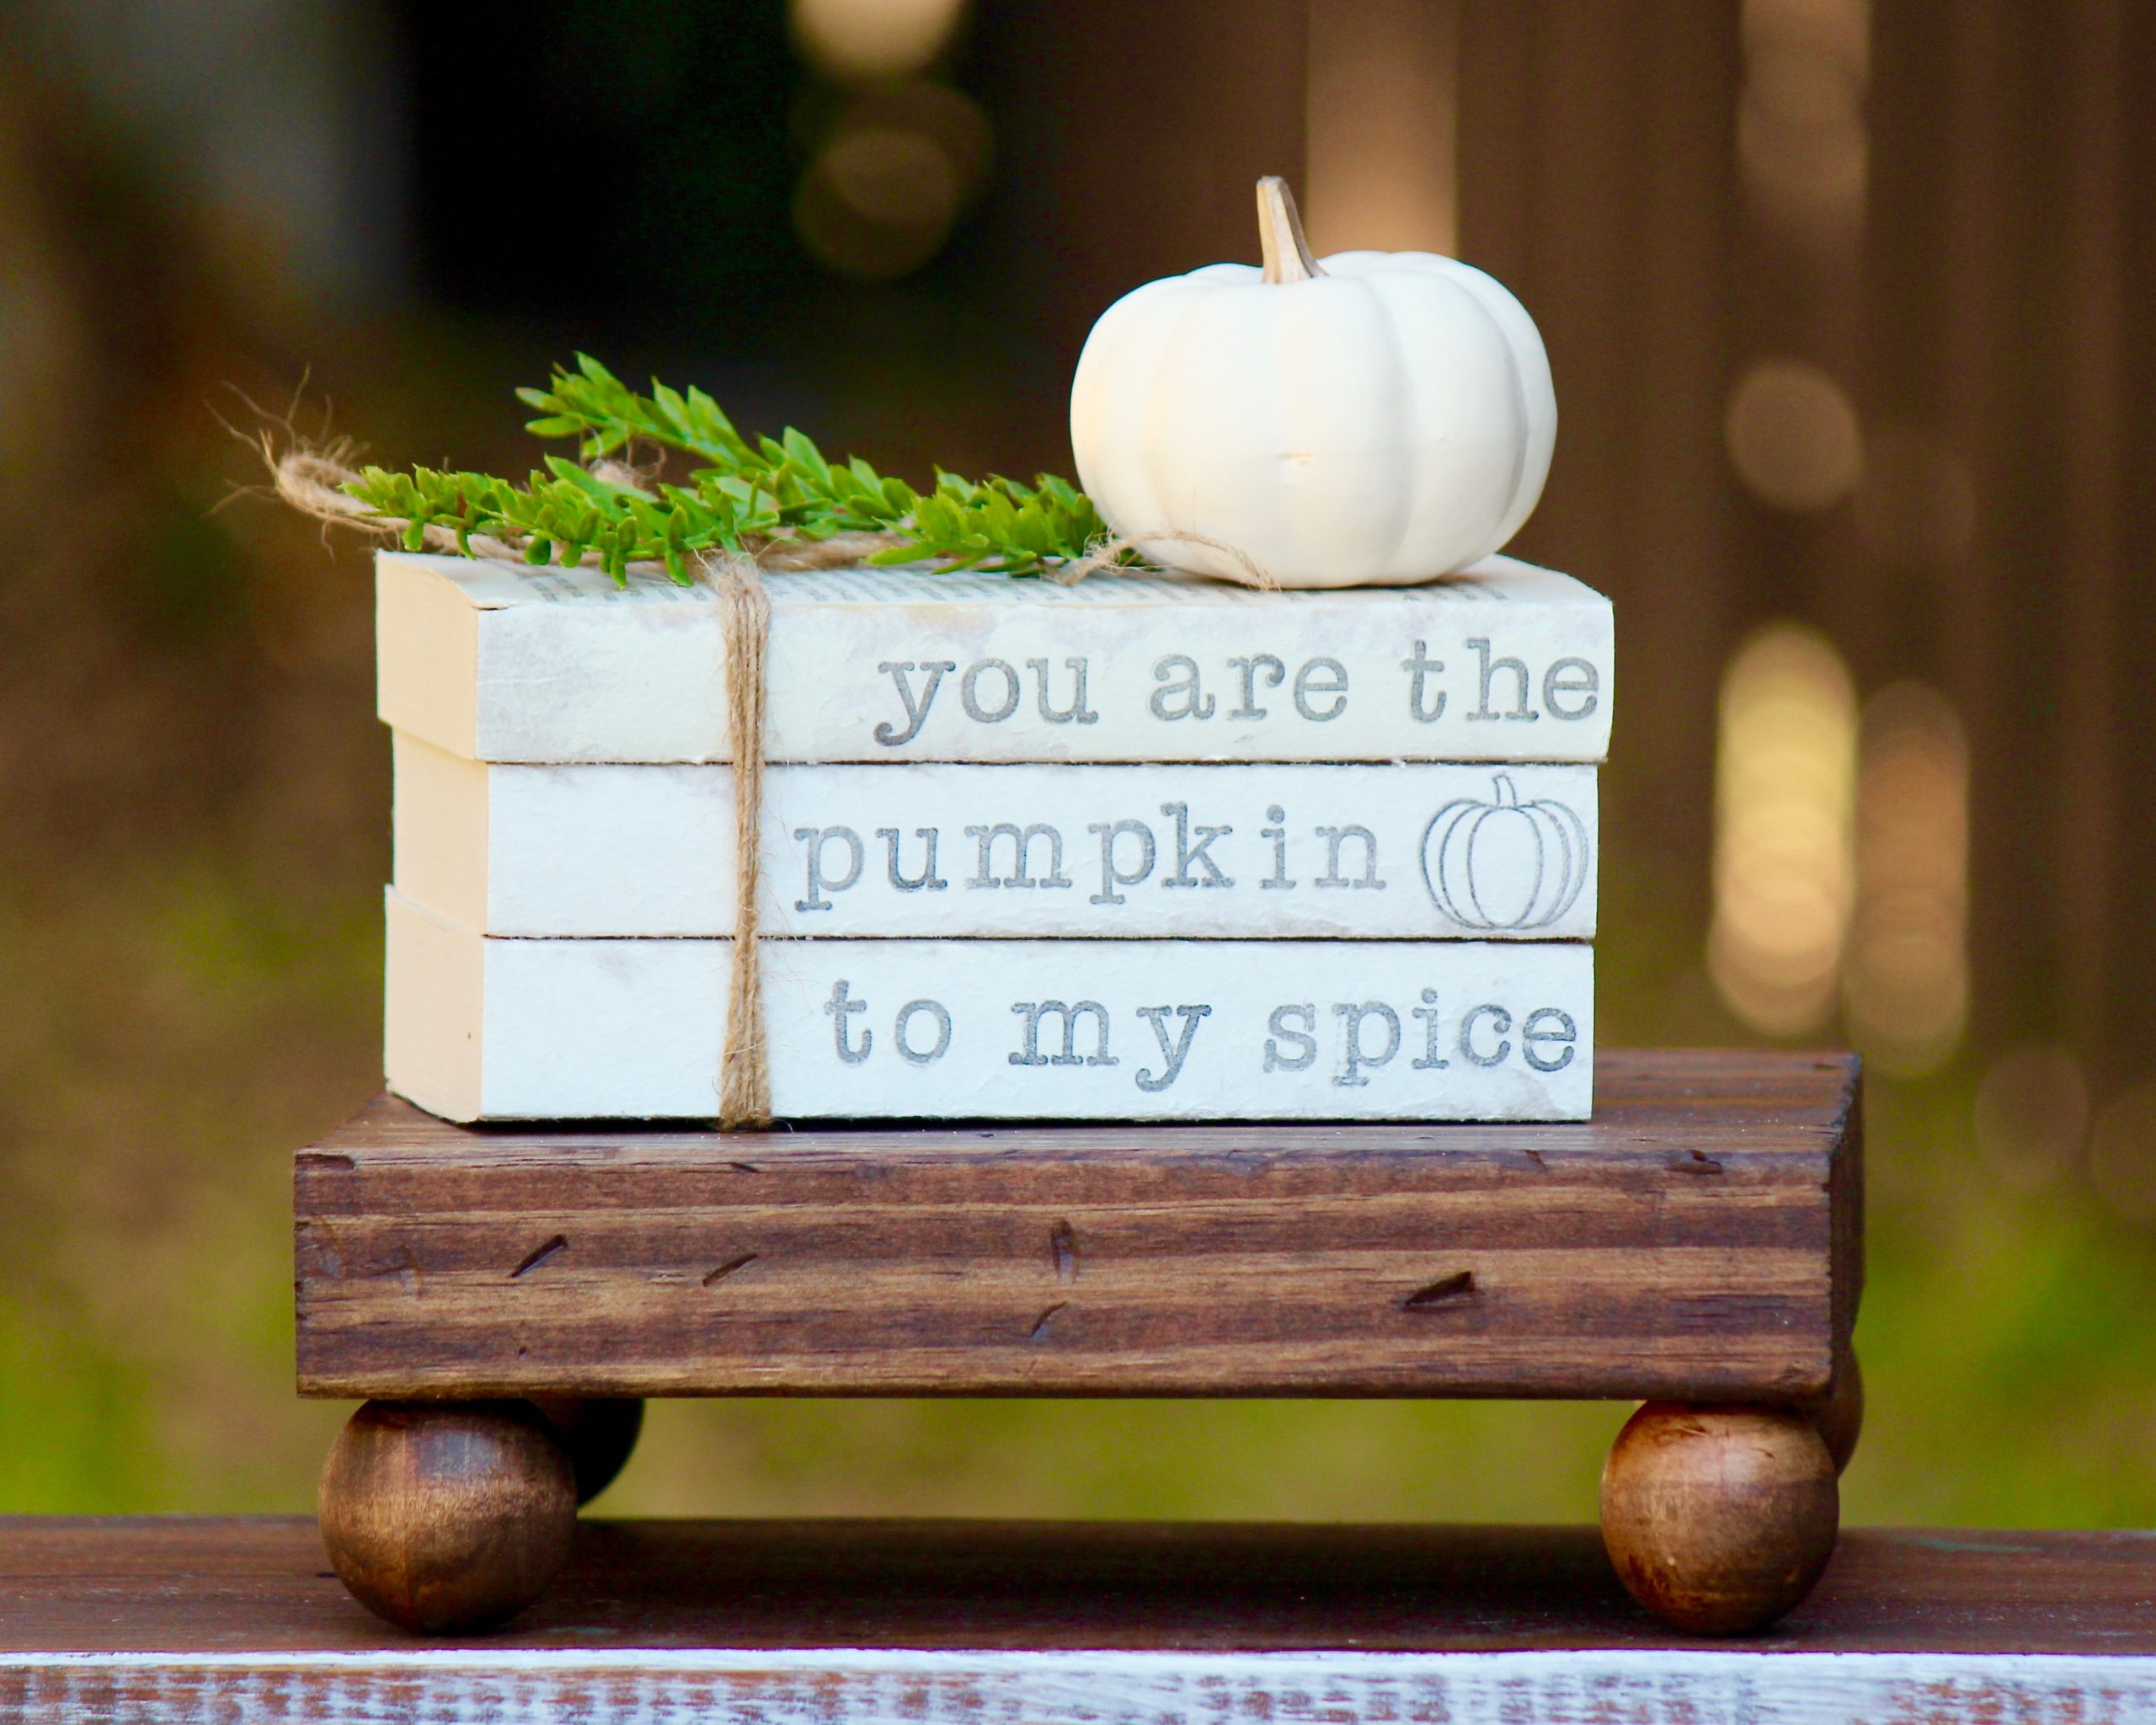
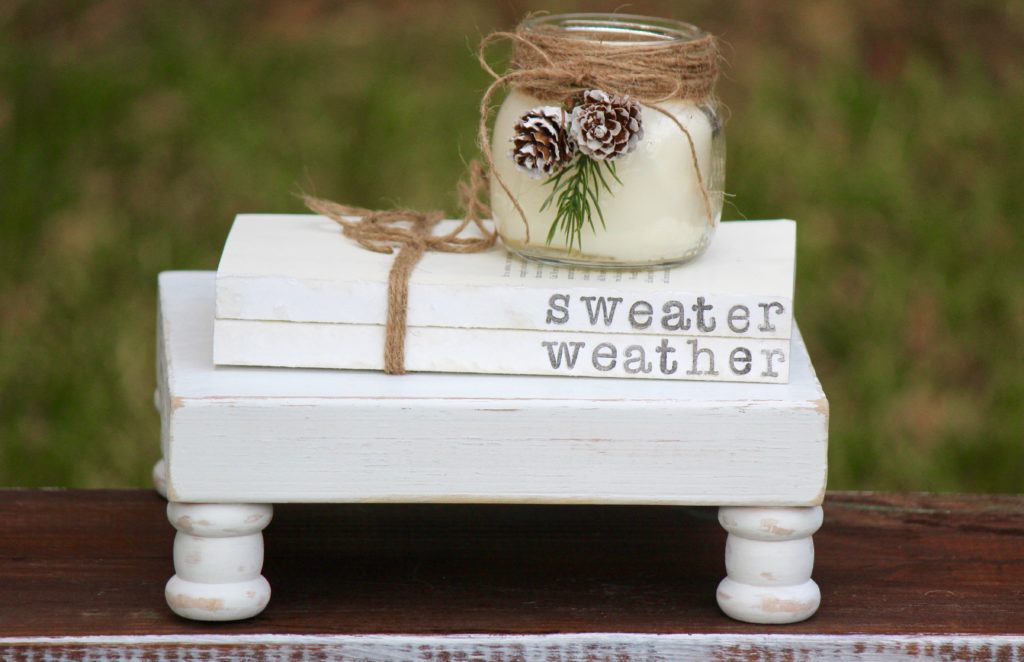
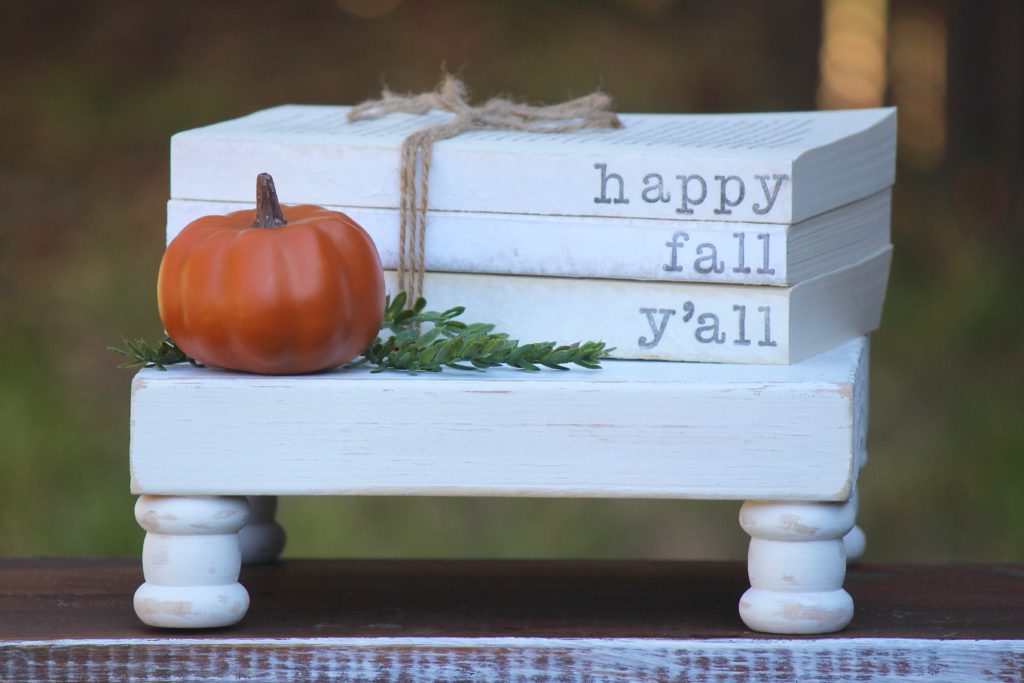
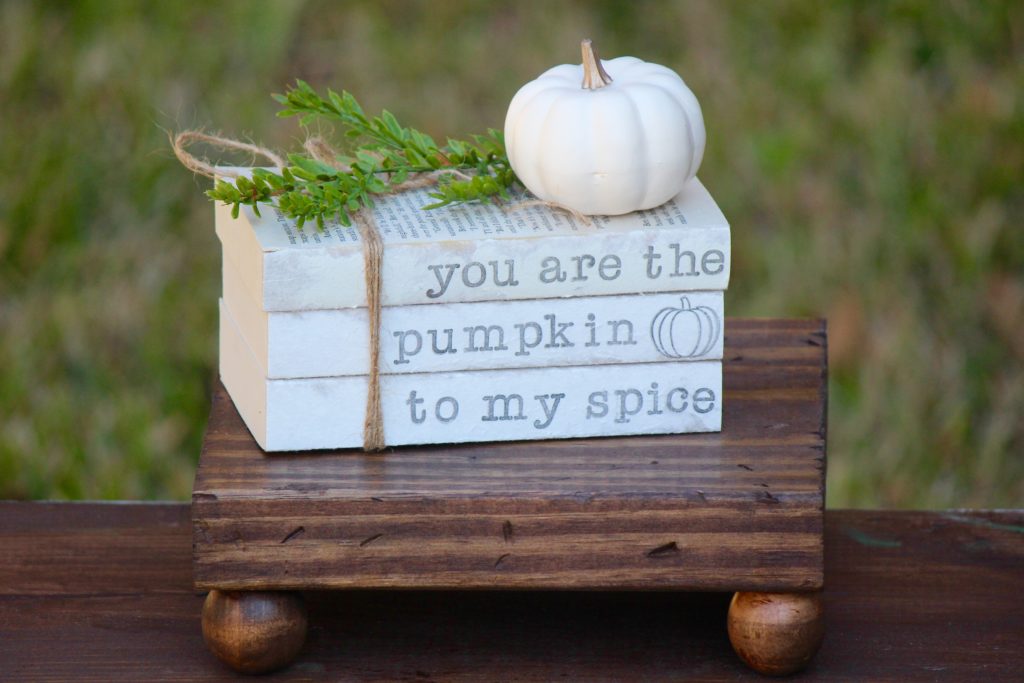
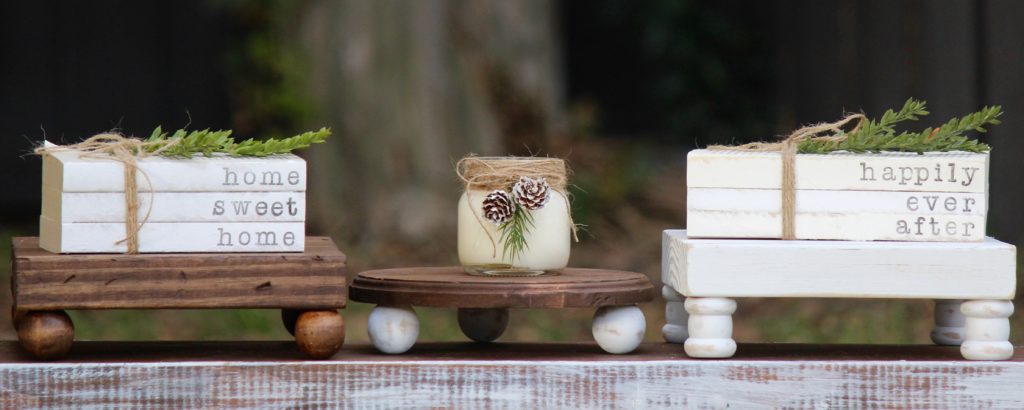
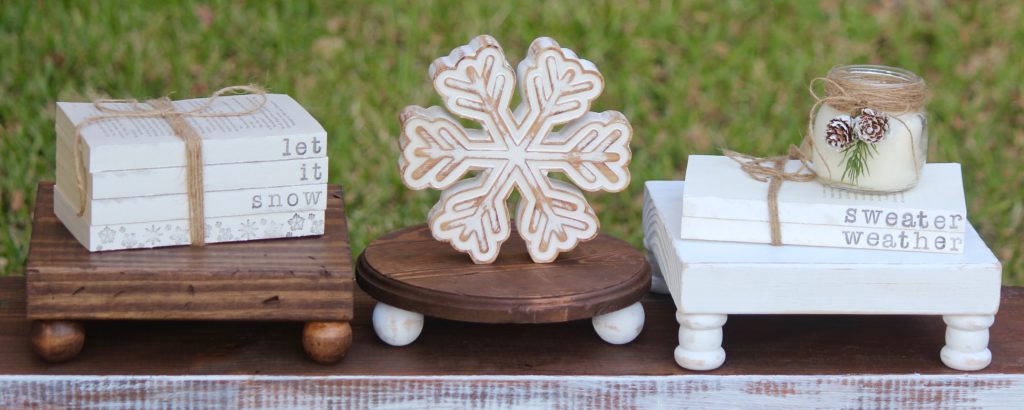
Whenever I’m decorating and styling vignettes I always seem to find myself with too many short items and not enough taller items to add height, so I figured why not make some little table risers? That way I can set my shorter items on the risers to add height to my vignettes. Plus, if you know me at all you know that I LOVE hand stamped book stacks, and they look adorable on these farmhouse table risers!
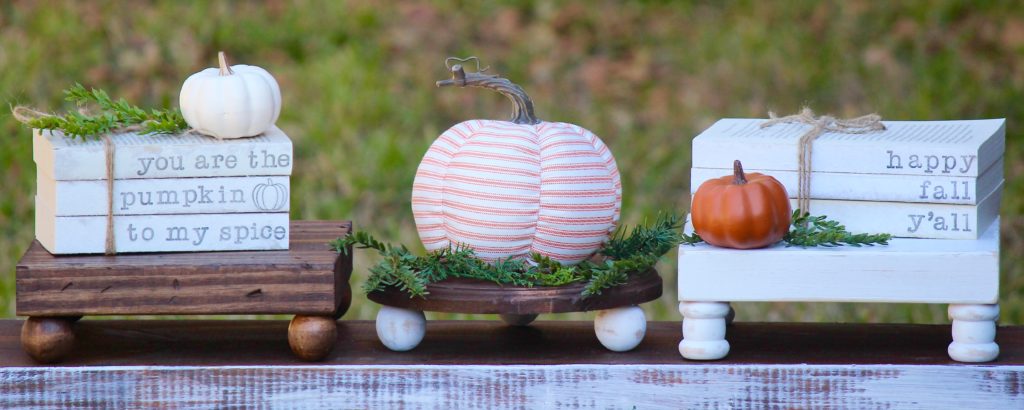
See what I mean? Adorable, right?!
Supplies:
- piece of lumber cut to your desired size (if you’re making the square riser). I used a piece of pine wood from Home Depot that was 9″ wide and about 8 feet tall. I asked the nice men at Home Depot to cut it into 9″ pieces to make perfect 9″ squares.
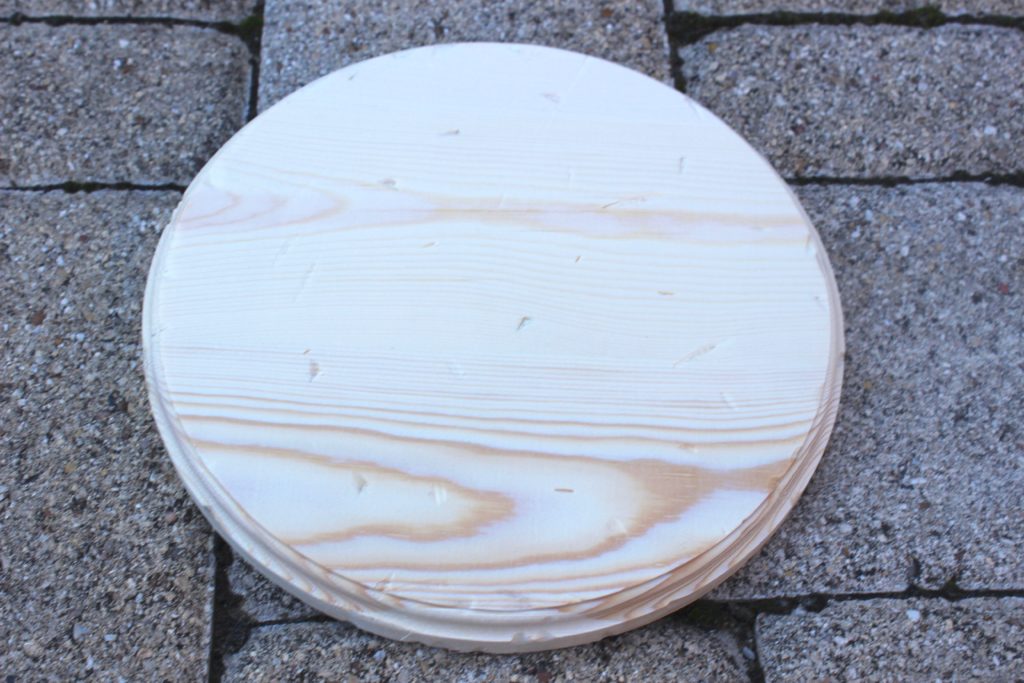
- 8″ circle plaque (if you’re making the round riser) – here is the one I used from Michaels, and here is an option from Amazon.
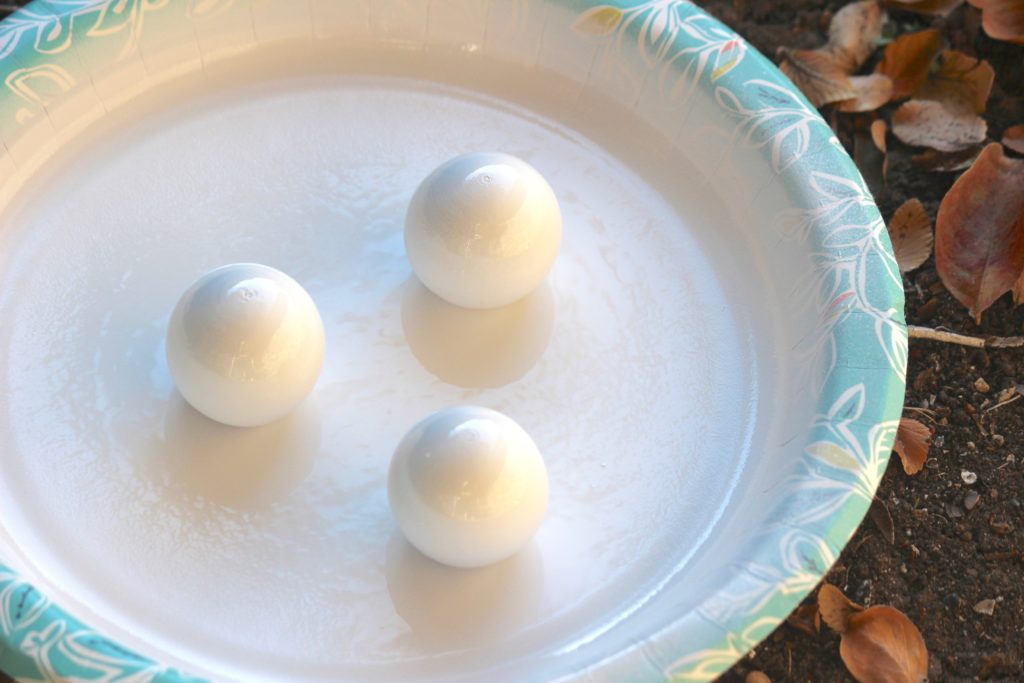
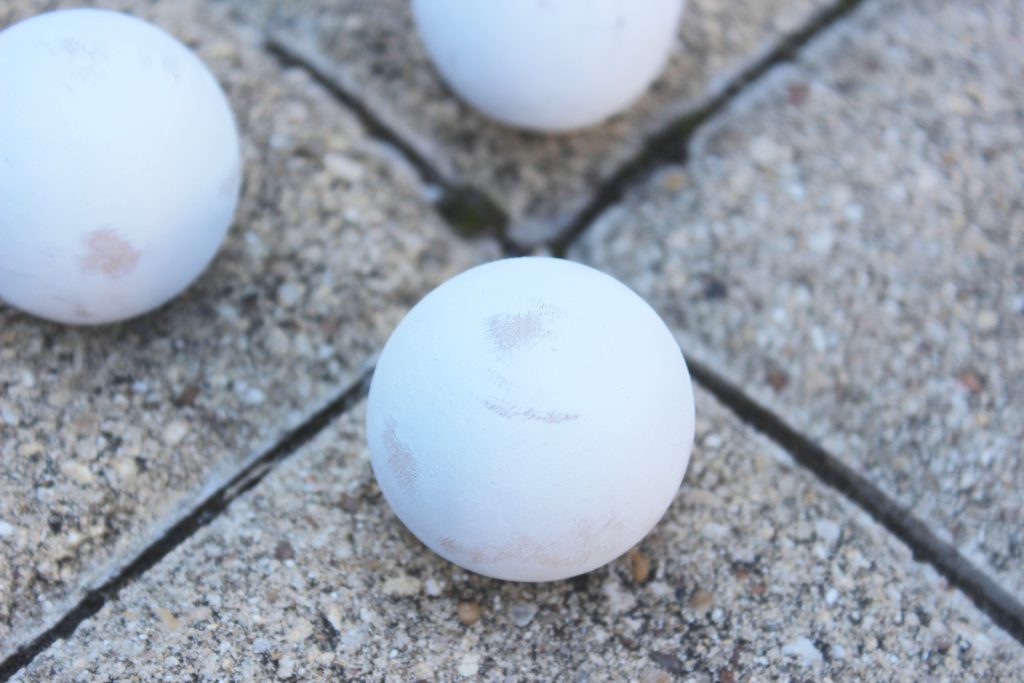
- 1.5″ wood doll heads (for the round/ball legs) – here are the ones I used from Michaels, and here are some similar ones from Amazon.
- 1.75″ wood spools (for the taller spool shaped legs) – I used ones I found at Michaels, but unfortunately they aren’t online. These ones are the closest I could find online.
- dark walnut stain or white spray paint
- paint brush and paper towels (if using stain) – I used a cheap paint brush, knowing that the stain is not easy to wash out of the brush. You can grab a paint brush at Dollar Tree, or get a cheap one like this from Amazon.
- wood glue – this is the one I used
- optional – sand paper
Disclosure: My posts may contain affiliate links. If you buy something through one of those links, you won’t pay a penny more, but I may receive a small commission, which helps me keep this DIY blog up and running, and partially supports my Coke Zero addiction. This includes links to amazon.com, because I am a participant in the Amazon Services LLC Associates Program.
Instructions:
White Painted Riser
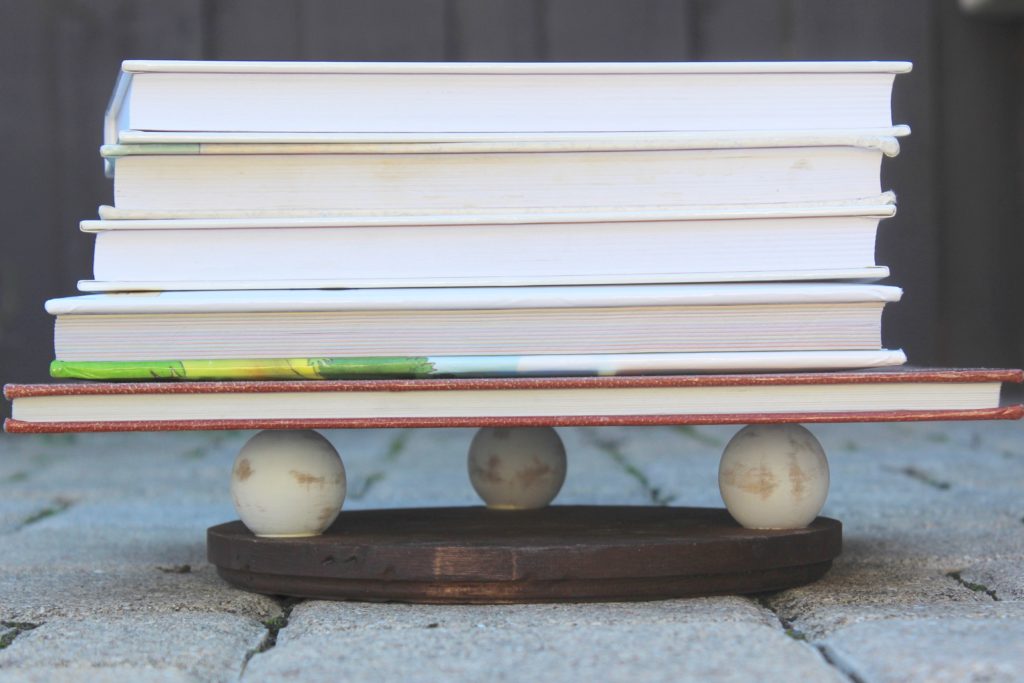
- Use the wood glue to glue the legs to the wood.
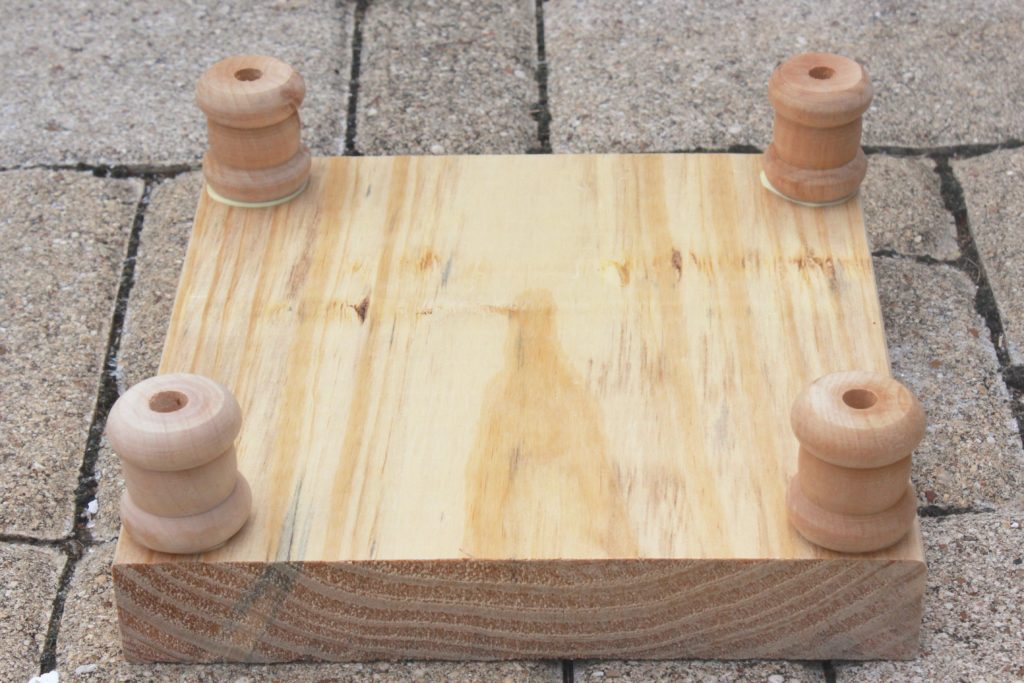
- Set something heavy on top of the legs to help them bind to the wood properly – I just used a stack of heavy books. Allow the glue to dry completely.

- Paint the riser white, using white spray paint.
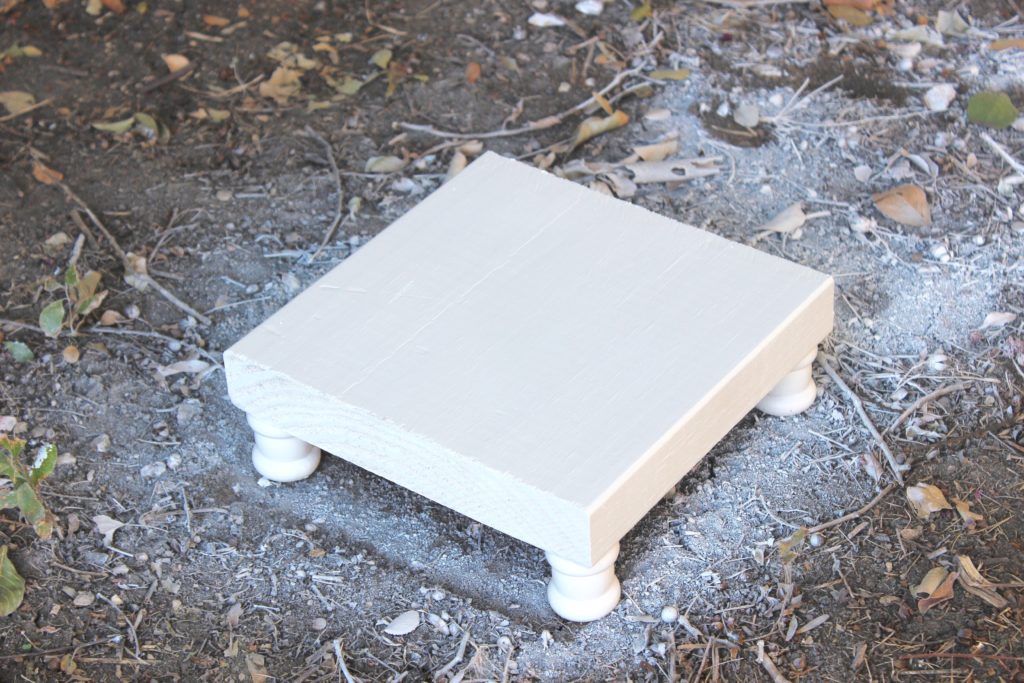
- Sand the riser, if you desire.
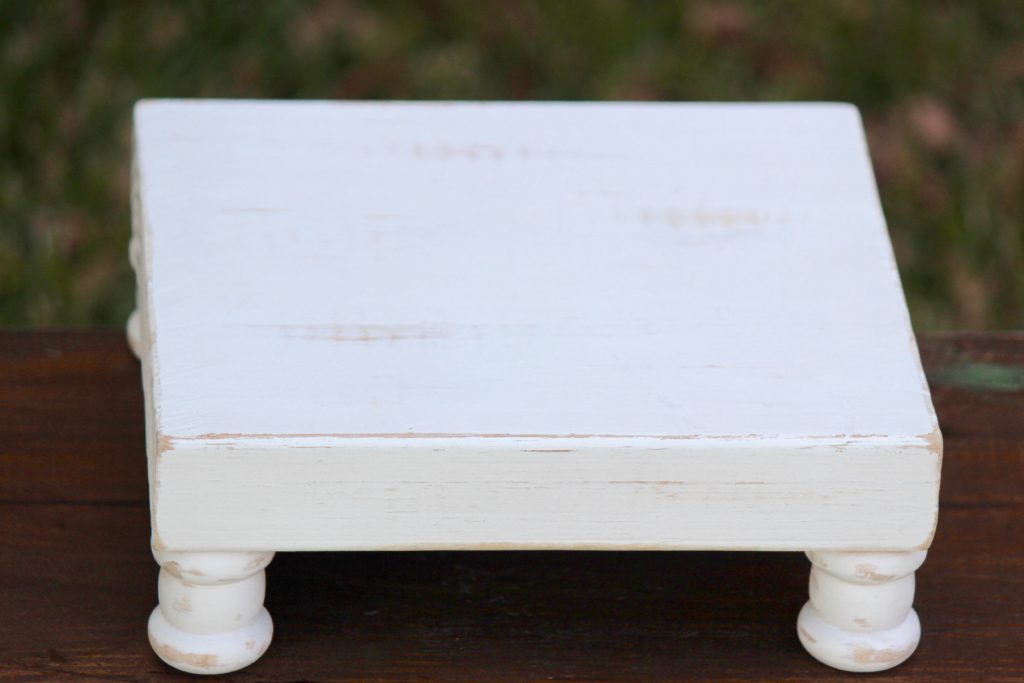
- Use your super cute farmhouse riser!
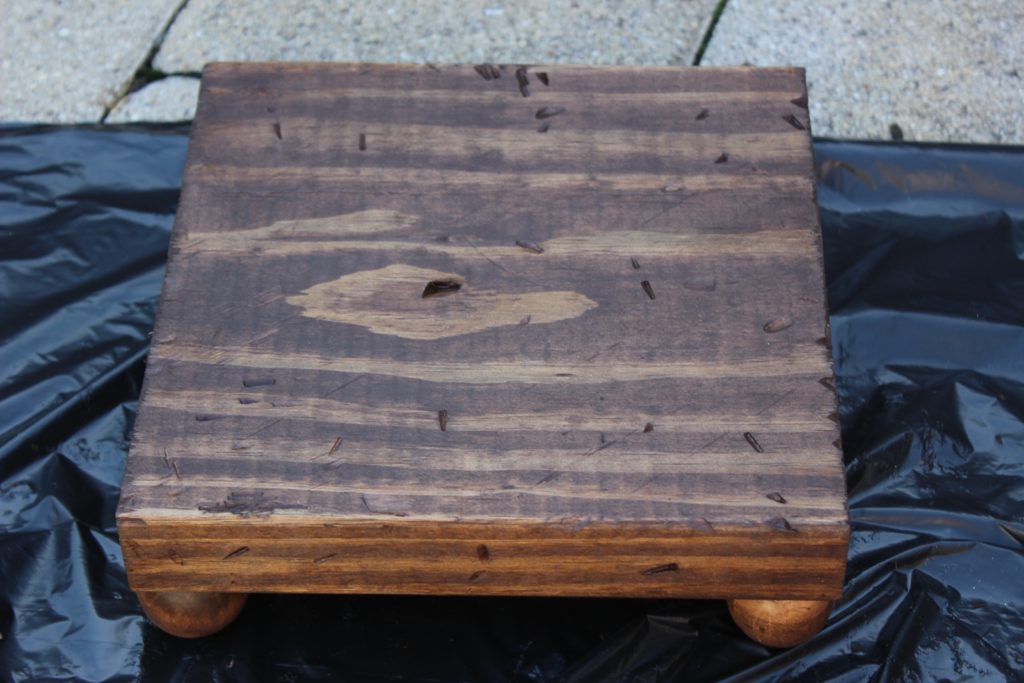
Stained Riser
I’m going to be honest – I didn’t realize I wanted to distress the wood until after I had already attached the legs and stained the wood. I do NOT recommend doing it in that order because distressing the wood after the legs were attached was very difficult – it made one of the legs break off – oops lol. And then all of the little holes from the distressing had to be stained again because the unfinished wood was showing. So I’m going to put the steps in the correct order below!
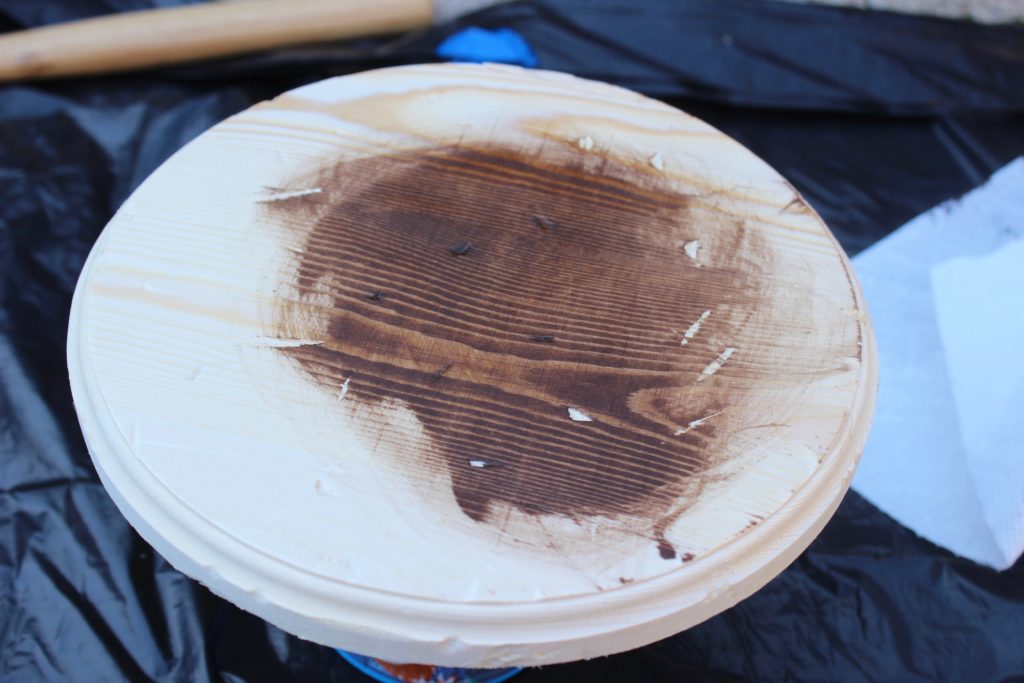
- Distress your wood using a hammer, screw driver, nails, chains, etc. I just used a hammer because I already had it outside with me. You can use both ends of the hammer to make dents and scratches all over the wood – don’t forget the sides. Here is a pic of the distressing (but remember do NOT stain yours first, and do NOT attach the legs first).
- Attach the legs using the wood glue, just like described above for the white painted riser.
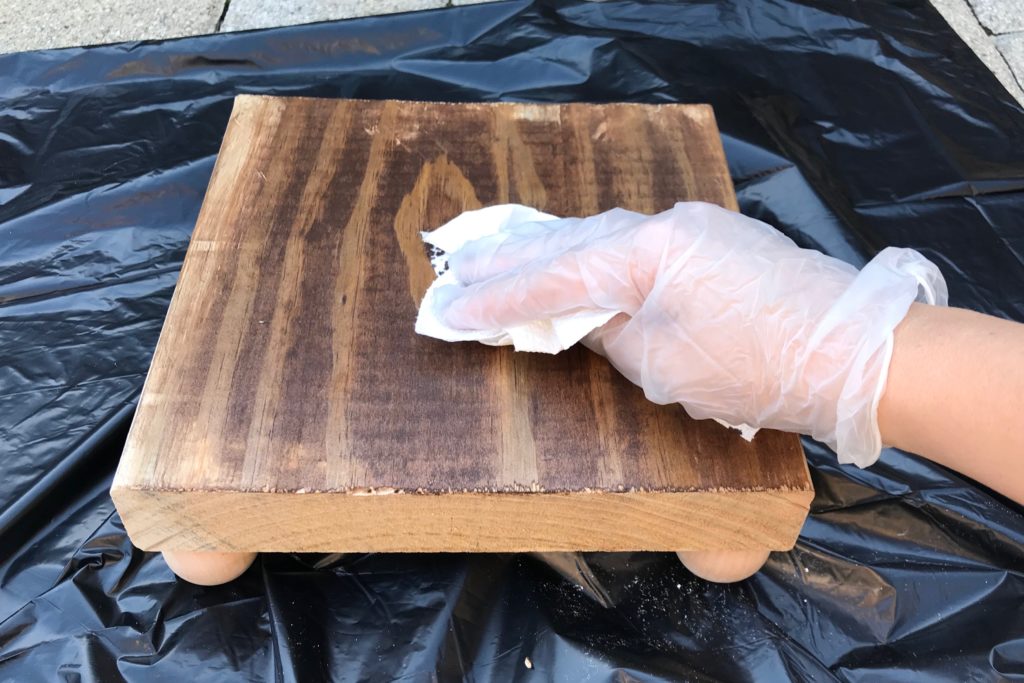
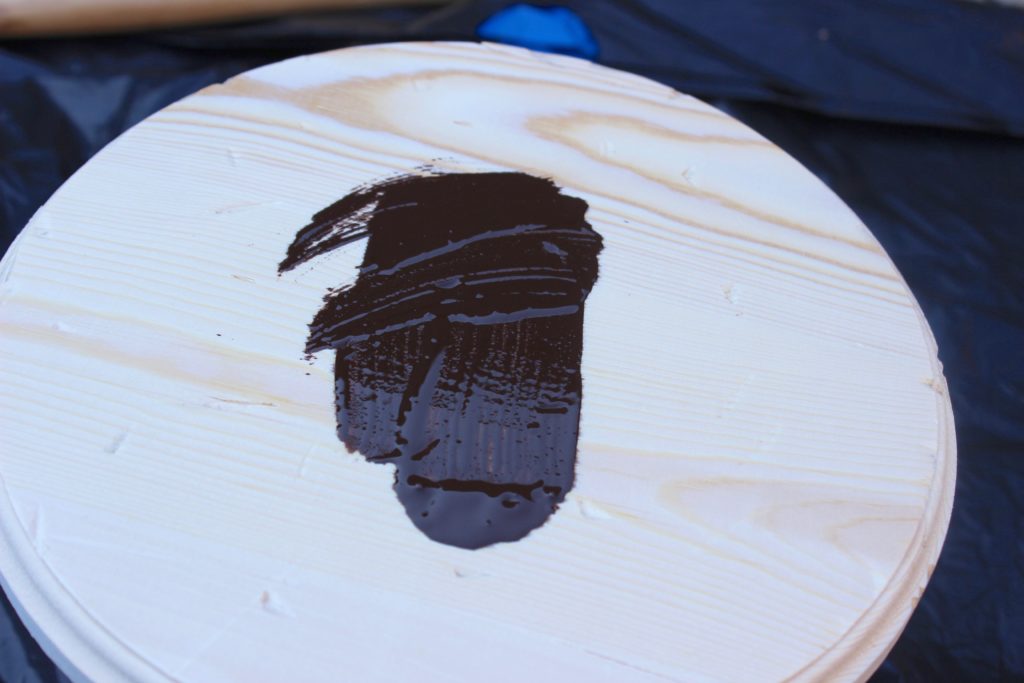
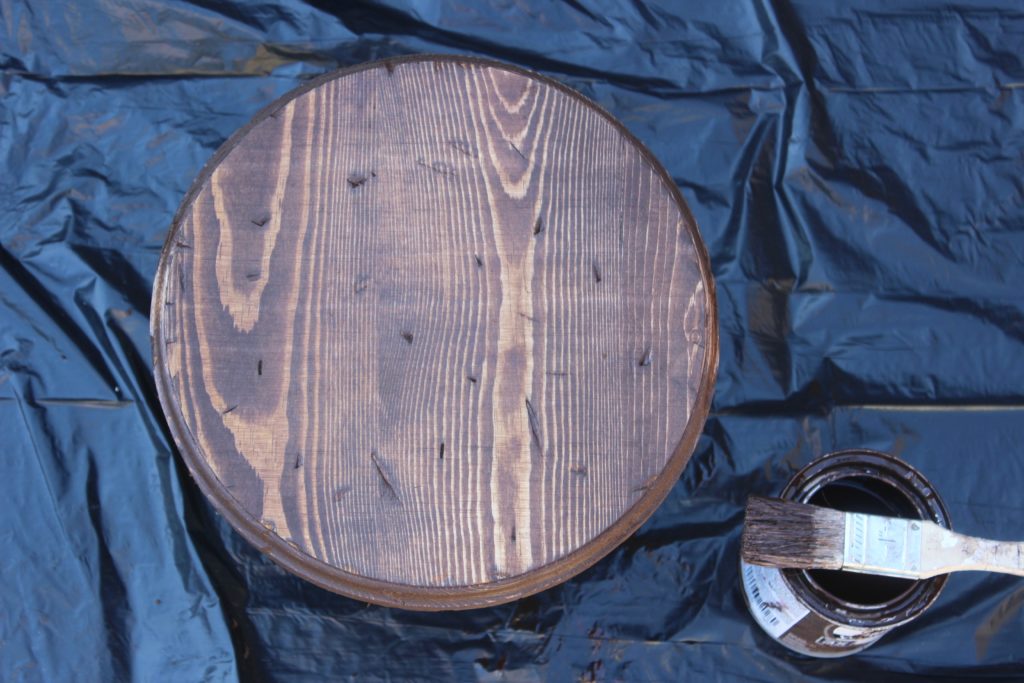
- After the wood glue has completely dried, stain the riser. (I used plastic gloves because I already had some, but it is not necessary. Just be careful not to get the stain on your hands because it is not easy to get off.) Paint some stain on the riser using your paint brush, then immediately spread the stain and rub it into the wood using a paper towel. I rubbed it into the wood using a circular motion. Continue painting stain on the riser, and rubbing it in until the riser is completely covered.
- Let the stain dry, and then enjoy your stained riser!
Two-Tone Riser
- Paint the legs using the white spray paint.
- Distress the circle plaque.

- Stain the circle plaque – paint some stain on the circle plaque, and then rub the stain into the wood using a paper towel.
- After staining the entire circle plaque (including the bottom), set it on something to dry. I set it on an old upside down plastic cup.
- Once the legs are dry, you can sand them if you desire.
- After the stain on the plaque is fully dry, attach the legs to the plaque using the wood glue. Set something heavy on top of the legs to help the legs bind to the plaque.
- Enjoy your adorable two-tone riser!
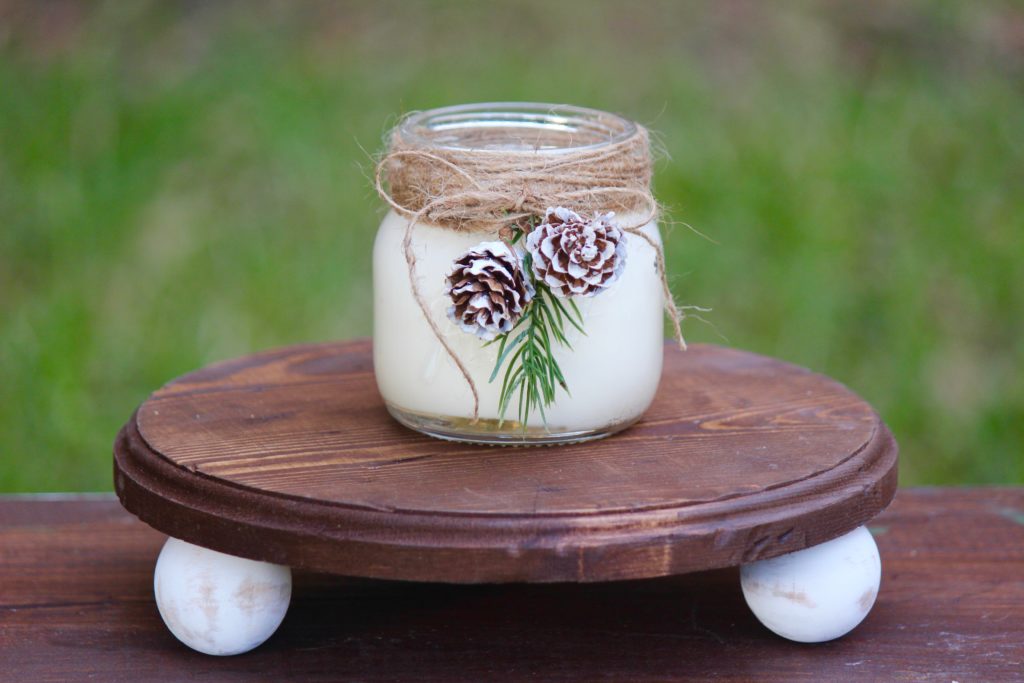

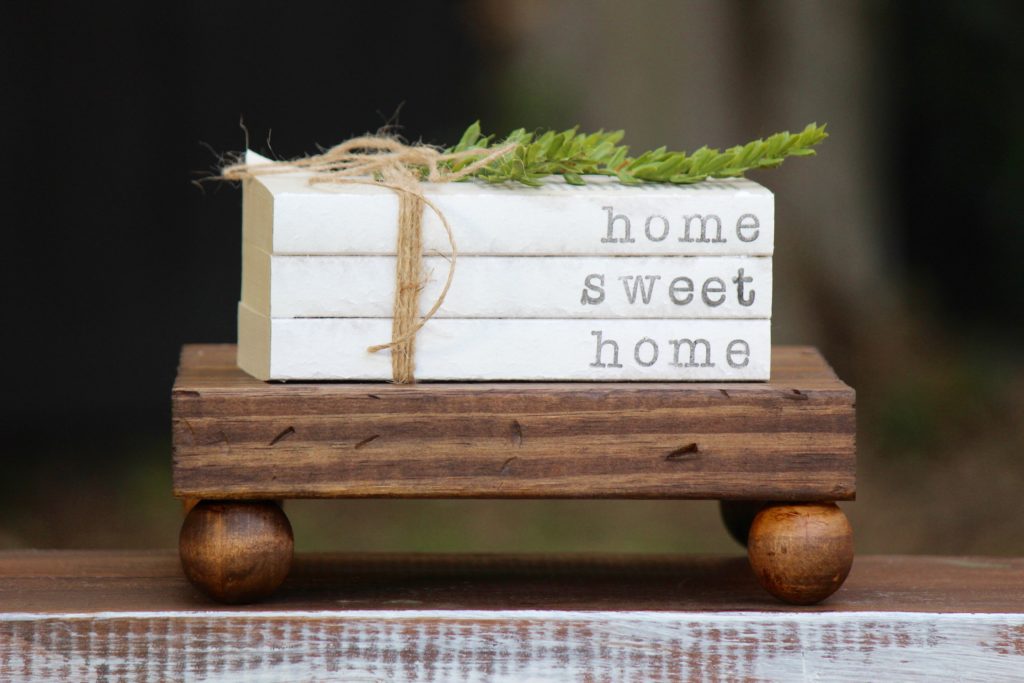
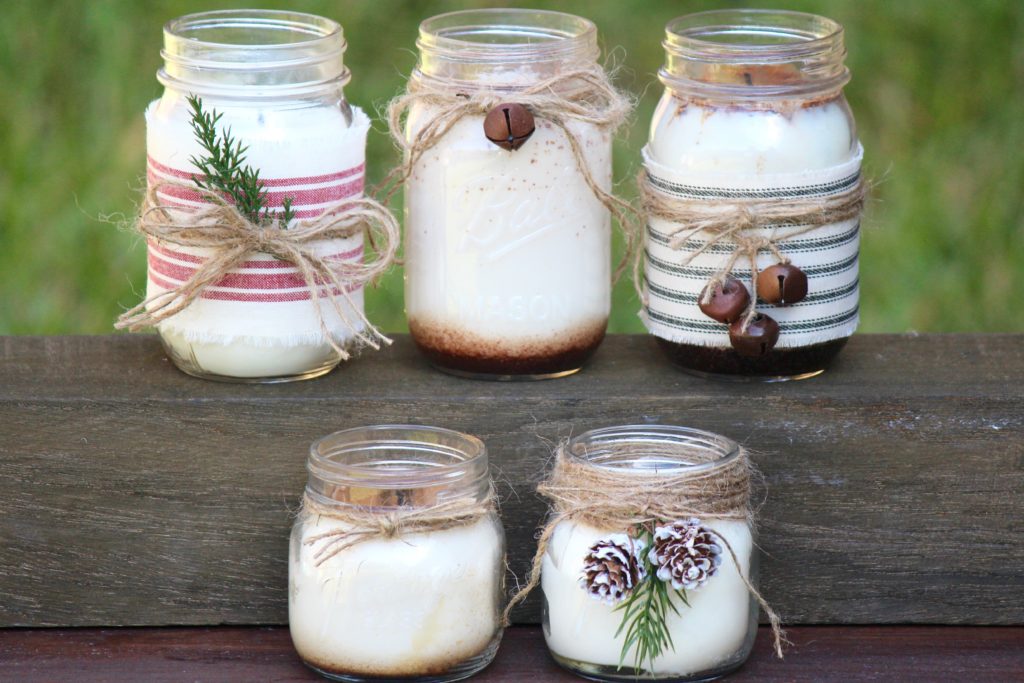
I know you’re going to love your cute farmhouse table risers! You can use them as part of your decor anywhere in your house, including table centerpieces! And they also make cute little gifts! Don’t forget that the DIY Mason Jar Soy Candles and the Hand Stamped Book Stacks look really cute on the risers!
While you’re here, check out some of my most popular posts!

How to Hand Knit a Chunky Blanket
Never miss a post!