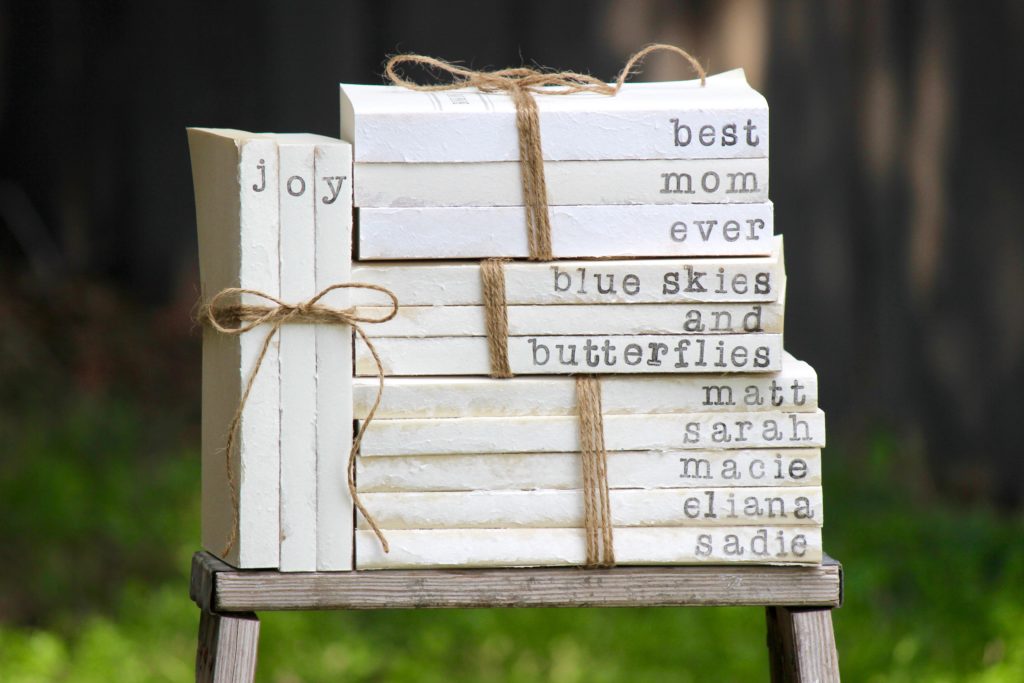
Hand stamped book stacks are probably my favorite craft of all time, and they are perfect for all of you farmhouse lovers! You guys – I have a book stack in just about every room of our house. It’s getting a little out of control really…but can you blame me? They’re so cute! And the best part is, they are so cheap and so easy to make, and you can make new ones for each season/holiday. It just doesn’t get any better than that!
Disclosure: My posts may contain affiliate links. If you buy something through one of those links, you won’t pay a penny more, but I may receive a small commission, which helps me keep this blog up and running, and partially supports my Coke Zero addiction. This includes links to amazon.com, because I am a participant in the Amazon Services LLC Associates Program.
Supplies:
- paperback books measuring the same size – the number of books you need depends on the words/quote you want to put on them. I have made stacks ranging from 2-5 books. I get my books from Dollar Tree for only $1!
- stamps – I’ve listed a few different options of alphabet stamps because my favorite stamps are often sold out online. Check out the options below!
- click here to get the ones I used from Michaels. These are my favorite stamps, and I have used them for SO many craft projects! If they are sold out online, you can search your area to find them in a store near you, and you can place an online order to pick up in that store the same day – that way you know they actually have them in stock!
- click here another set of great alphabet stamps from Michaels. This is a set of rubber stamps (not clear stamps like the ones I used in the video), and therefore you do NOT need the acrylic blocks if you buy these. The rubber stamps work great, and I have used them myself for book stacks too! They are a little bigger than the other stamps which gives them a really cool look, and makes them easier to read. The only word of advice I have with using the rubber block stamps is to clean off the rubber area around the letter after you press the stamp into the ink pad. Otherwise, ink will be all over the entire rubber area and when you stamp it, it will leave ink spots around the letters. I just use a makeup remover wipe to wipe away excess ink from the rubber area before stamping the letters.
- click here to get some cute clear alphabet stamps from Amazon. These are very similar to my favorite set from Michaels, however they are just a little bit smaller in size.
- CHECK OUT THE PICTURES AT THE BOTTOM OF THE PAGE TO SEE A SIZE COMPARISON OF ALL 3 OF THESE STAMP SETS!
- ink pad – click here to see the one I used from Michaels, or click here to get a similar one from Amazon.
- acrylic block (if using the clear stamps) – click here to shop Michaels acrylic blocks, or click here to buy similar ones from Amazon.
- twine – click here to shop Michaels twine, or click here to shop twine on Amazon. If you’re looking for the red/white twine I used on the Merry Christmas book stack, you can find it here, or you can shop all of the bakers twine options on Amazon here.
- scissors
Here is the quick DIY video:
Instructions:
- peel the covers off of the books
- find the book that you want to be on top (I always choose one that has a good/appropriate top page)
- put your clear stamps on your acrylic block
- press the stamps (on the acrylic block) into the ink pad, making sure the stamps are fully covered in ink
- press the inked stamps onto the books – if a letter doesn’t show up as well as you’d like, just re-ink the stamp and try again. You can’t mess this up! If you re-stamp it and it’s a little “off” don’t worry about it – it adds character!
- after you’ve stamped all the books, wrap twine around the book stack, and tie the twine in a bow
(To learn how to properly clean your clear stamps click here. Cleaning your stamps after each use helps your stamps work better and last longer!)
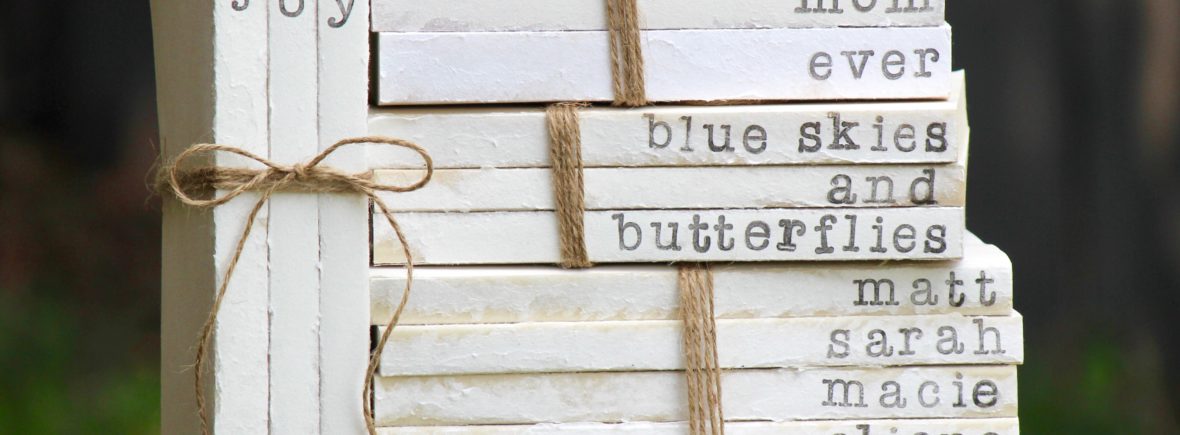
See? I told you it was easy! I can’t wait to hear about all of the book stacks that you make! But before you start crafting, look below to see part of my collection. Okay, it isn’t even half of my collection, but maybe seeing some of these will give you some ideas for what kind of book stacks you want to make! And you’ll notice the special best mom ever book stack below that I’m giving to my mom for Mother’s Day. I think she’s going to love it, and she is the best mom ever so she deserves to have this book stack displayed in her house like a prized trophy!
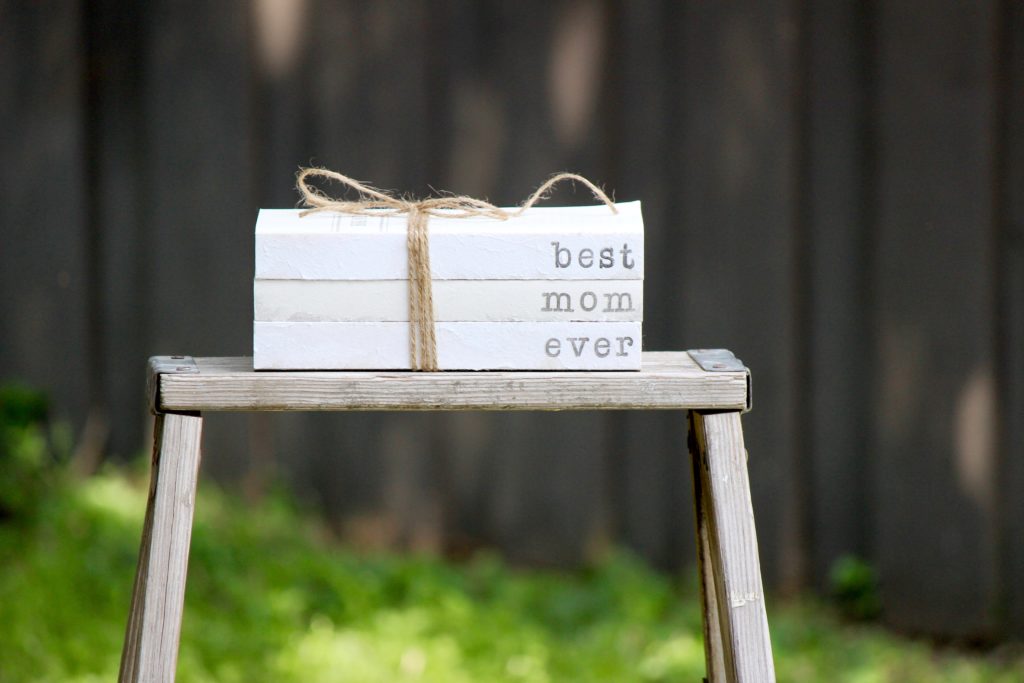
The perfect gift for your awesome mom!
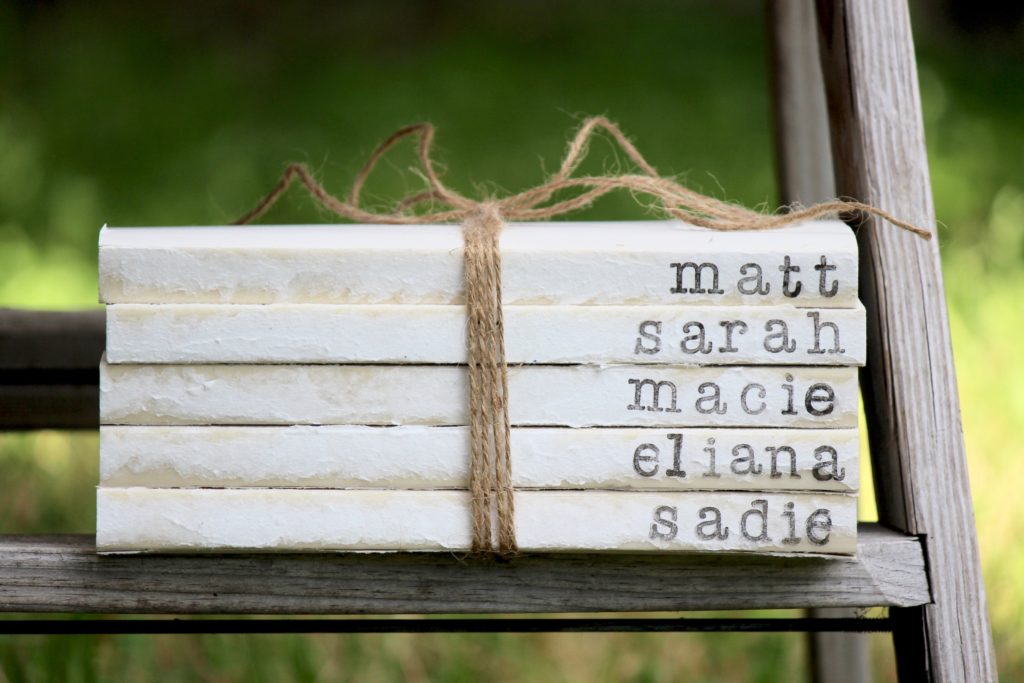
I love Family Stacks! They are perfect to set in your living room, and they also make perfect gifts. And don’t forget about those grandma’s and great-grandma’s that would probably love a book stack with their grandchildren/great-grandchildren’s names on them.
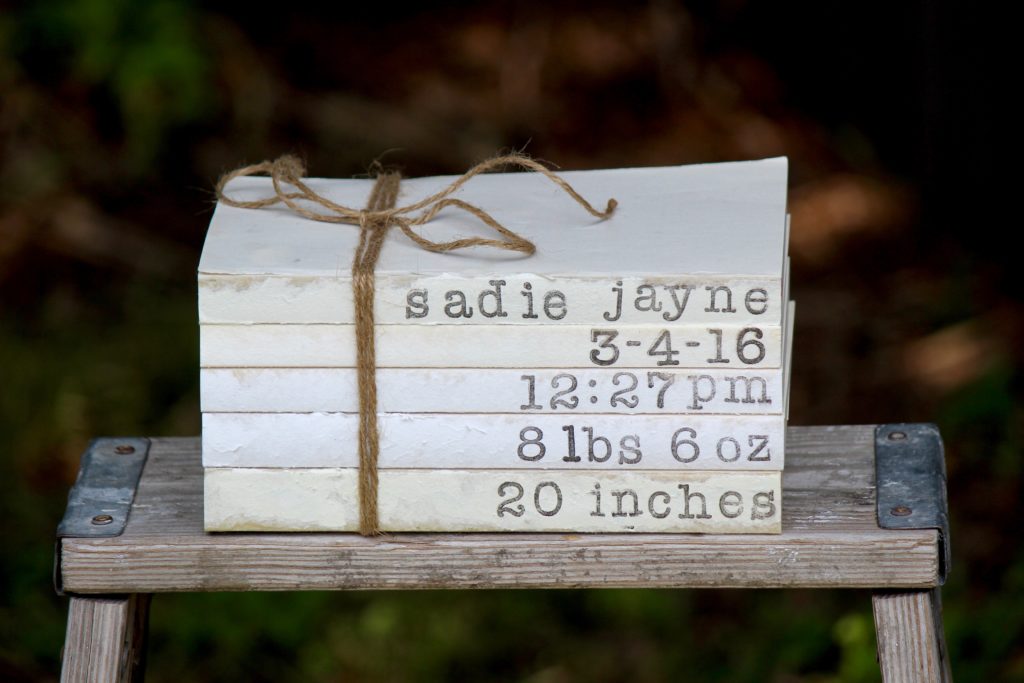
Birth announcement book stacks are the perfect keepsake, whether it’s for your little one, or your bestie’s.
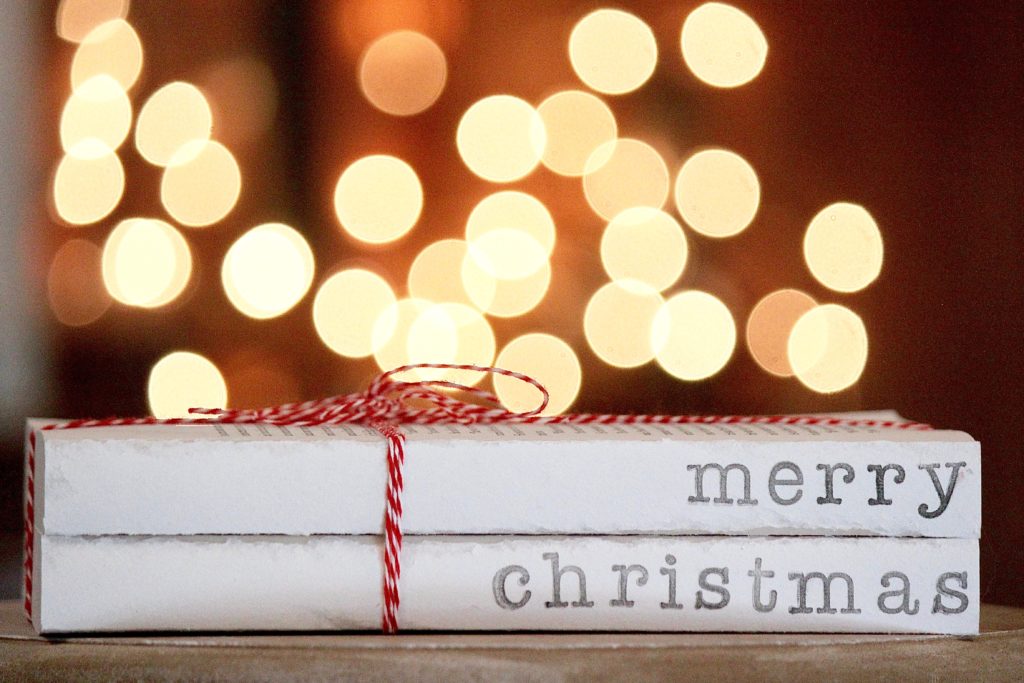
You can always use fun colored twined too! To buy this exact red/white twine click here, or you can shop bakers twine on Amazon here.
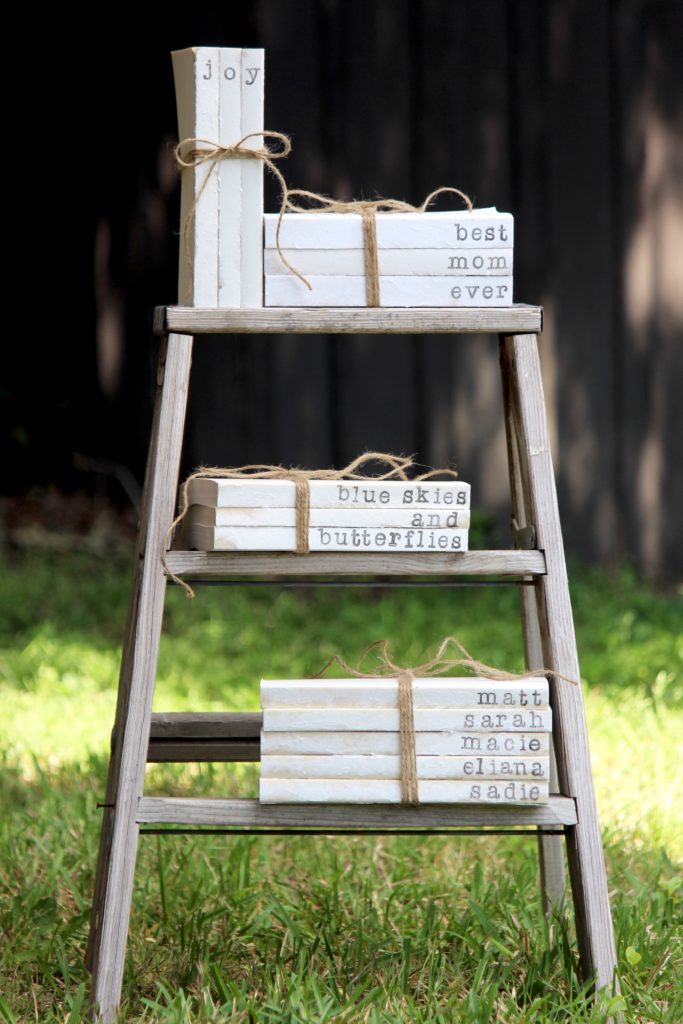
Don’t forget that you can make vertical book stacks too, like my joy book stack above! The sky is really the limit with book stacks!
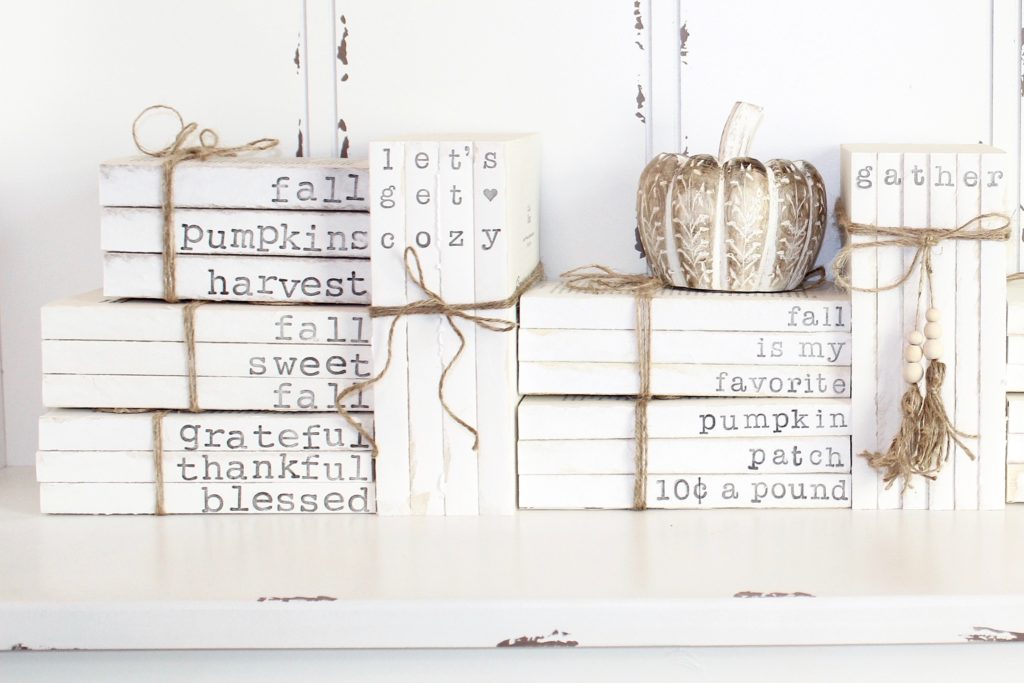
The book stacks on the left were made using the rubber stamp set, and the rest of the book stacks were made using the clear stamp set from Michaels.
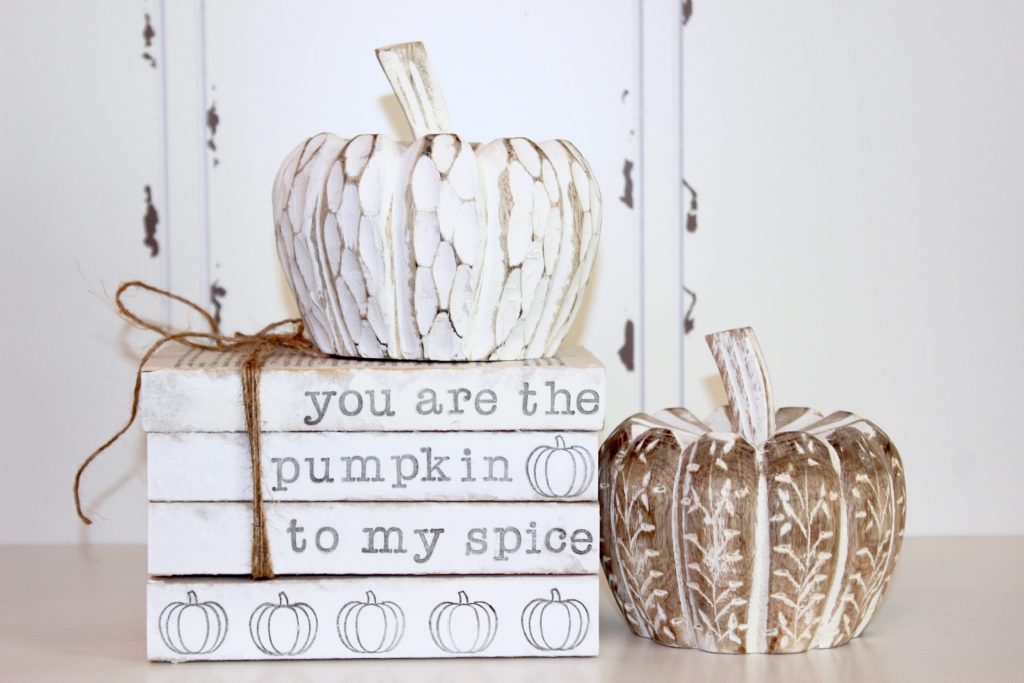
This pumpkin stamp is perfect for all of your fall/pumpkin book stacks! I used the smaller pumpkin stamp from this stamp set.
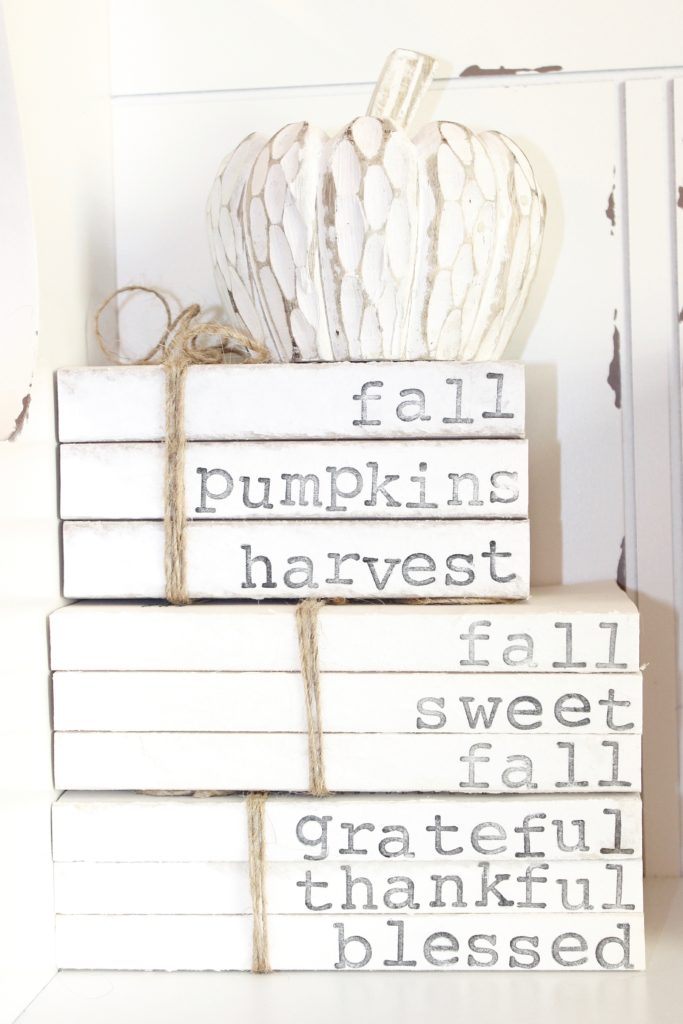
Here is a close up of the book stacks made using the rubber stamp set.
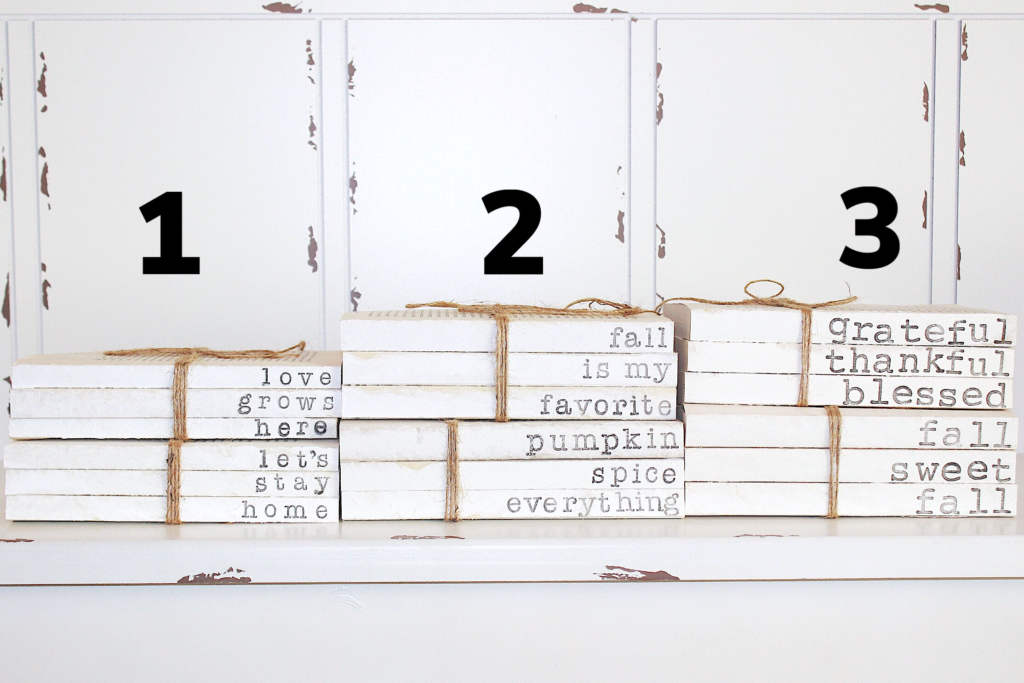
Here is a side by side comparison of all 3 stamp options (shown from smallest to biggest in size), and they are linked below according to the numbers.
#1 stamps, #2 stamps, #3 stamps
I can’t wait to see all of the book stacks that you are going to make! Make sure you tag me on Instagram @shescraftyandsheknowsit with your masterpieces! I always love to see what all of you come up with!
***Don’t forget that cleaning your clear stamps is important to help them work better and last longer! To see how to clean them, click here.
Never miss a post!

Just WOW! I didn’t think there was a craft alive that I hadn’t at least heard of so color me surprised and impressed when I found your article! These are so beautiful, simple, and speak loudly in such a soft sweet way. All the ways you use these are so unique! Thanks so much for sharing!
Wow Susan! Thank you so much! I have to say that making book stacks is my favorite craft of all time! 🙂
Thank you so much for this tutorial. I have a question, though. Does it matter which type of ink you use? Does it have to be a pigment ink? Can I use a solvent ink instead? It’s just what I have on hand.
Hi Kallie! I’m so glad you like the tutorial! Any type of ink pad should work fine – I just stay away from the washable ink pads so that it’s as permanent as possible. But a solvent ink pad should work perfectly! 🙂
These are so cute! I have all the stuff to make some and I have been practicing stamping on paper and but I end up with ink all over my fingers when I change out the letters. Any suggestions? I don’t believe that I am using too much ink because some of the letters are very light.
I just found your comment! I’m so sorry! It was hidden and needed to be “approved” by me 🙁 It definitely is easy to get ink on your fingers when changing out the clear stamps. My fingers get pretty dirty after making a whole book stack! You could always buy some tight fitting medical gloves (like nurses and doctors wear) if you don’t want to get ink on your fingers. The ink does come off my fingers fairly easily though. So sorry I’m just now responding – let me know if you have any other questions! 🙂
I have dozens of paperbacks ready for donation. I was hoping to use some of these but no blank pages front or back. Can I cover with something? I appreciate any suggestions!
After seeing the prices on these at Antiques Mall yesterday I decided I could do it.
Your directions for this craft were concise and easy to follow! Thank you.
You can certainly use your paperbacks that you have! Most of my book stacks actually have words on the top page. I just try to make sure it isn’t something too crazy in the writing haha! Plus you’ll be wrapping twine around them too which will cover part of the text. If you really wanted to cover it, you could just paint the top page – but I think I prefer a page full of text over a page painted white, but that’s just me 🙂
Hi! I want to make these stacks for some friends, and want to stamp family members names including dogs! I have ordered 1/4 in alphabet stamps, but I’m having trouble finding a paw print stamp that is similarly sized. Any recommendations?!
So far this is the only option I have found: https://amzn.to/2LFfw37 I’m thinking that even if the bigger paw is too big, you could put ink on just one or two of the tiny little paws (the ones that are making the little pathway) and use those. I’ll keep looking though!
Ok this one says cat paw but I think it would still work! https://amzn.to/2LFyqXt
I also found this option at Michaels – it’s sold out online and seems like it’s limited quantities in most stores, BUT you could do the order online pick up in the store to make sure they actually have it in stock before you drive up there! http://michaelstores.pxf.io/c/1441940/583110/9591?prodsku=10184616&u=https%3A%2F%2Fwww.michaels.com%2Fpaw-print-stamp-by-recollections%2F10184616.html
Thanks! This is so helpful! I planning on making some stacks for a fundraiser we’re having. They’ll be centerpieces then we hope to sell them. I do have a question, when you go back over a letter that may have come out to light, you seem to place the stamp perfectly the first time. I make a mess when I do this. Any tips? Thanks again!
Jackie
Oh no Jackie! I’m so sorry, but I just now found your comment. I feel awful that it took me so long to find it. I honestly just take some time really trying to look through the acrylic block and line up the stamp the best that I can. I typically use the grids on the acrylic block to line up the letters before stamping the first time around – placing the bottom of the letters right at one of the lines. So this way I know that if I have the acrylic block lined up where the other letters are showing up right at the line, it should be the right spot. That helps with the spacing vertically, so to speak, but getting it spaced correctly side to side, and right on top of the previous stamp is definitely a little tricky. I wouldn’t say I have any special tricks. I hope this helps, and sorry again for the delayed response! 🙁
I don’t see where it tells how to make the books white , are they painted ?
No they actually aren’t painted. I just peeled the cover off of the books. In the video I have linked on the page you can see a sped up version of me making them. Let me know if you have any other questions!
WOW wow WOW. I have done paper crafts for 20 years….But have not crafted with my stamps and ink for sheesh 8 years or so.
I WILL be going through my stash today to make these!
Thank you for the Mojo!!!
You’re so welcome Robin! I hope you enjoyed making your hand stamped book stacks!
I am just now getting on the “book stack” bandwagon. I am having a heck of a time finding the larger typewriter stamps. The only ones that I can find currently are the smaller ones and I really prefer the look of your Stamp #2 or Stamp #3. Would you be able to recommend a place that might have them available or another suitable stamp that is similar to those?
Thanks!
Hi Tracy! It looks like Stamp #3 is back in stock online! Hopefully you’re able to order some before they’re gone. Unfortunately I’ve looked and looked for other options, and these are the only ones I could find. Most of the stamps I found were smaller. Stamp #2 seems to be restocked and sell out fairly often so you might want to keep checking their website every couple of weeks. Sorry I’m not more help!