I’ve been wanting some cute new trivets for a while, but I was having a hard time finding what I was looking for. I wanted something white and farmhousey – don’t worry, farmhousey is definitely a word ha!
Since I couldn’t find anything cute, I decided to make my own trivets. Once I was done making the trivets, I realized that the round trivets would be adorable to use as the top of a pedestal, so I found the perfect little pedestal base and put together a farmhouse style pedestal too. So voila, 2 crafts in one. I know, I know…I’m an overachiever!
Supplies:
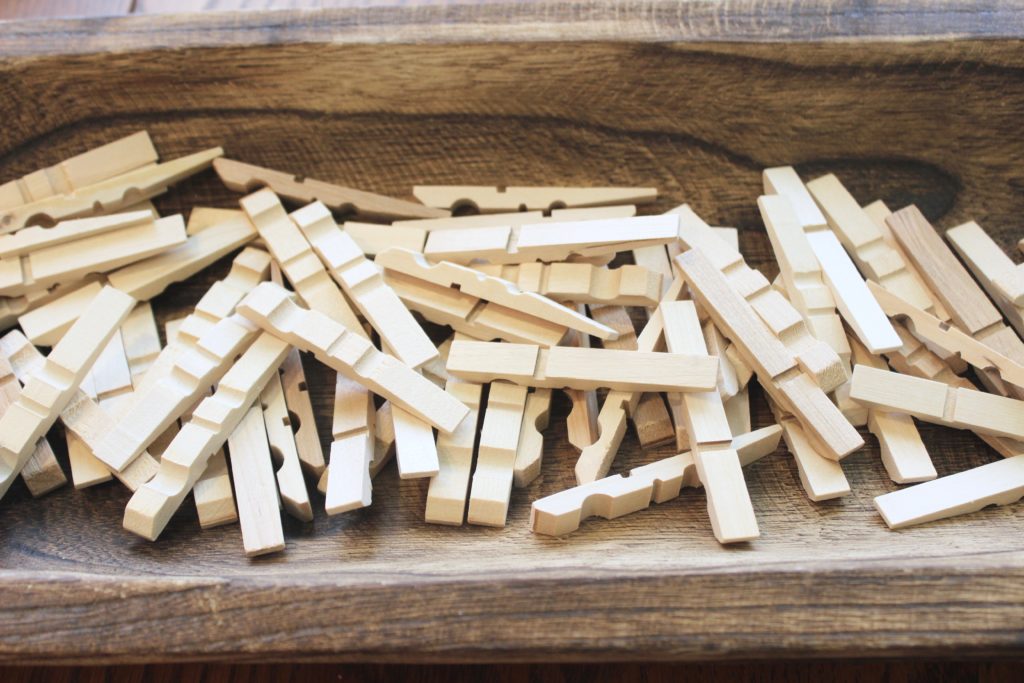
- clothespins – I bought mine at Dollar Tree, but if you don’t have a Dollar Tree close by you could also use these ones from Amazon. It took 25 clothespins to make each round trivet, and 18 clothespins to make the rectangle trivet.
- hot glue gun & hot glue sticks
- white paint – here are two options for you – this one from Hobby Lobby, or this one from Amazon.
- sand paper – click here for some options from Amazon.
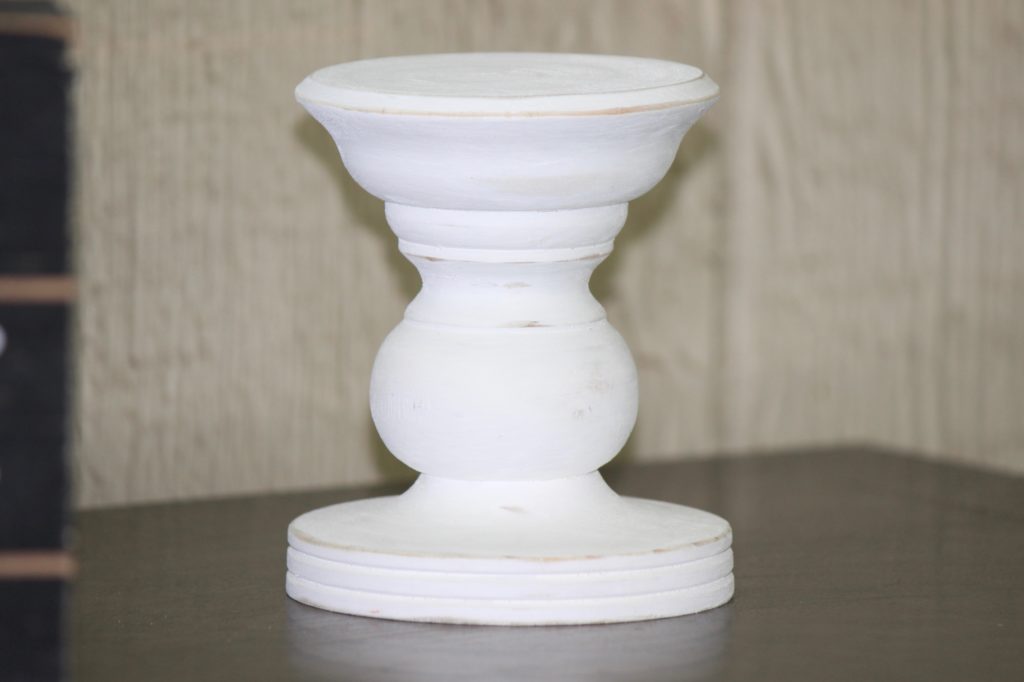
- pedestal base – this is no longer available at Michaels 🙁
Disclosure: My posts may contain affiliate links. If you buy something through one of those links, you won’t pay a penny more, but I may receive a small commission, which helps me keep this DIY blog up and running, and partially supports my Coke Zero addiction. This includes links to amazon.com, because I am a participant in the Amazon Services LLC Associates Program.
Instructions:
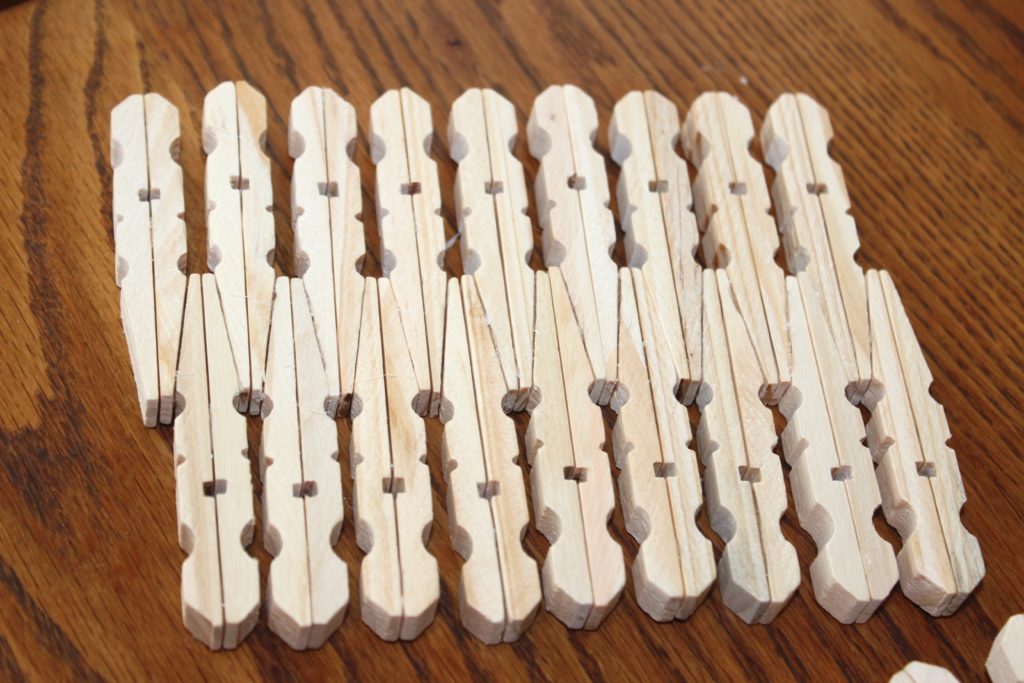
1. Take apart the clothespins. It took 25 clothespins to make the round trivets, and 18 clothespins to make the rectangle trivet.

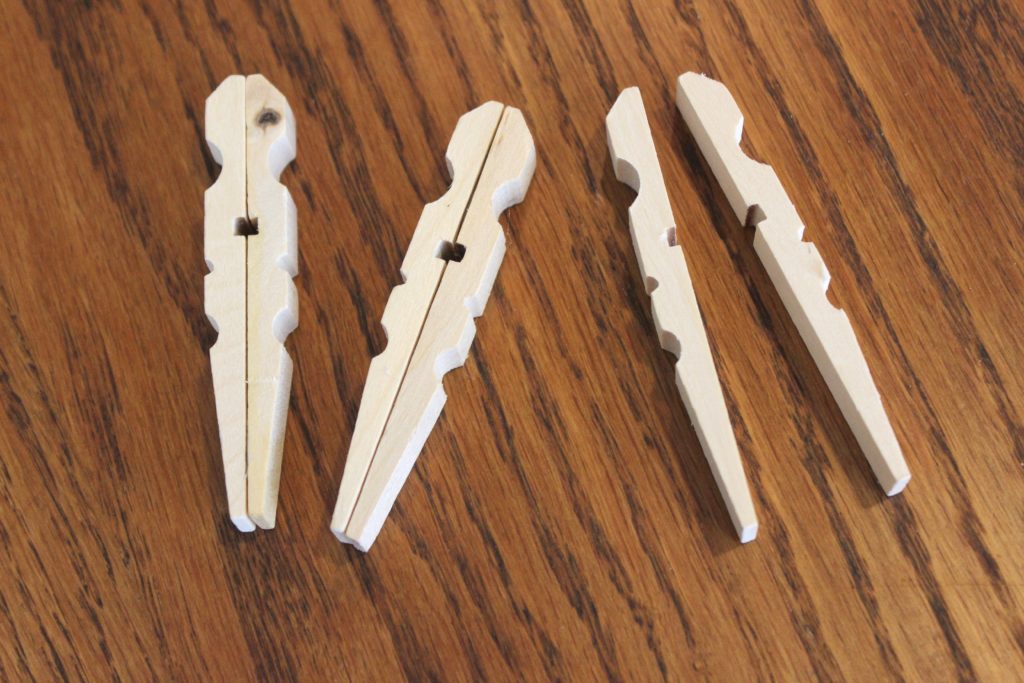
2. Use your hot glue gun to glue the flat sides of two of the clothespin pieces together to make a bunch of the little men shaped thingies (all technical terms here you guys) like you see below! Continue until you have enough men glued together to make the desired amount of trivets.
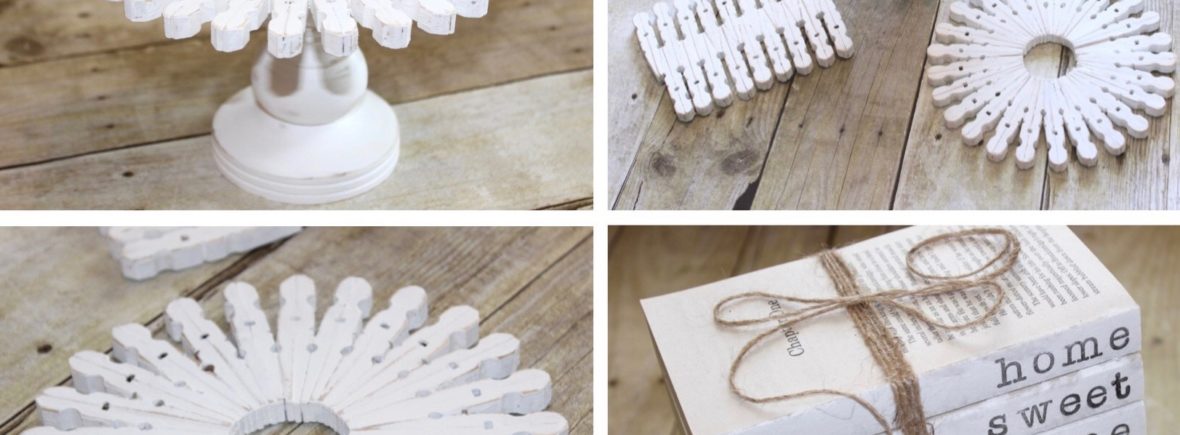
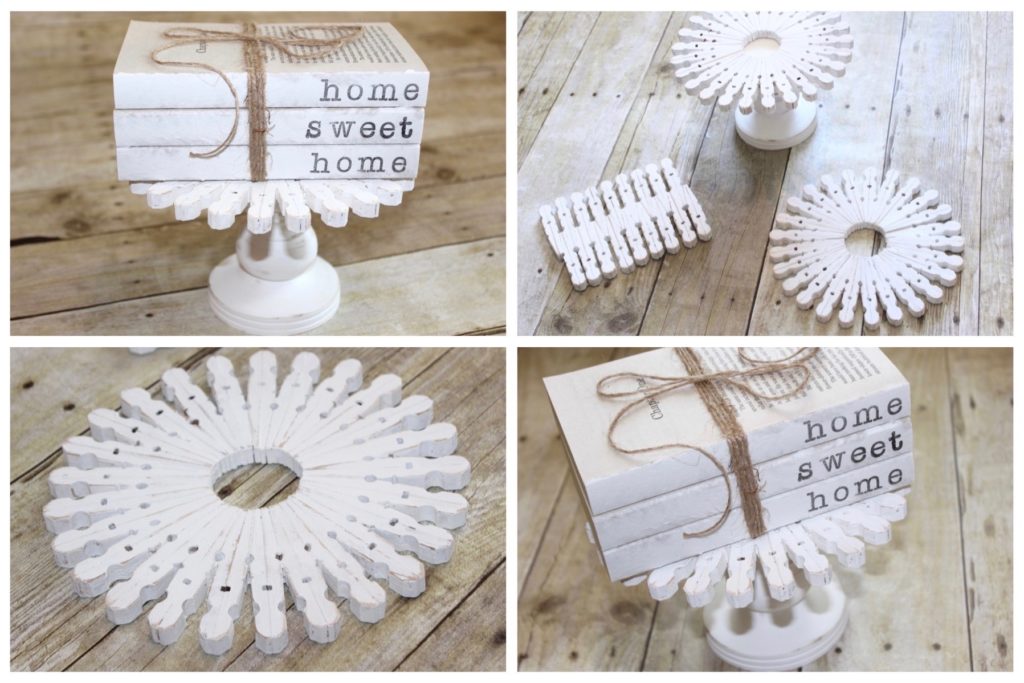
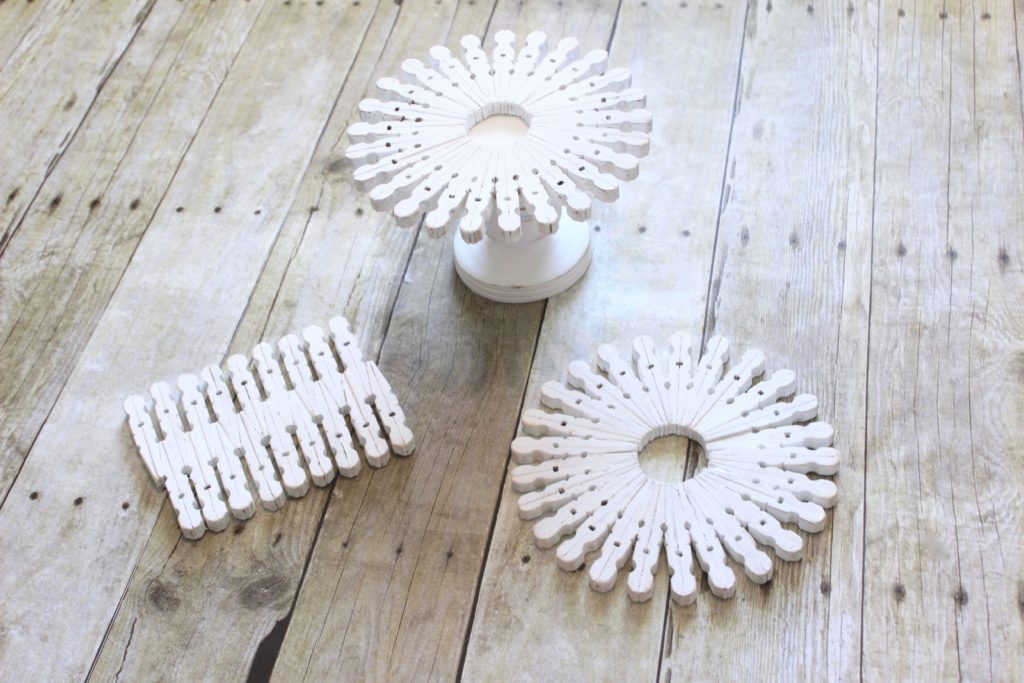
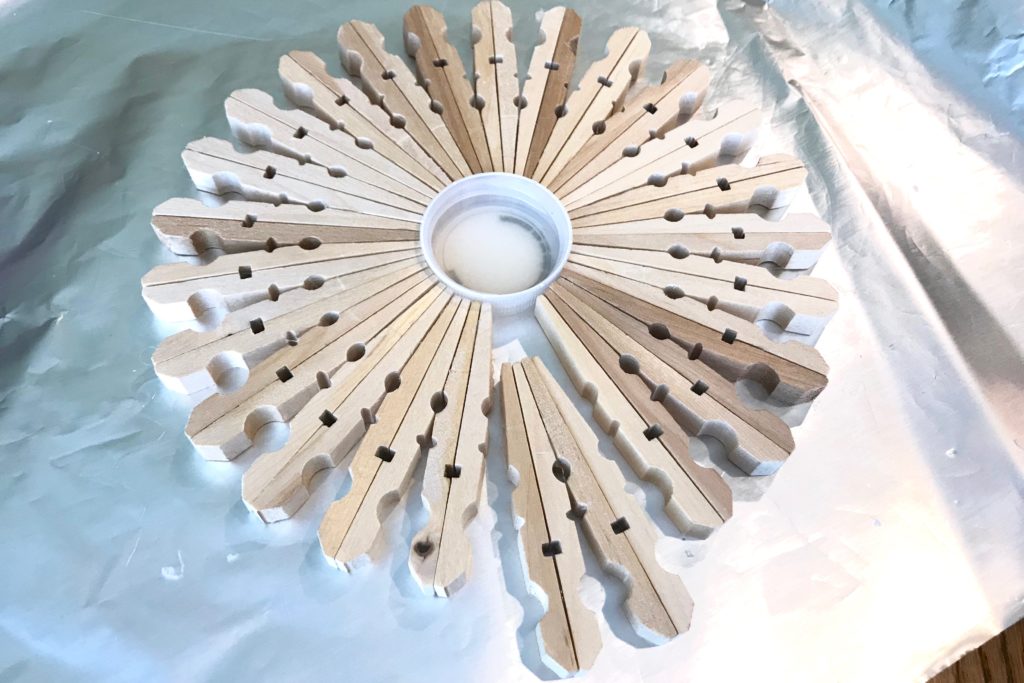
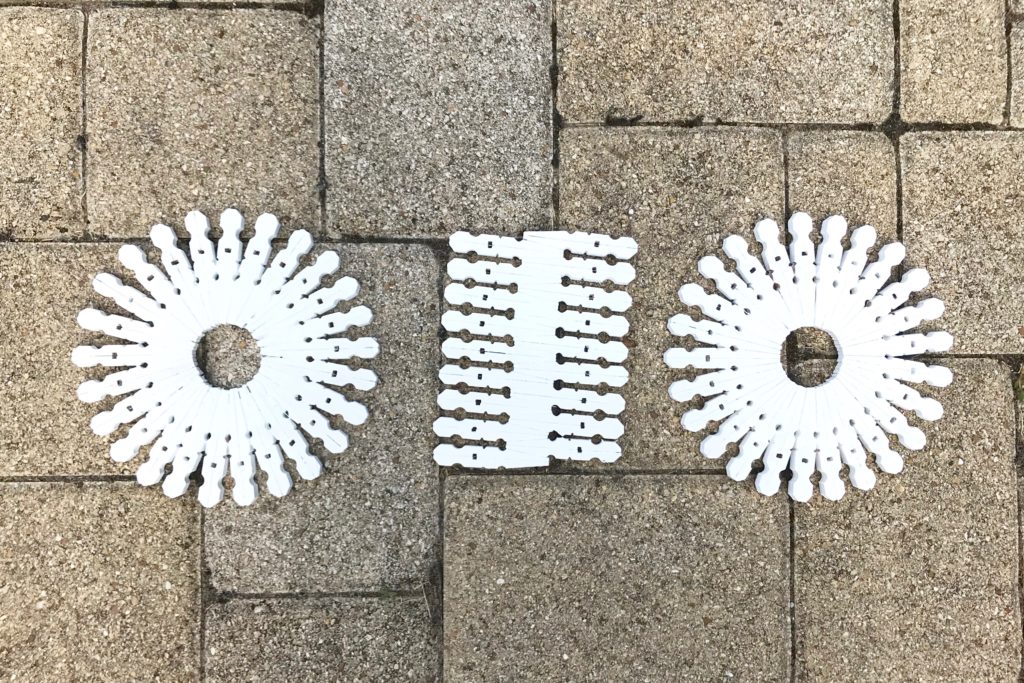
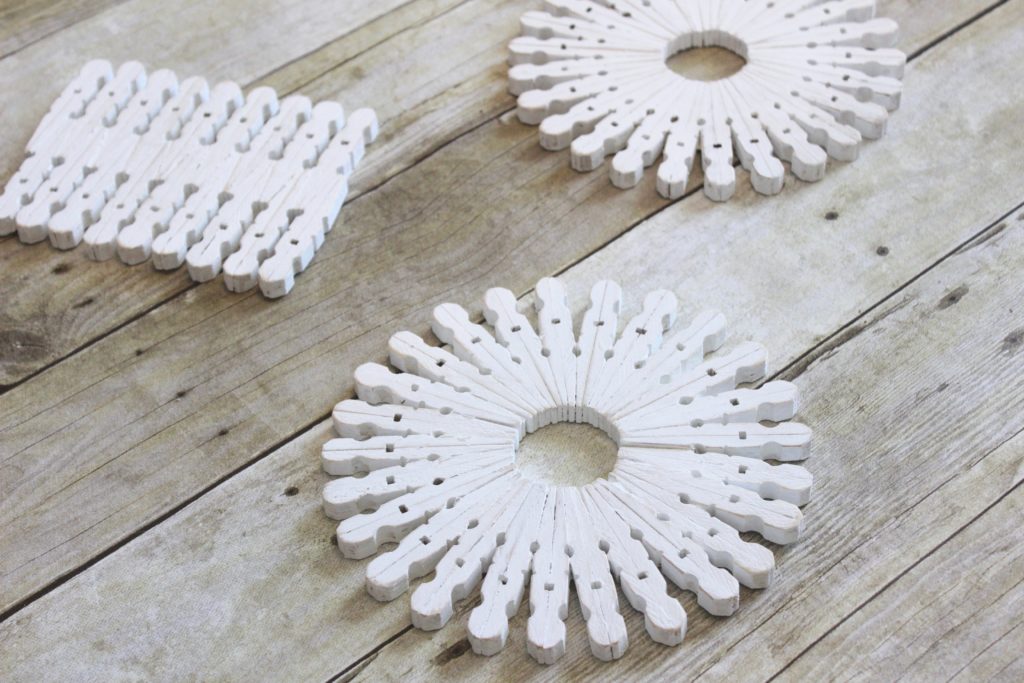
3. For the round trivets I just glued the little men together, side to side, at their legs. I found it easiest to set something in the middle, where all the points come together, so that I could just glue them in a circle around the object. This ensured that the circle actually stayed circular, and it didn’t end up looking weird. I was at my mom’s house, and she happened to have a small bottle of Gold Peak Tea, and the lid was the perfect size. And remember – it took me 25 little men to make a nicely shaped circle.
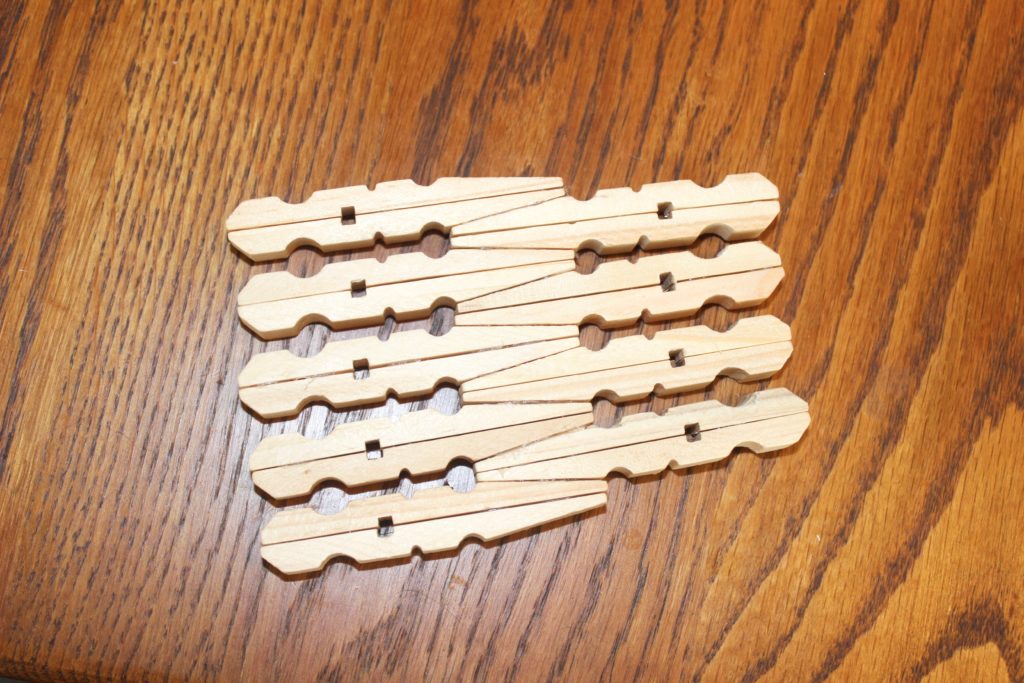
For the rectangle trivet I glued the men together at their legs, but I alternated which direction their heads went. It took me 18 men to make the rectangle trivet – 9 on each side.
4. Paint the trivets, and the pedestal base if you want to make a pedestal too.
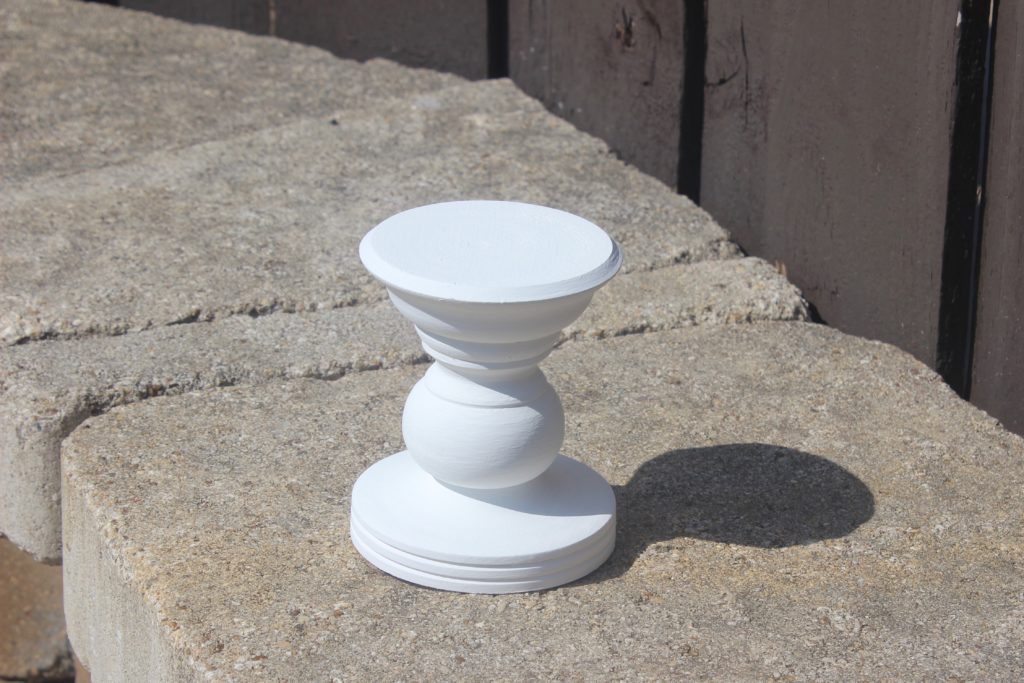
5. Sand the trivets (and the pedestal base).
6. Use your adorable trivets, and pedestal. If you made the pedestal you can glue the trivet to the pedestal base (with gorilla glue, hot glue, etc), but I haven’t even attached mine together yet. It’s sturdy enough, even without being glued, to support something light. Just don’t set anything breakable on it without securing the two pieces together first.
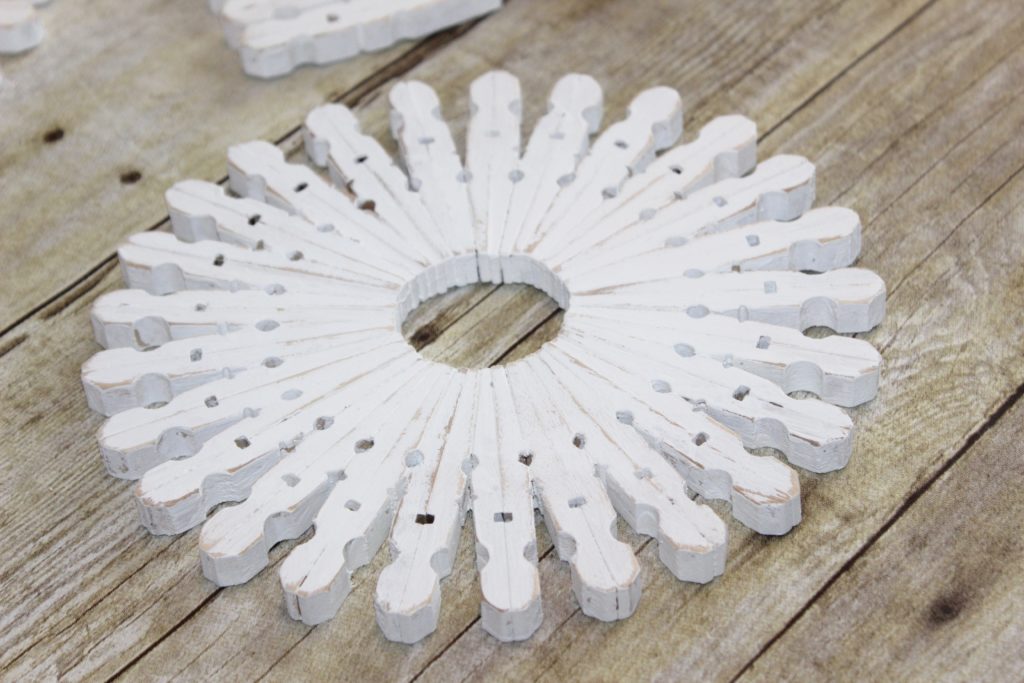
My masterpieces!
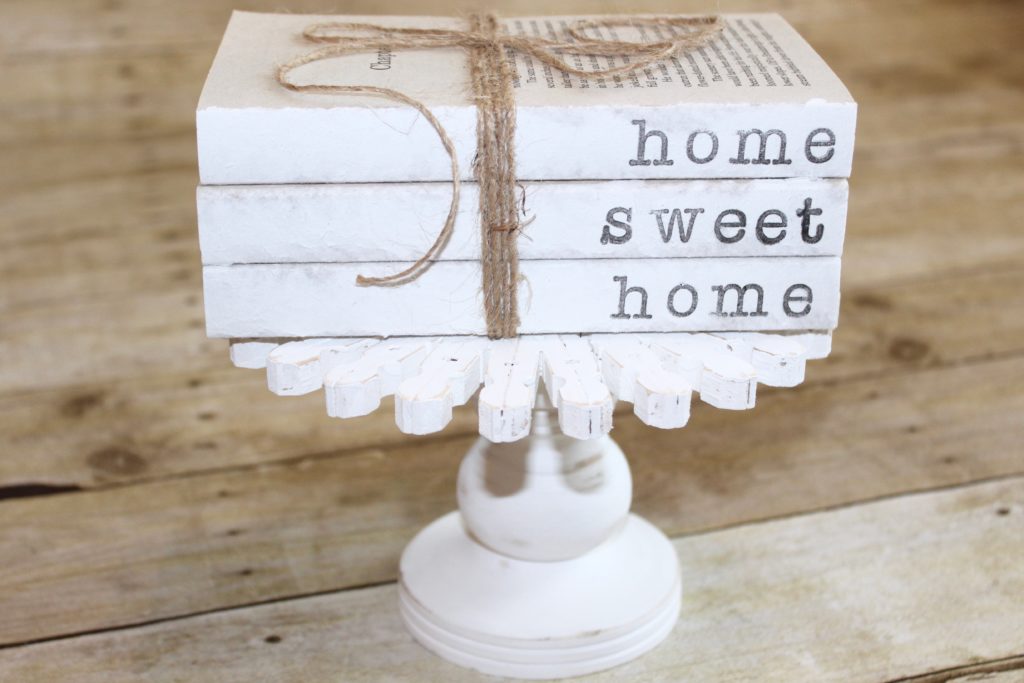
The pedestal looks super cute with a hand stamped book stack on it! To make your own hand stamped book stack, check out the tutorial here.
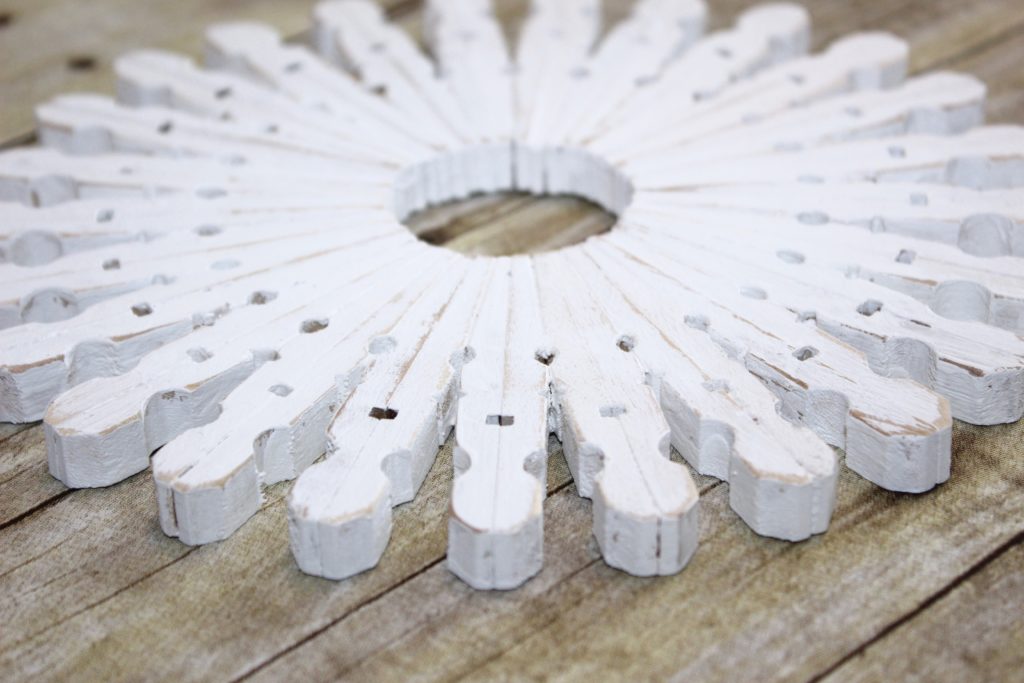
I love all of the details of the trivets! Especially how distressed they look from sanding it.
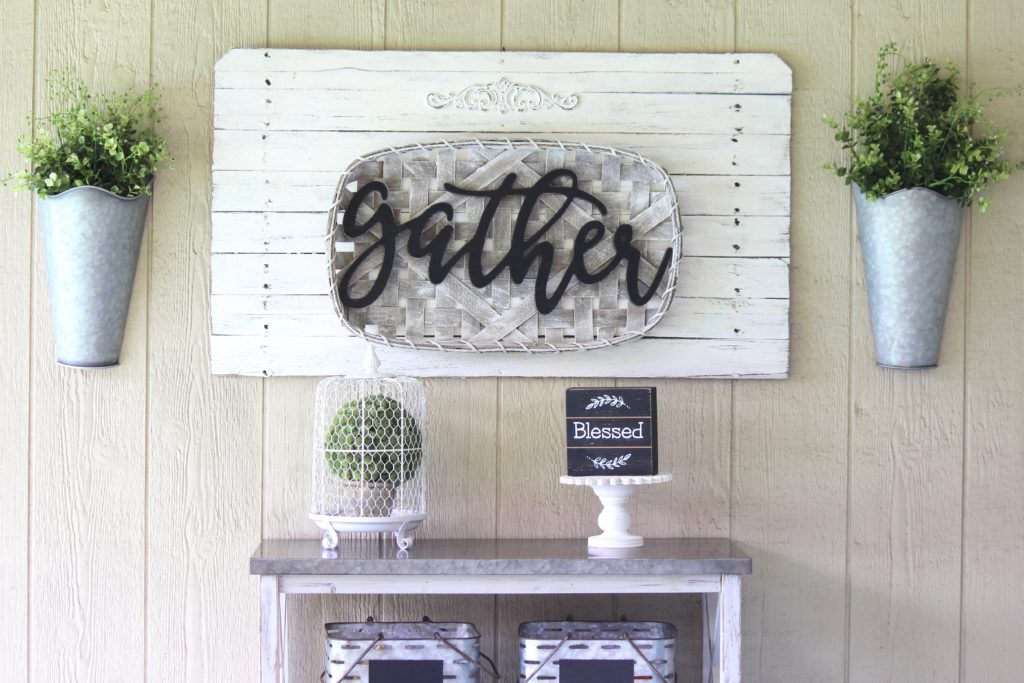
I ended up putting the pedestal outside on our covered patio – can you spot it? 🙂
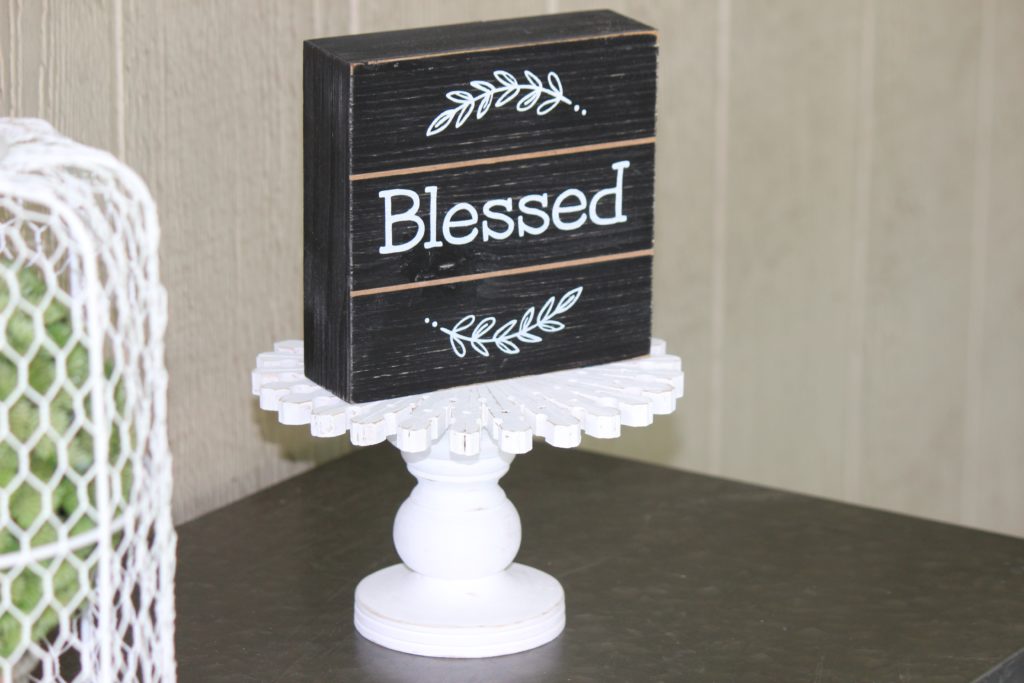
It look super cute with this little Blessed sign sitting on it!
Never miss a post!