

Okay you guys, this is really too easy to classify as a tutorial, but I just wanted to show you how I re-paint simple furniture. For bigger furniture, or pieces that are used often (like a kitchen table) I would do it differently – but for a stool like this, or a little side table, this works perfectly!
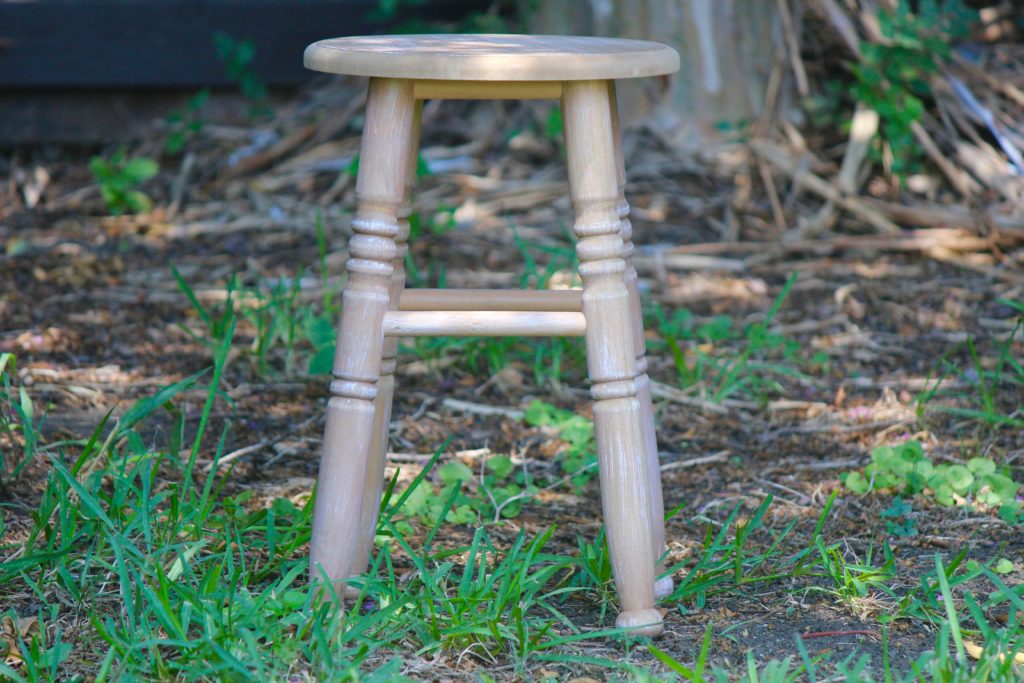
I found this adorable little stool at Michaels on clearance, and I fell in love with it mainly because of those cute legs. But I didn’t love the color, so I decided to paint the legs white, and sand them.
Supplies:
- white spray paint – this is the exact spray paint I used. It only took me one can, but it’s always a good idea to have an extra can in case you need it.
- sanding blocks
- plastic bags
- any kind of tape
Instructions:
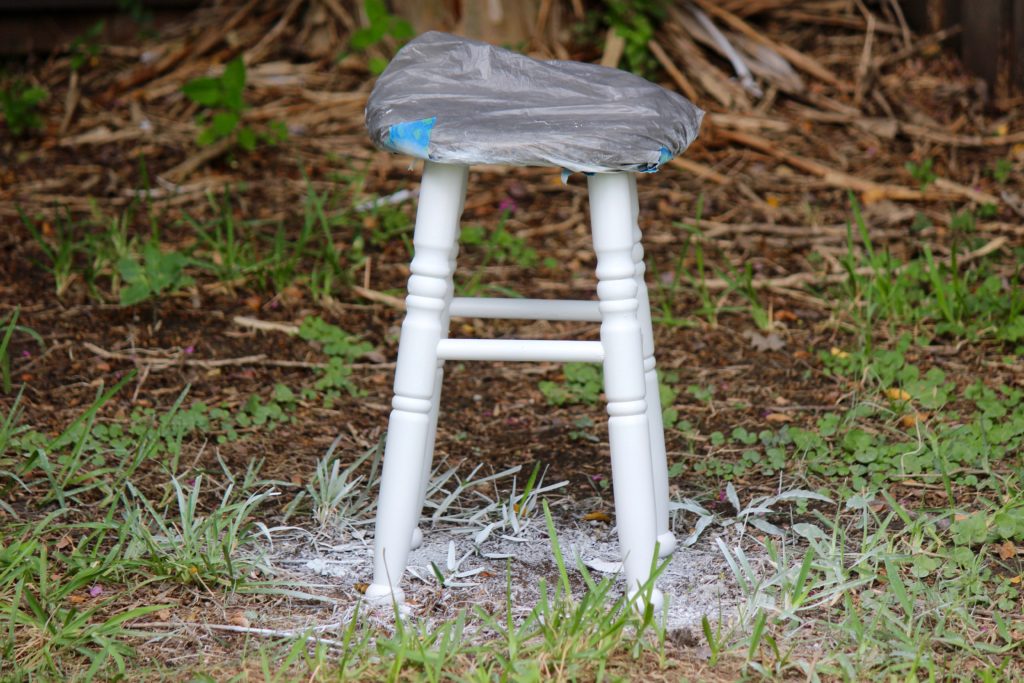
1. Tape off the areas you don’t want painted. I used extra Walmart grocery bags to cover the seat, and then taped the bags to the underneath of the stool.


2. Paint the exposed areas. I was able to cover the whole thing in a decent coat the first time, and therefore I did not need to do more coats later. If the paint is a little thick, or runs in certain areas, don’t worry about it. Remember, you’re going to sand it, and that will smooth out those areas. If you feel that you are unable to cover it well in just one coat, let it dry and do another coat.
3. After the stool has dried completely, take the plastic off of the areas you didn’t want painted. Now sand it until you’re satisfied. After you’re done sanding it, you’ll want to wipe it down with a wet paper towel to get all of the sanding remnants off of the stool.
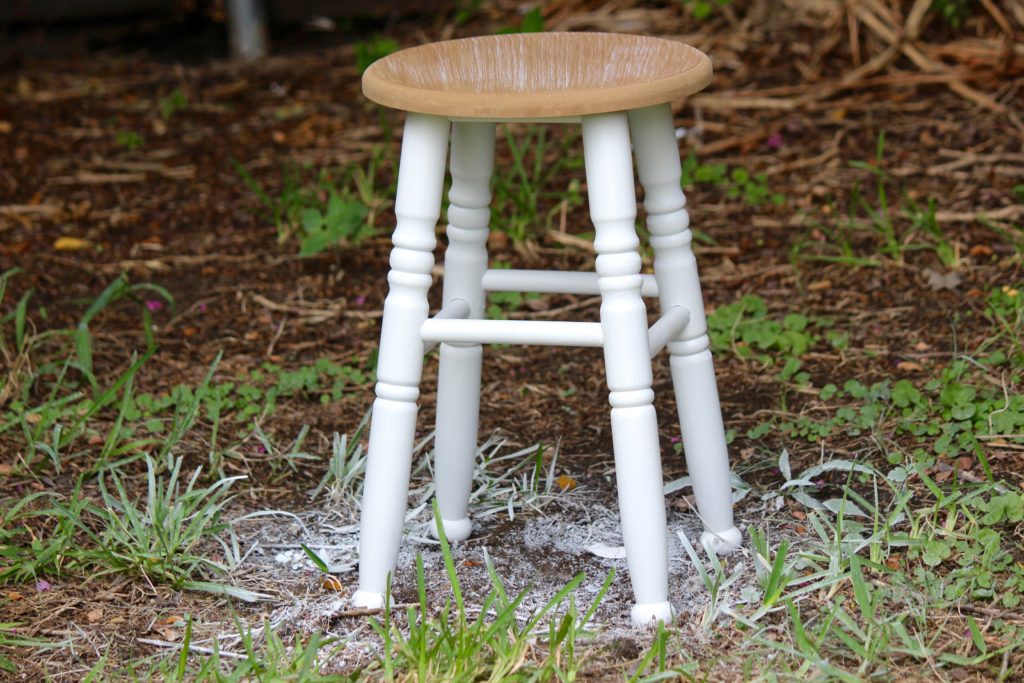 This is the stool before I sanded it. You’ll notice the white streaks across the seat of the stool. That’s how the stool looked when I bought it, which I think really makes the white legs look like they belong!
 This is the stool after I sanded it! It’s so adorable!
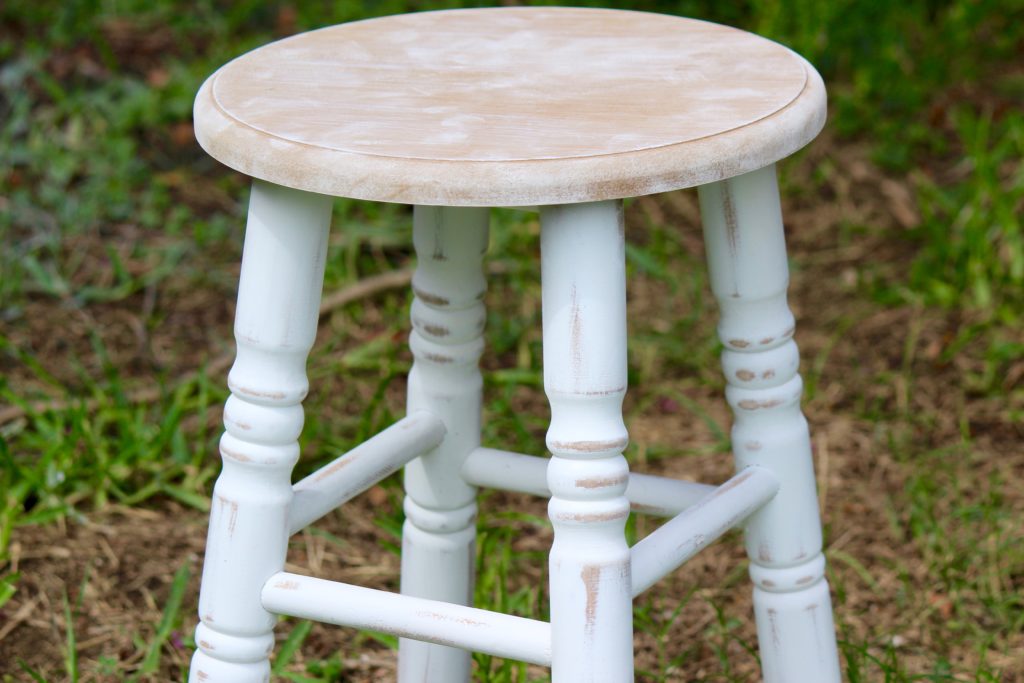 Here is a close up of the sanding. Ignore the dusty seat – this is before I wiped it down.
 Here is another close up of the sanding. You really can’t mess up the sanding. I just took the sanding blocks and went up and down the legs with them, and across the rungs at a few different parts until the brown started to show through.
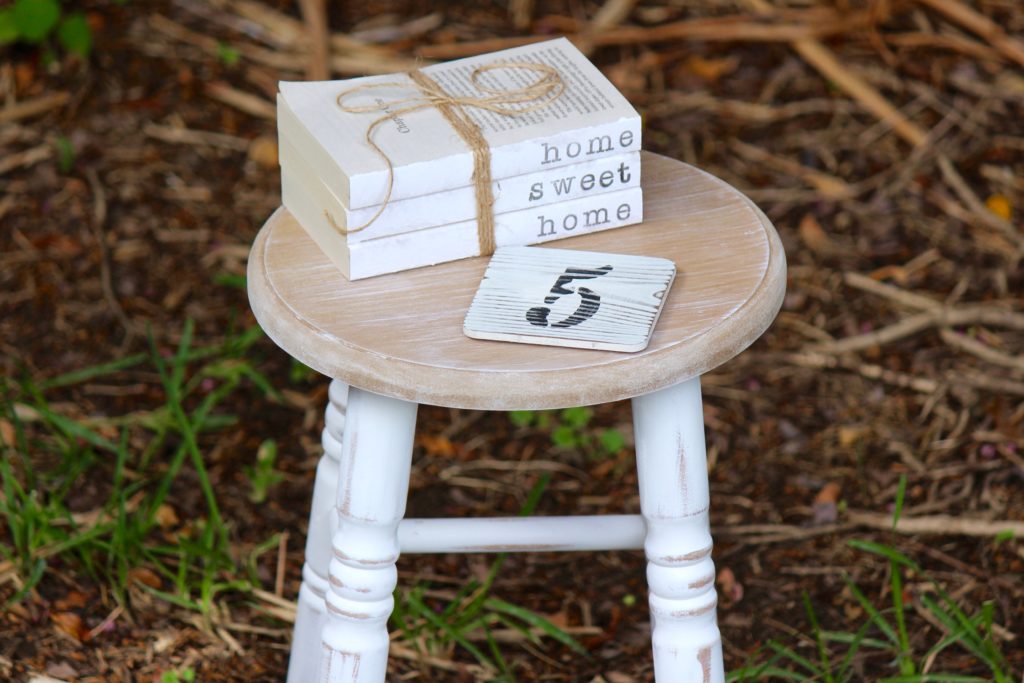
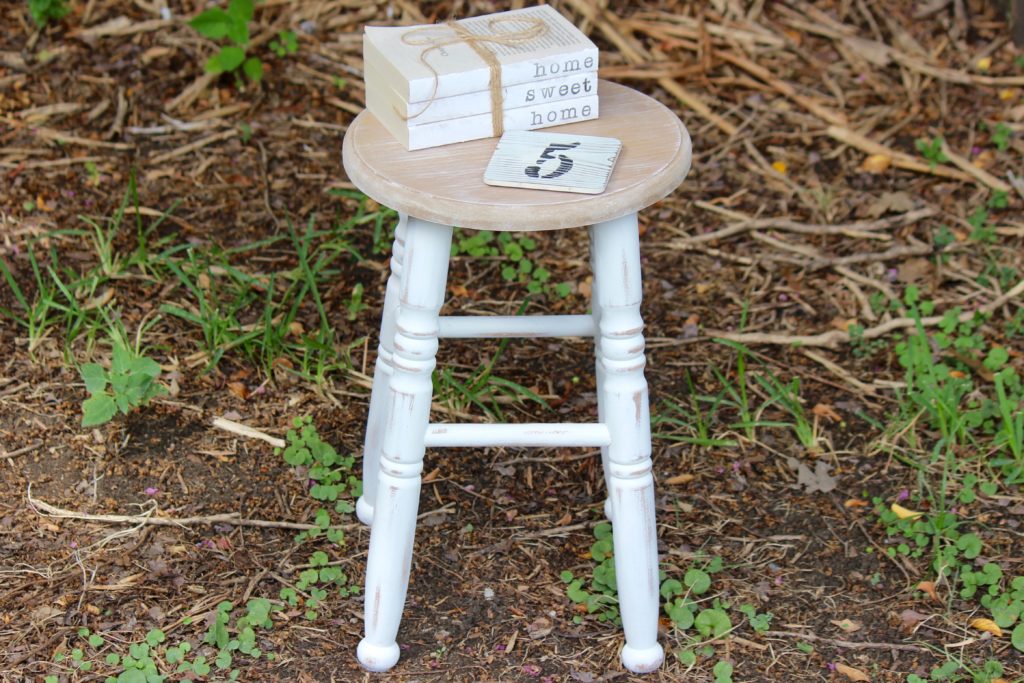 It looks super cute with a hand stamped book stack and a DIY numbered coaster on it! It is now a little side table, next to one of the chairs in our living room.
Never miss a post!