These are the cutest little cherries! This is the perfect keychain to add to any purse, backpack, lunch box, etc.
Supplies:
- pony beads
- pony bead lacing – I used the color “frost.” You will need one piece that is 30″ (2.5 feet) long.
- keychain
- gaff tape *optional* this is the tape I use to hold the keychain clips on to my table while make the keychains. This tape is very strong but does not leave behind sticky residue etc.
Disclosure: My posts may contain affiliate links. If you buy something through one of those links, you won’t pay a penny more, but I may receive a small commission, which helps me keep this YouTube Channel up and running, and partially supports my Coke Zero addiction. This includes links to amazon.com, because I am a participant in the Amazon Services LLC Associates Program.
👉 Cherry Pattern – R = Red, G = Green
- Row 1 – G
- Row 2 – G G
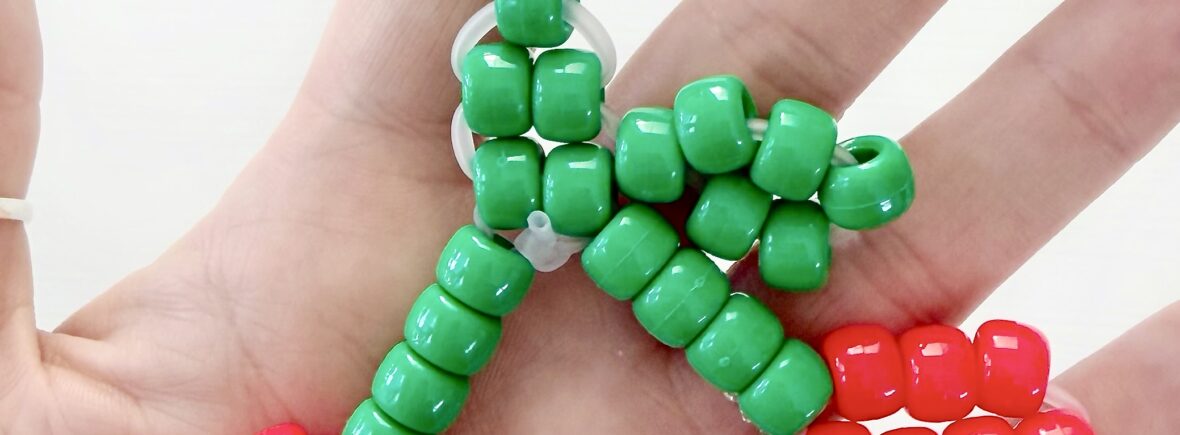
- BEFORE Row 3 – Make the leaf. To make the leaf put 6 green beads on the right piece of pony bead lacing. Thread the lacing back only through the very first green bead that’s closest to the stem part you already made. Make sure you scooch the leaf as close to the stem area as possible.
- Row 3 – G G
- MAKE THE CHERRIES – To make the left cherry, string 4 green beads and 10 red beads on the left piece of lacing. Push the 4 green beads and 3 red beads (the 3 red beads closest to the green ones) as close to the stem area (that you already made) as possible. Now leave a small space on the lacing and then group together 4 red beads. Leave another small space on the lacing then group together the last 3 red beads. So on the lacing it should look like GGGGRRR – RRRR – RRR. You’re going to take the end of the lacing and loop it around in a circle so that it can go DOWN through the 4 red beads that are in the middle, and pull it tight. It is important that you’re going DOWN through these 4 red beads from the top towards the bottom, NOT up through them. When done correctly this will bring the bottom 3 red beads and place them in a row right under the 4 red beads. Now take the end of the lacing and go UP through the 4 green beads. Pull tight and the cherry will form. REPEAT on the right side. *** I highly recommend that you watch the video to see how to do this part. It is much easier to show you visually than it is to write it out, so please forgive me for any confusion caused by how I explained it. 🤦♀️ ***
- TIE IT OFF – Tie the lacing in a knot between the two cherries. When you pull the lacing tight to knot it, it’ll pull the two cherries closer together so that they look the way they should.
Instructions: Watch the video below!
While you’re here, check out some of my other popular crafts!
Never miss a post!