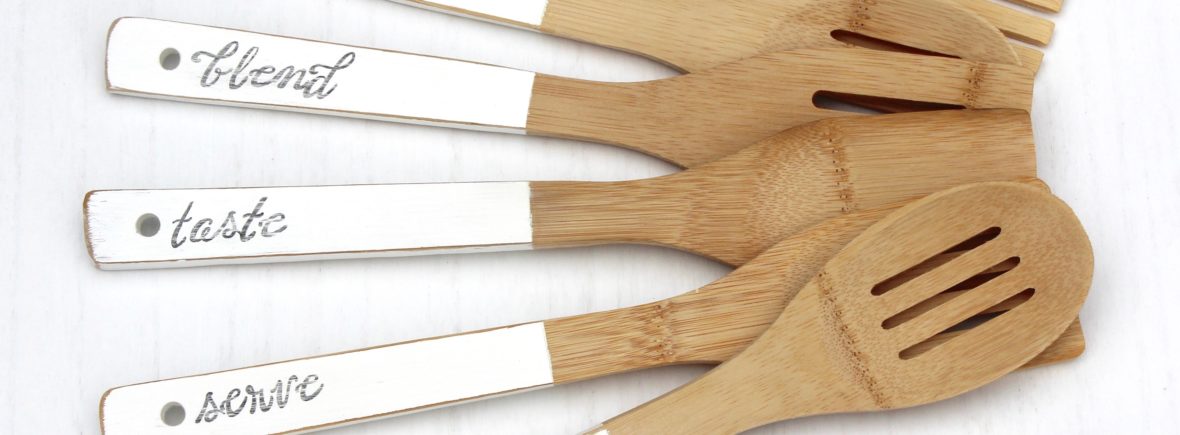
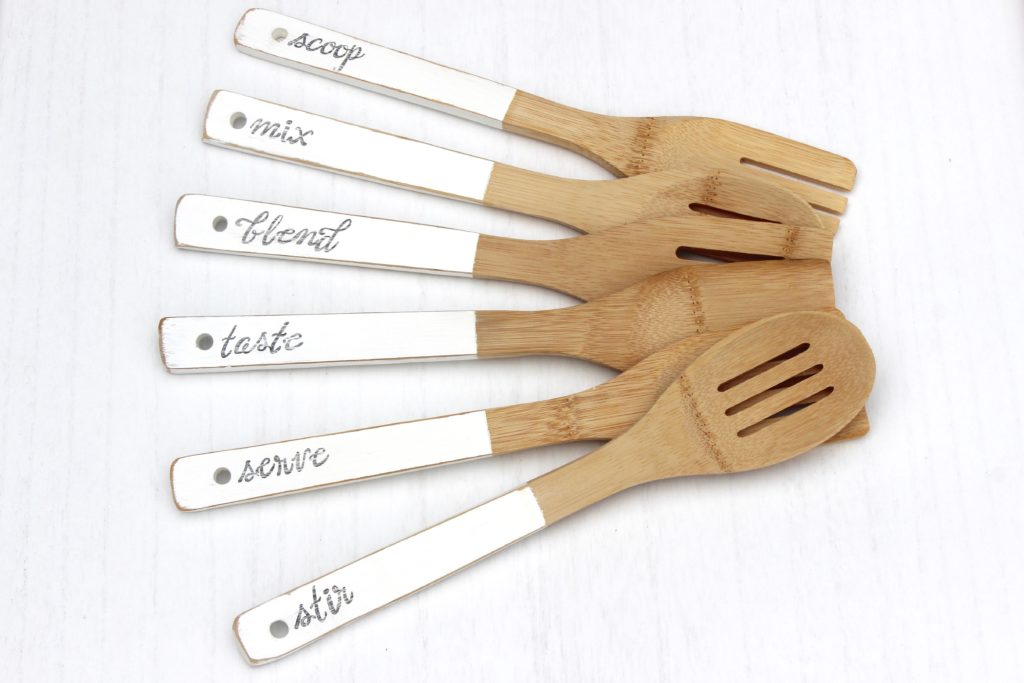
I’m not a huge fan of cooking – there I said it out loud. But you know what makes cooking more fun? Having cute kitchen utensils! I found some super cute wooden kitchen utensils at Dollar Tree, and I thought it’d be fun to paint and stamp them.
Disclosure: My posts may contain affiliate links. If you buy something through one of those links, you won’t pay a penny more, but I may receive a small commission, which helps me keep this DIY blog up and running, and partially supports my Coke Zero addiction. This includes links to amazon.com, because I am a participant in the Amazon Services LLC Associates Program.
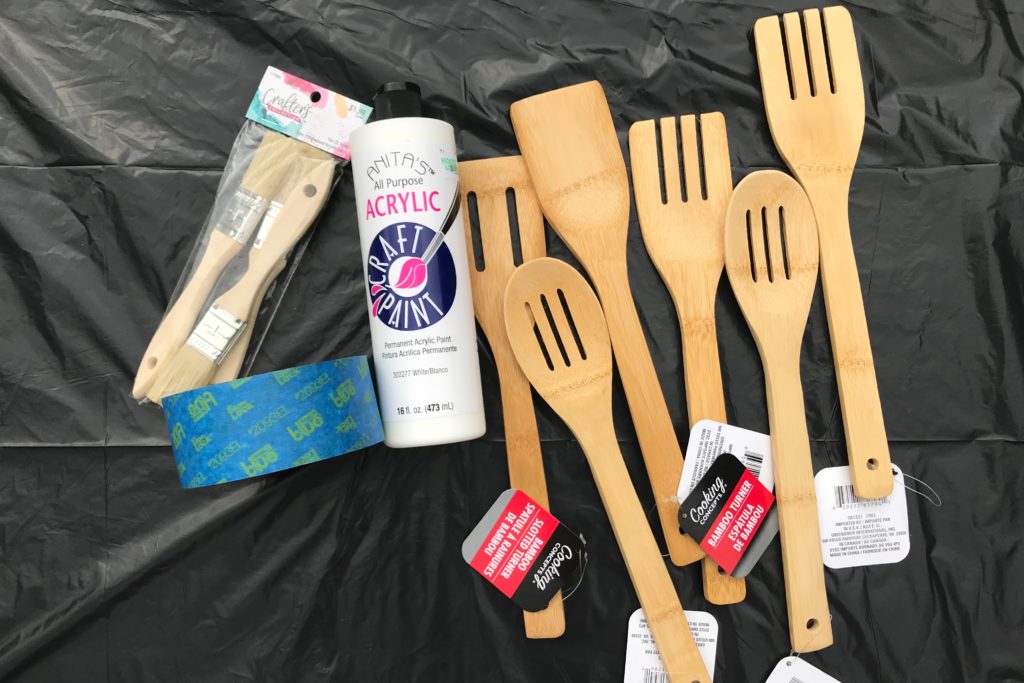
Supplies:
- wooden kitchen utensils – mine are from Dollar Tree, but here is a great option from Amazon.
- paint brush
- white craft paint – I used this white craft paint from Hobby Lobby. Here is another option from Amazon.
- painter’s tape or masking tape
- alphabet stamps – I used these script alphabet stamps from Hobby Lobby. If you already have the typewriter stamps that I used for the book stacks or the farmhouse coasters, you can certainly use those.
- black ink pad – here is one from Amazon, and here is the one from Michaels that I use.
- acrylic stamping blocks – these are the ones I used, and here is a great option from Amazon.
- polyurethane paint – I accidentally bought a satin finish which I don’t really like, but here is a matte one that shouldn’t have any shine/gloss to it at all.
- sand paper (optional)
Instructions:
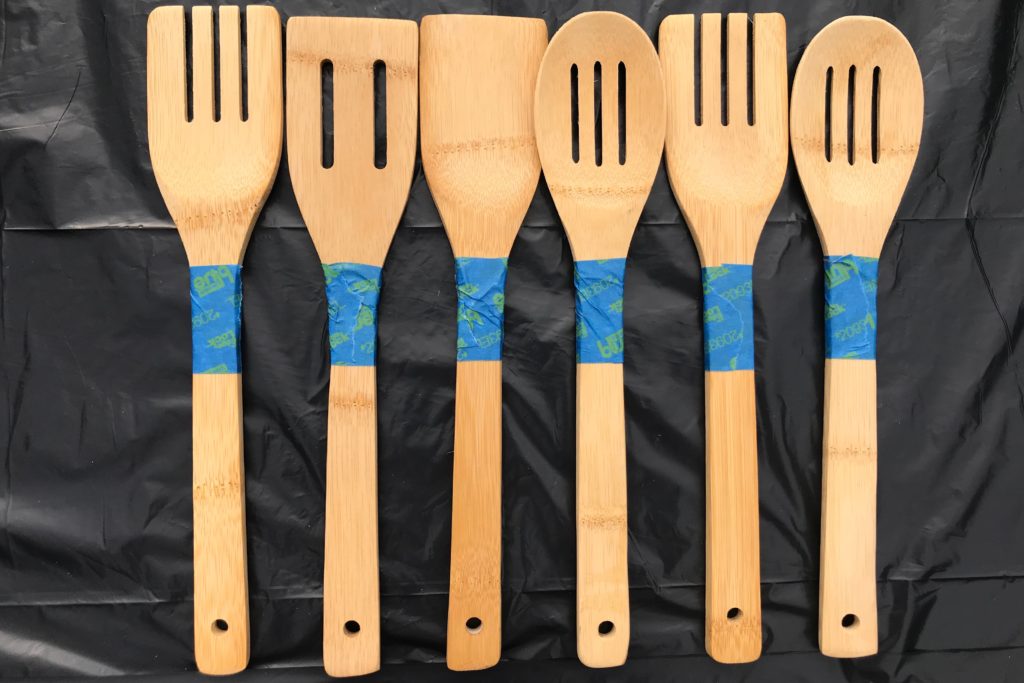
1. Put painter’s tape (or masking tape) around the handle of each utensil, making sure to put the tape at the same place on each utensil.
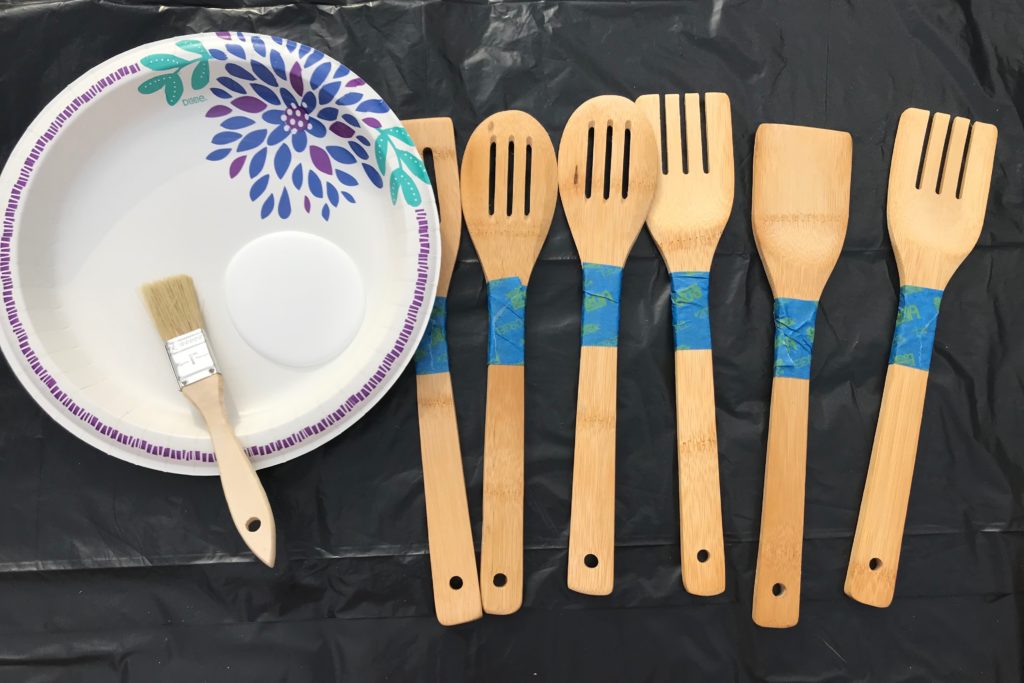
2. Paint each handle.
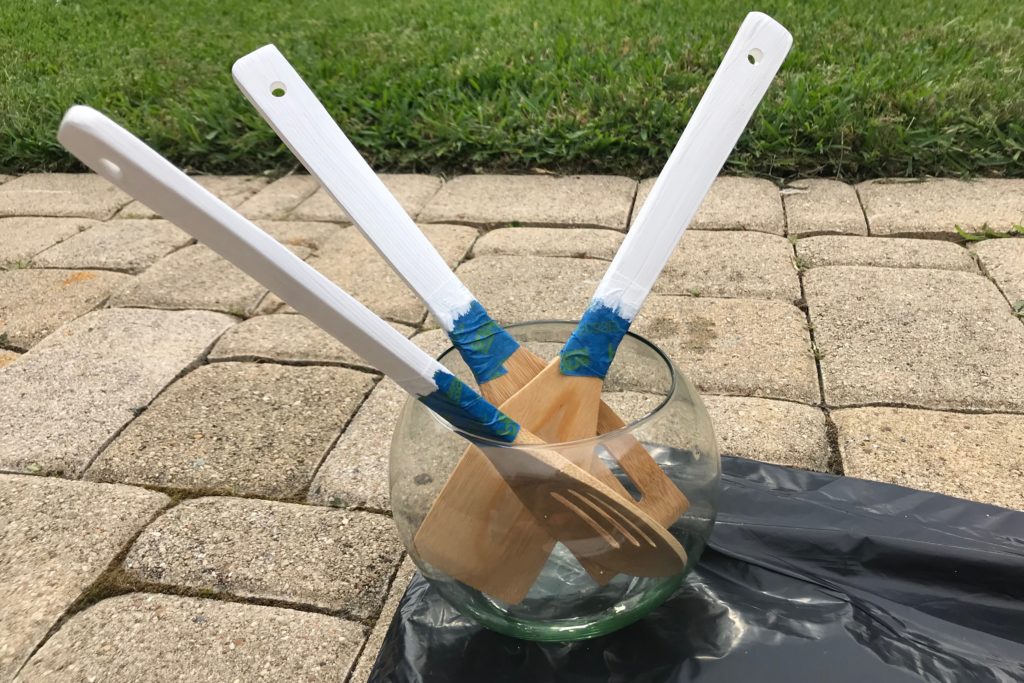
3. I ended up having to do 2 coats on the handles. I put them in a bowl so that they could dry without getting stuck to anything.
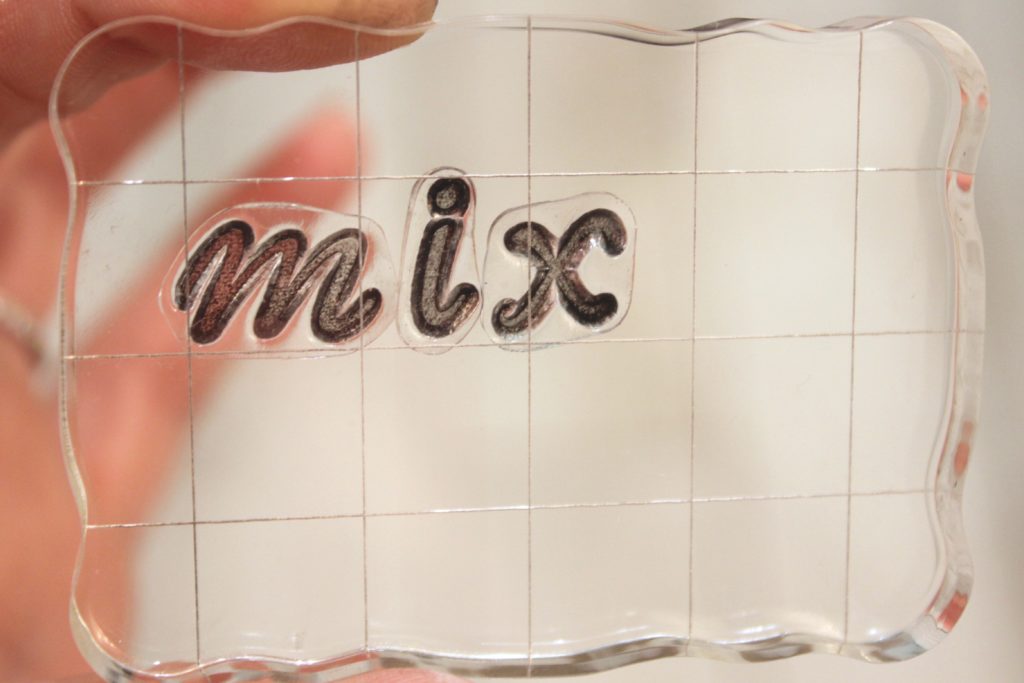
4. After the handles are fully dry, you can remove the painter’s tape. Now stamp the handles with the desired words using your ink, stamps, and acrylic stamping blocks.
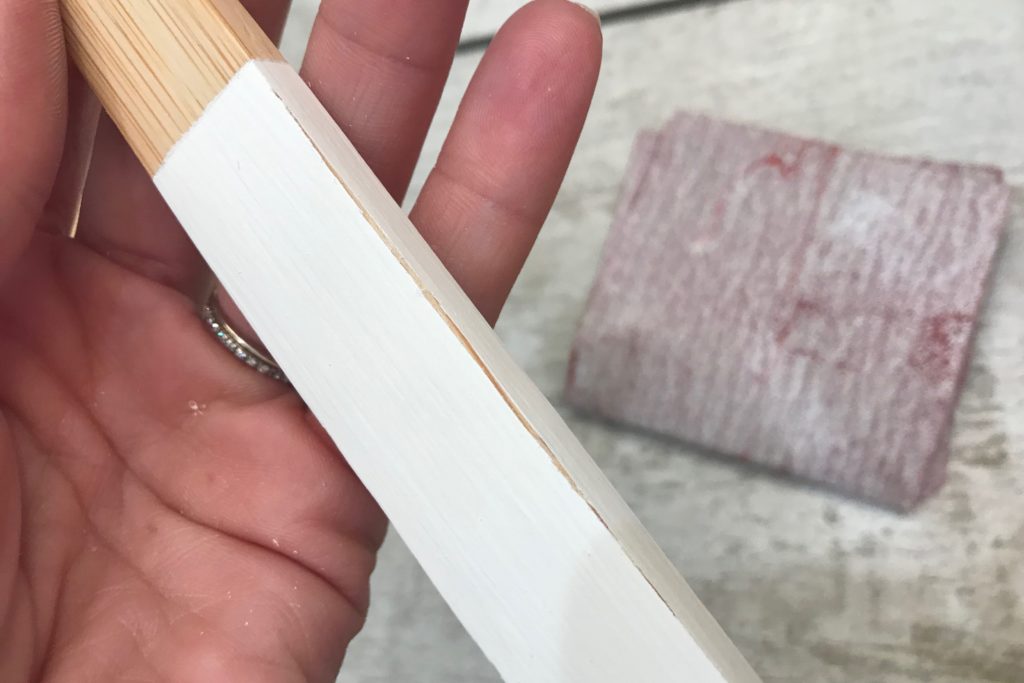
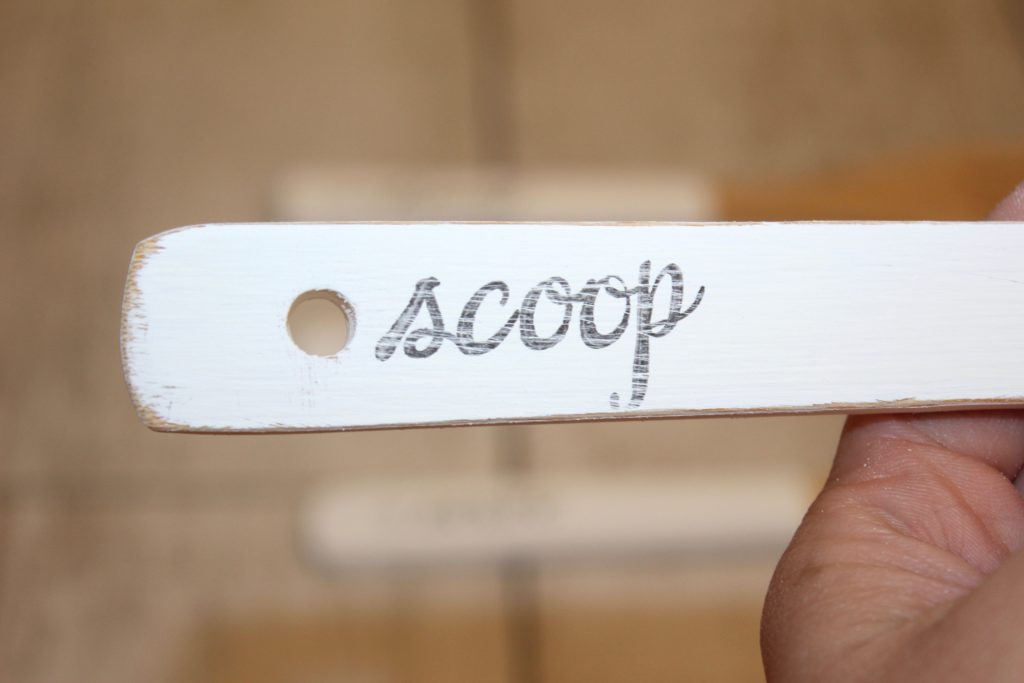
5. This step is optional. If you want your utensils to have a more distressed/worn look, sand the edges of the handles, and sand lightly over the stamped words. *Note* – make sure the ink from the stamps is fully dry before sanding over it. Otherwise the ink will smear.
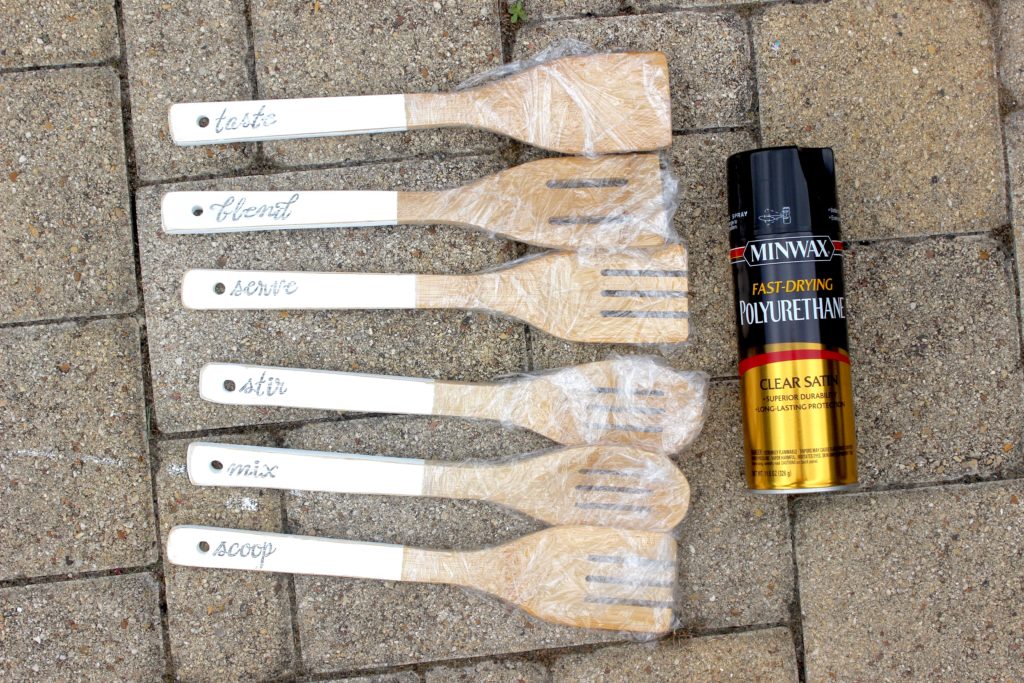
6. Spray the utensils with your polyurethane spray to seal the paint. I wrapped the spoon end of each utensil in saran wrap so that the polyurethane wouldn’t get on the end of the utensil that touches food.
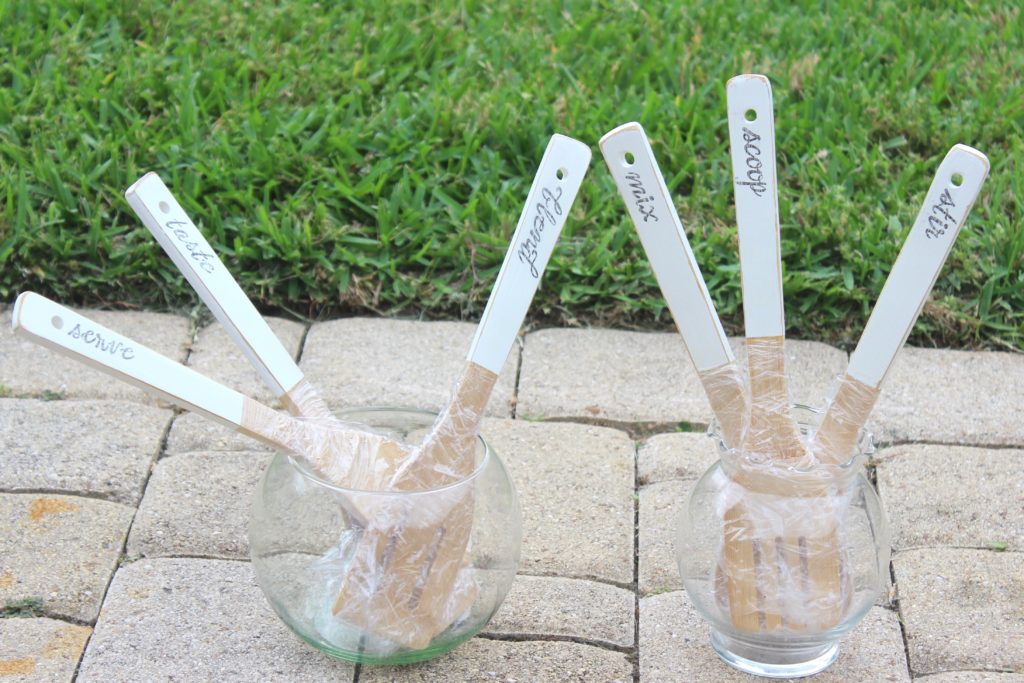
7. Let the polyurethane dry – I placed the spoons back into bowls while they dried. Once they are dry, hand wash them and use them, or gift them!
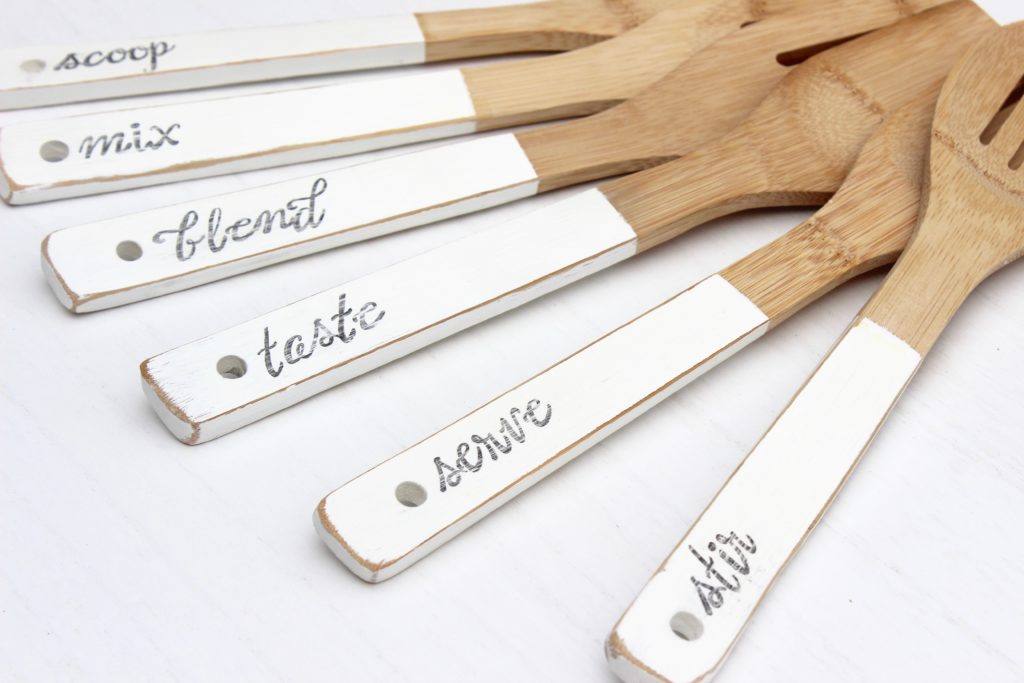
Aren’t they so cute?!
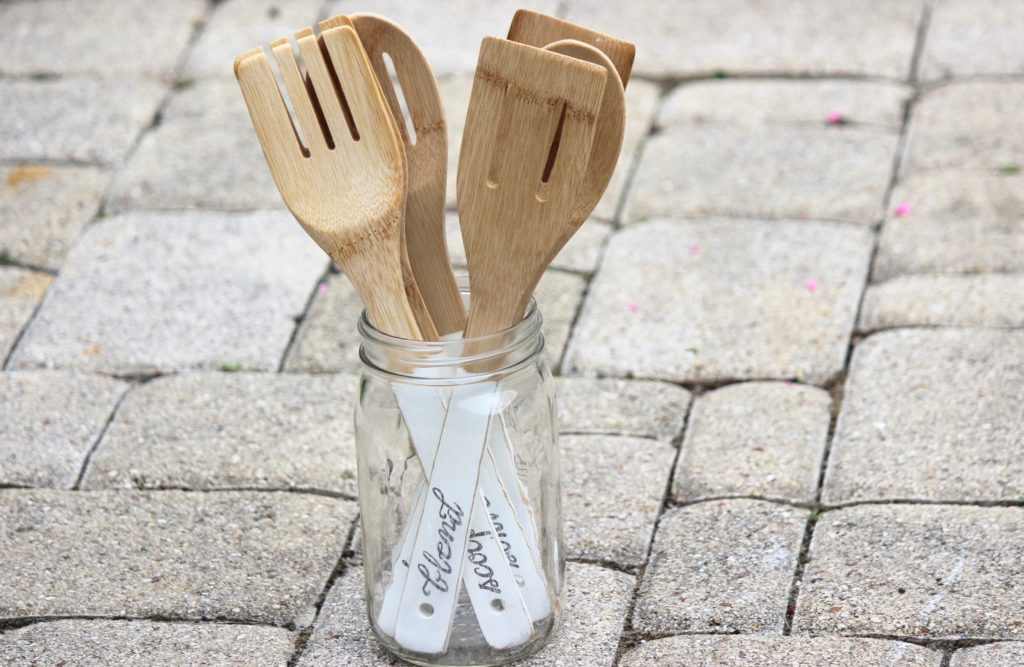
I have mine sitting on my kitchen counter in a large mason jar.
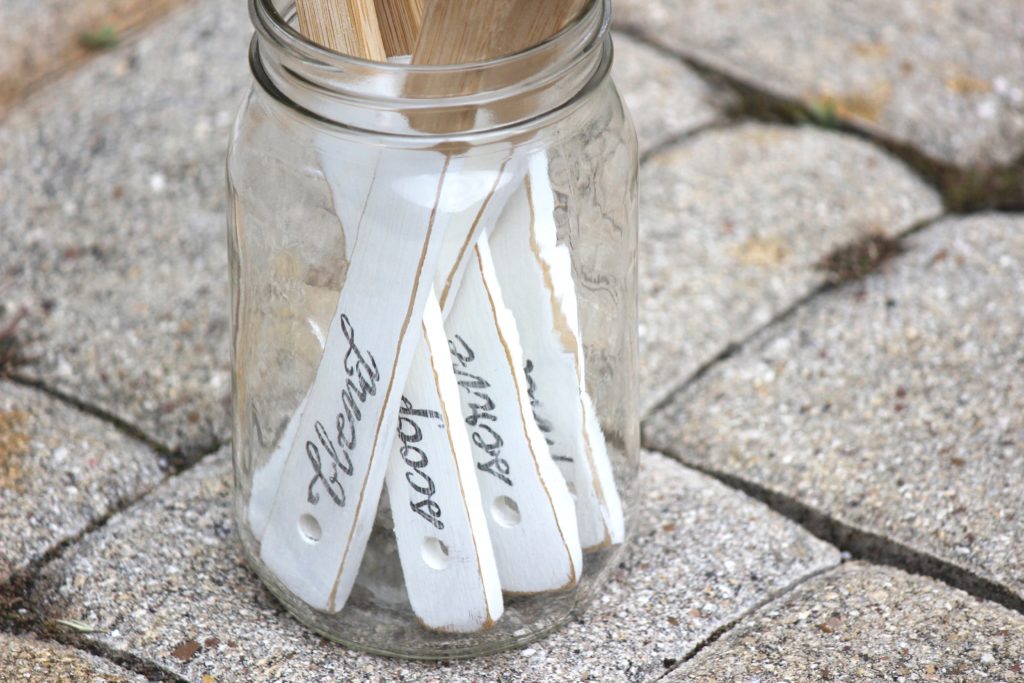
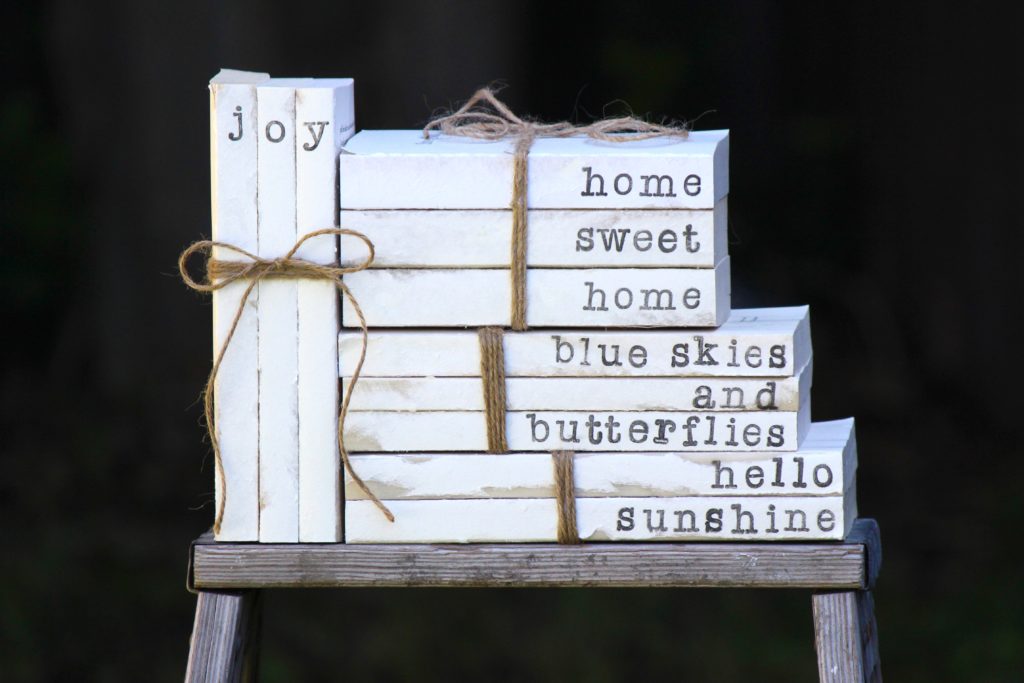
Looking for more stamping tutorials? Check out these awesome tutorials!
Hand Stamped Farmhouse Coasters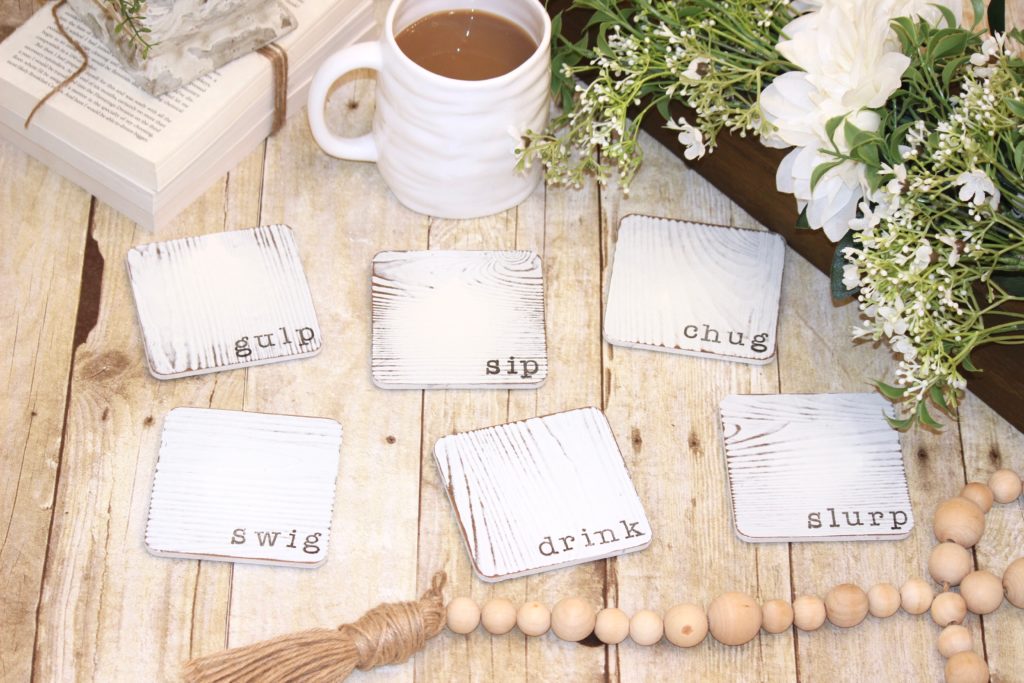
Never miss a post!

