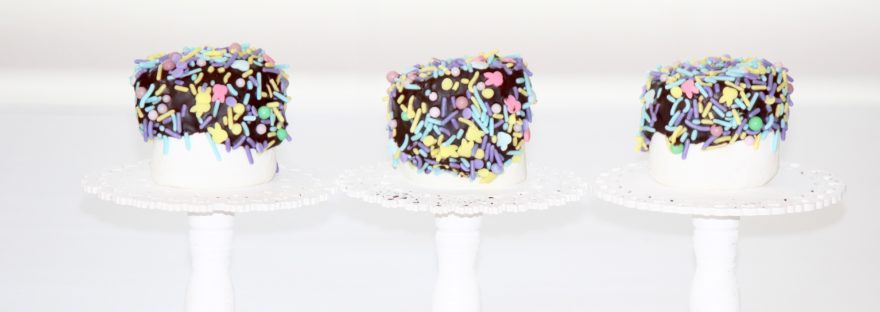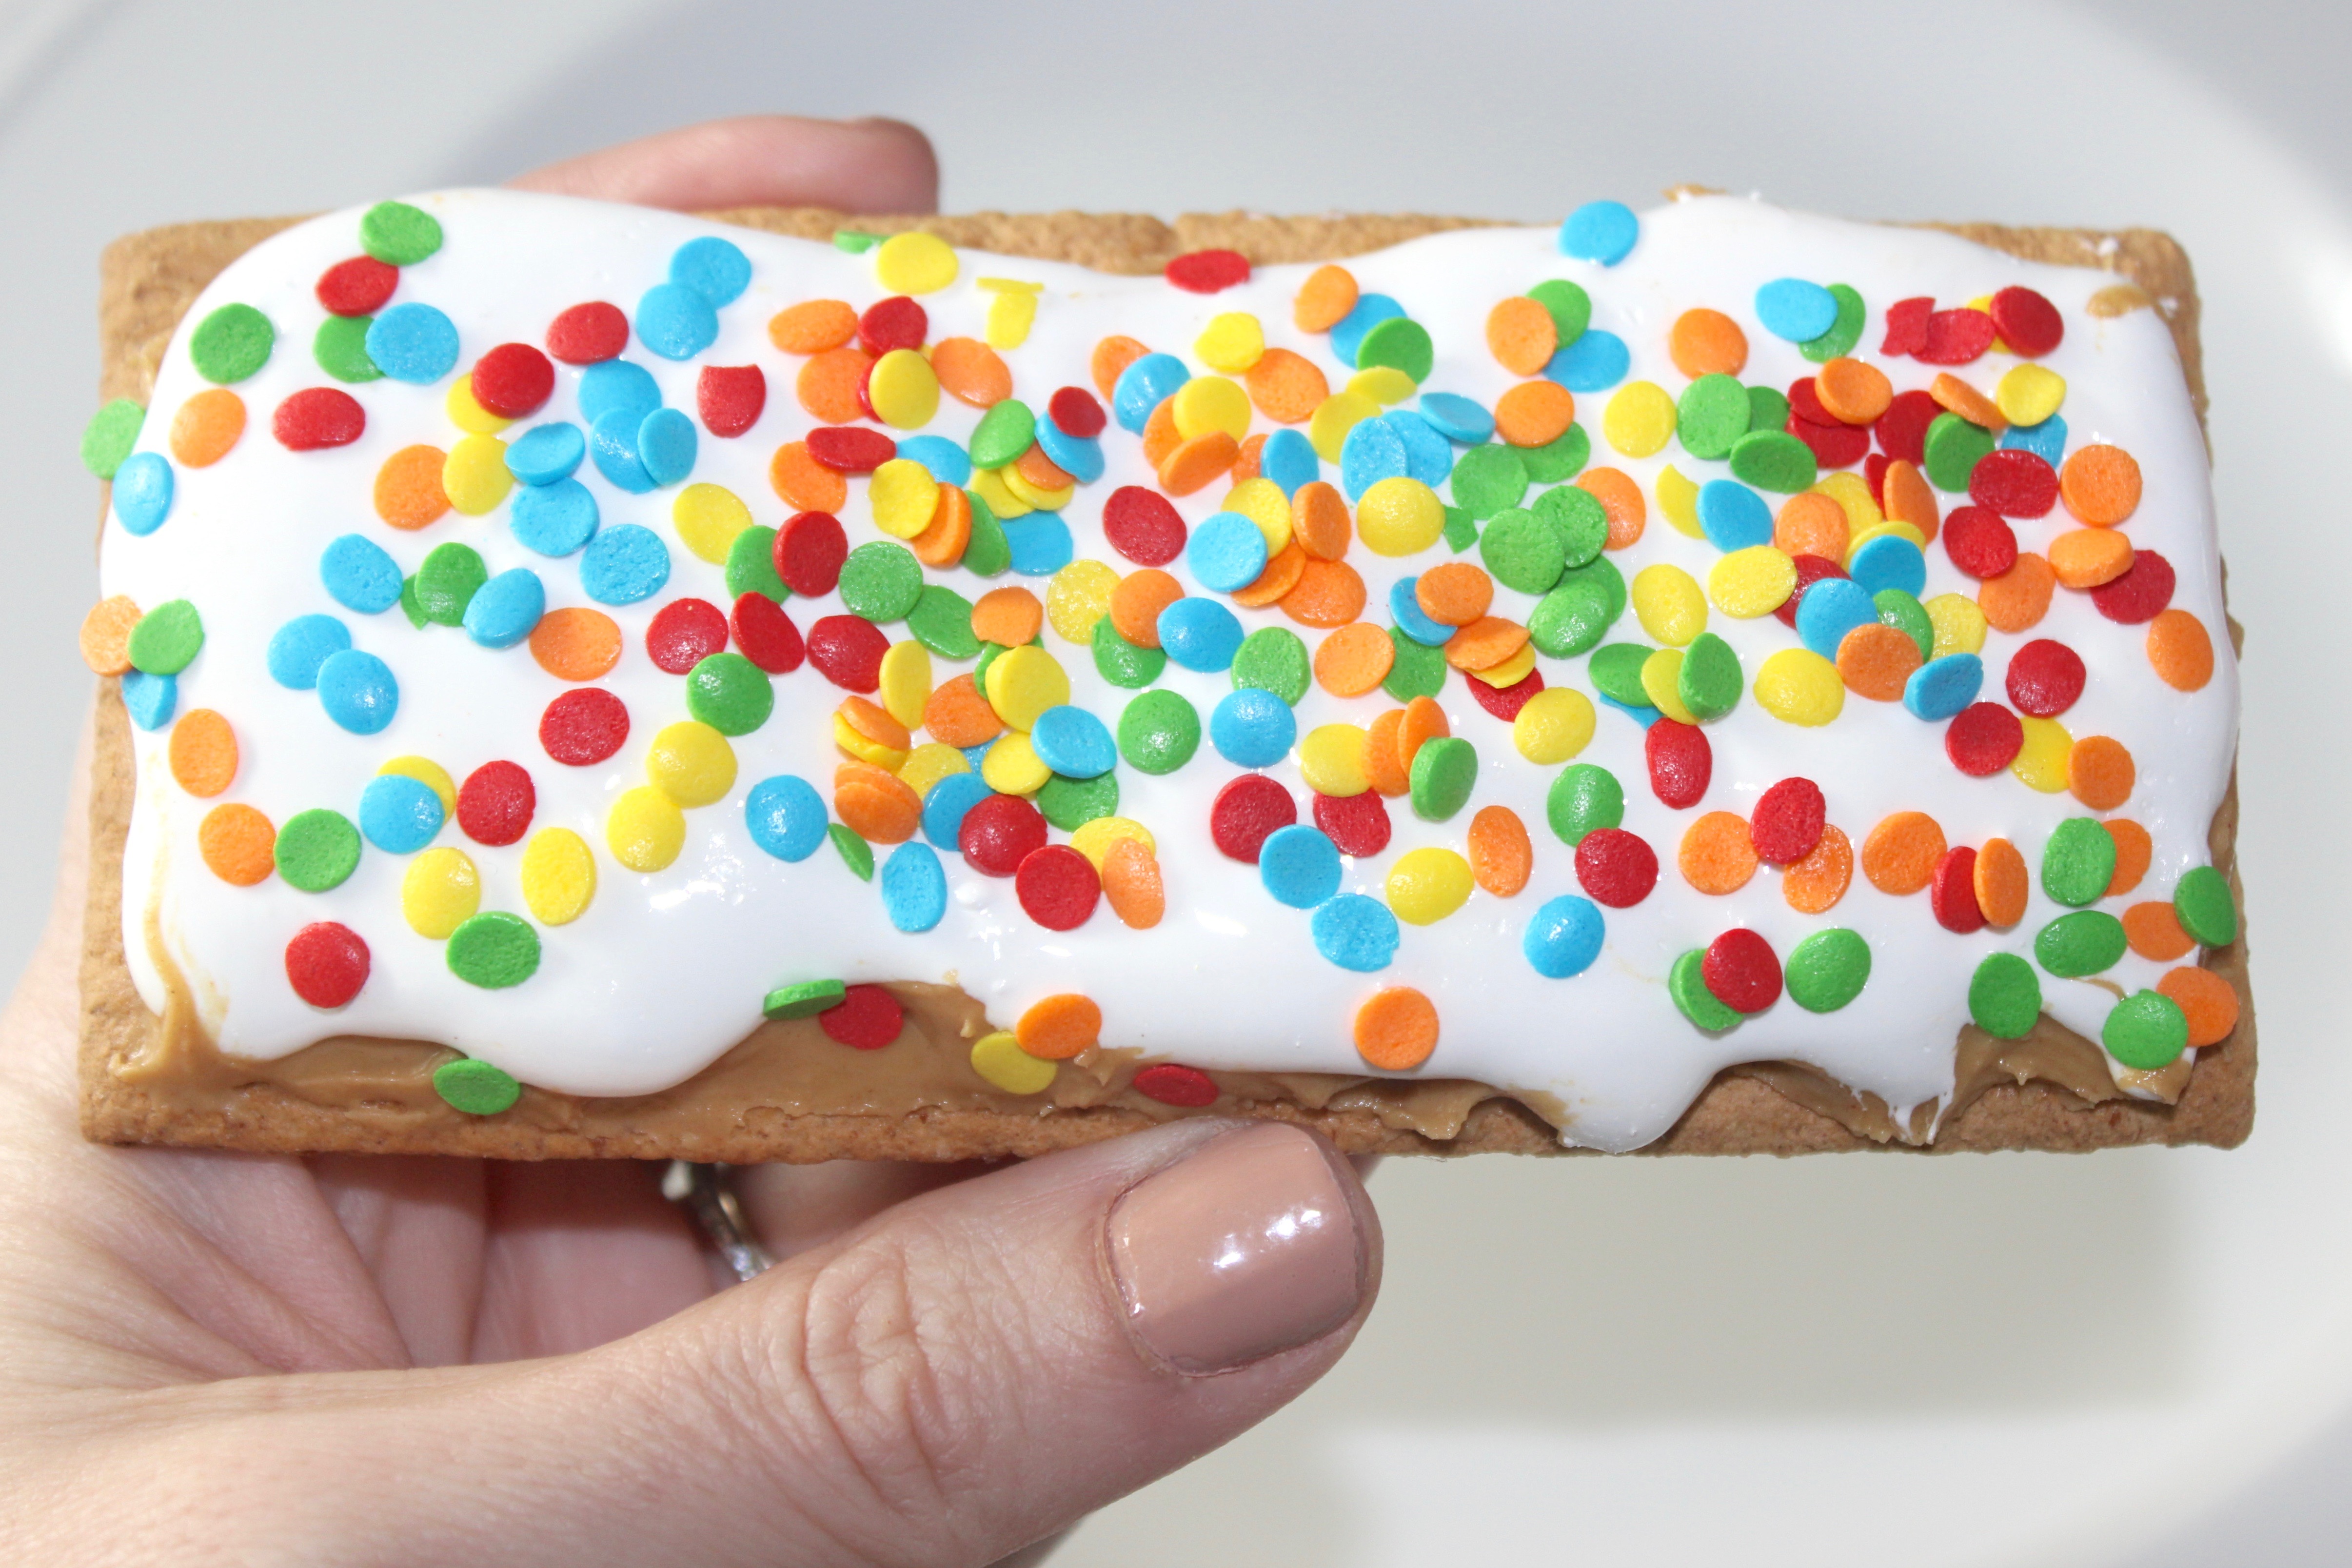
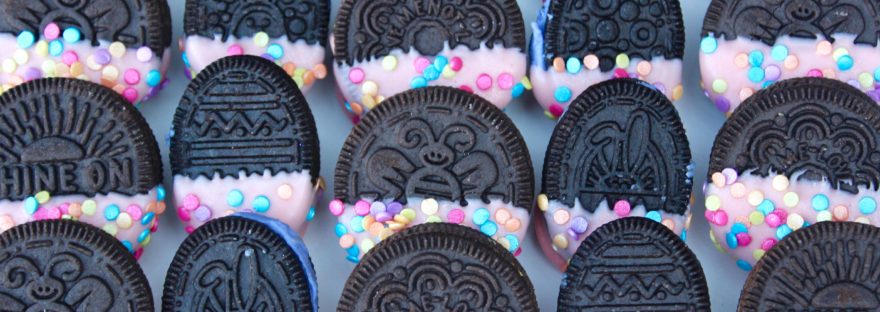
So maybe it’s obvious by now, but in case it isn’t, I have to confess that I love chocolate, and I love dipping things in chocolate. I mean, can you really blame me? A couple of days ago I shared my chocolate dipped jumbo marshmallows, and now here I am sharing chocolate dipped Oreos. I know, I’m hanging my head in shame. I apologize to you, and to all of your waistbands which will really be put to the test with all of these delicious treats. But what I’m not sorry about is how delicious these chocolate dipped Oreos are. I was honestly expecting them to just be decently good, but these aren’t just decently good. They are really, really delicious! They are actually by far the best chocolate covered “thing” I have ever made, or ever tasted!

My husband is a BIG Oreo fan. Several times a week he has Oreos and a glass of milk after dinner. He wasn’t too excited to try one of my “desecrated Oreos,” but I forced him to try one and watched as he chewed it up. A smile slowly formed across his face. “Wow…these are actually really, really good,” he exclaimed as he reached down for another one. Coming from somewhat of an Oreo Snob (and I say that in the most loving way possible) that’s a big compliment!


Disclosure: My posts may contain affiliate links. If you buy something through one of those links, you won’t pay a penny more, but I may receive a small commission, which helps me keep this blog up and running, and partially supports my Coke Zero addiction. This includes links to amazon.com, because I am a participant in the Amazon Services LLC Associates Program.
Ingredients:
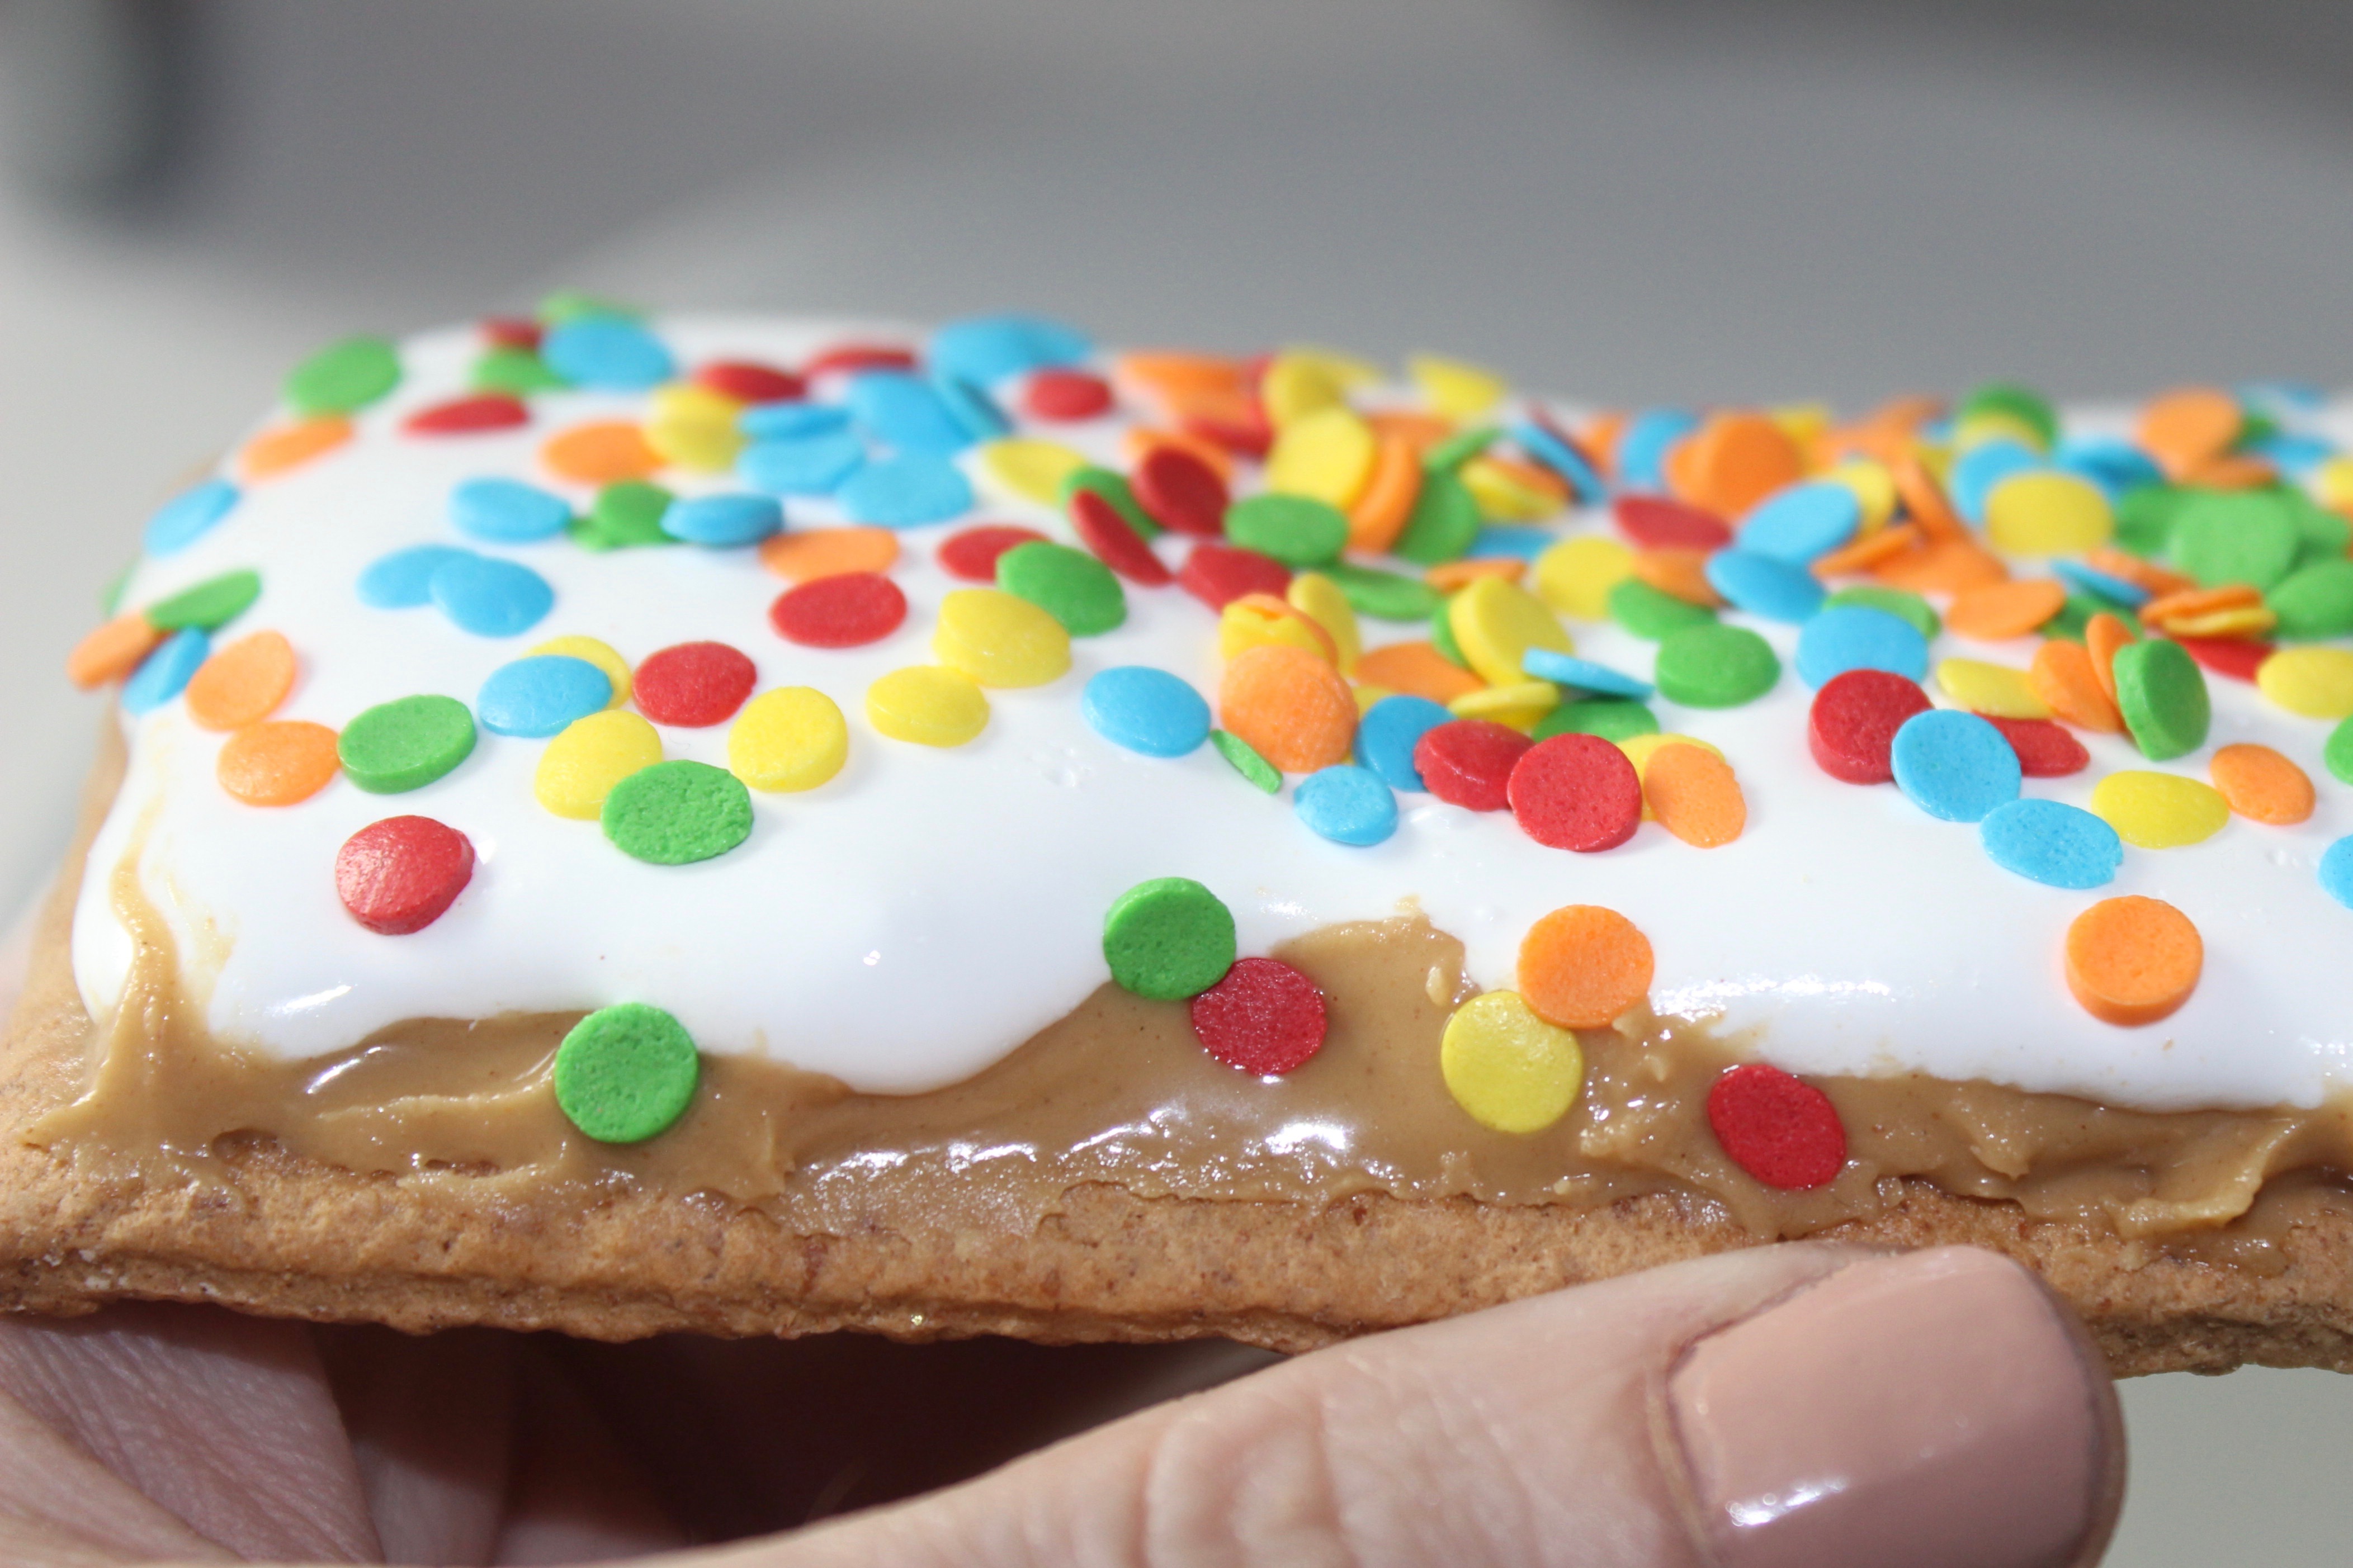
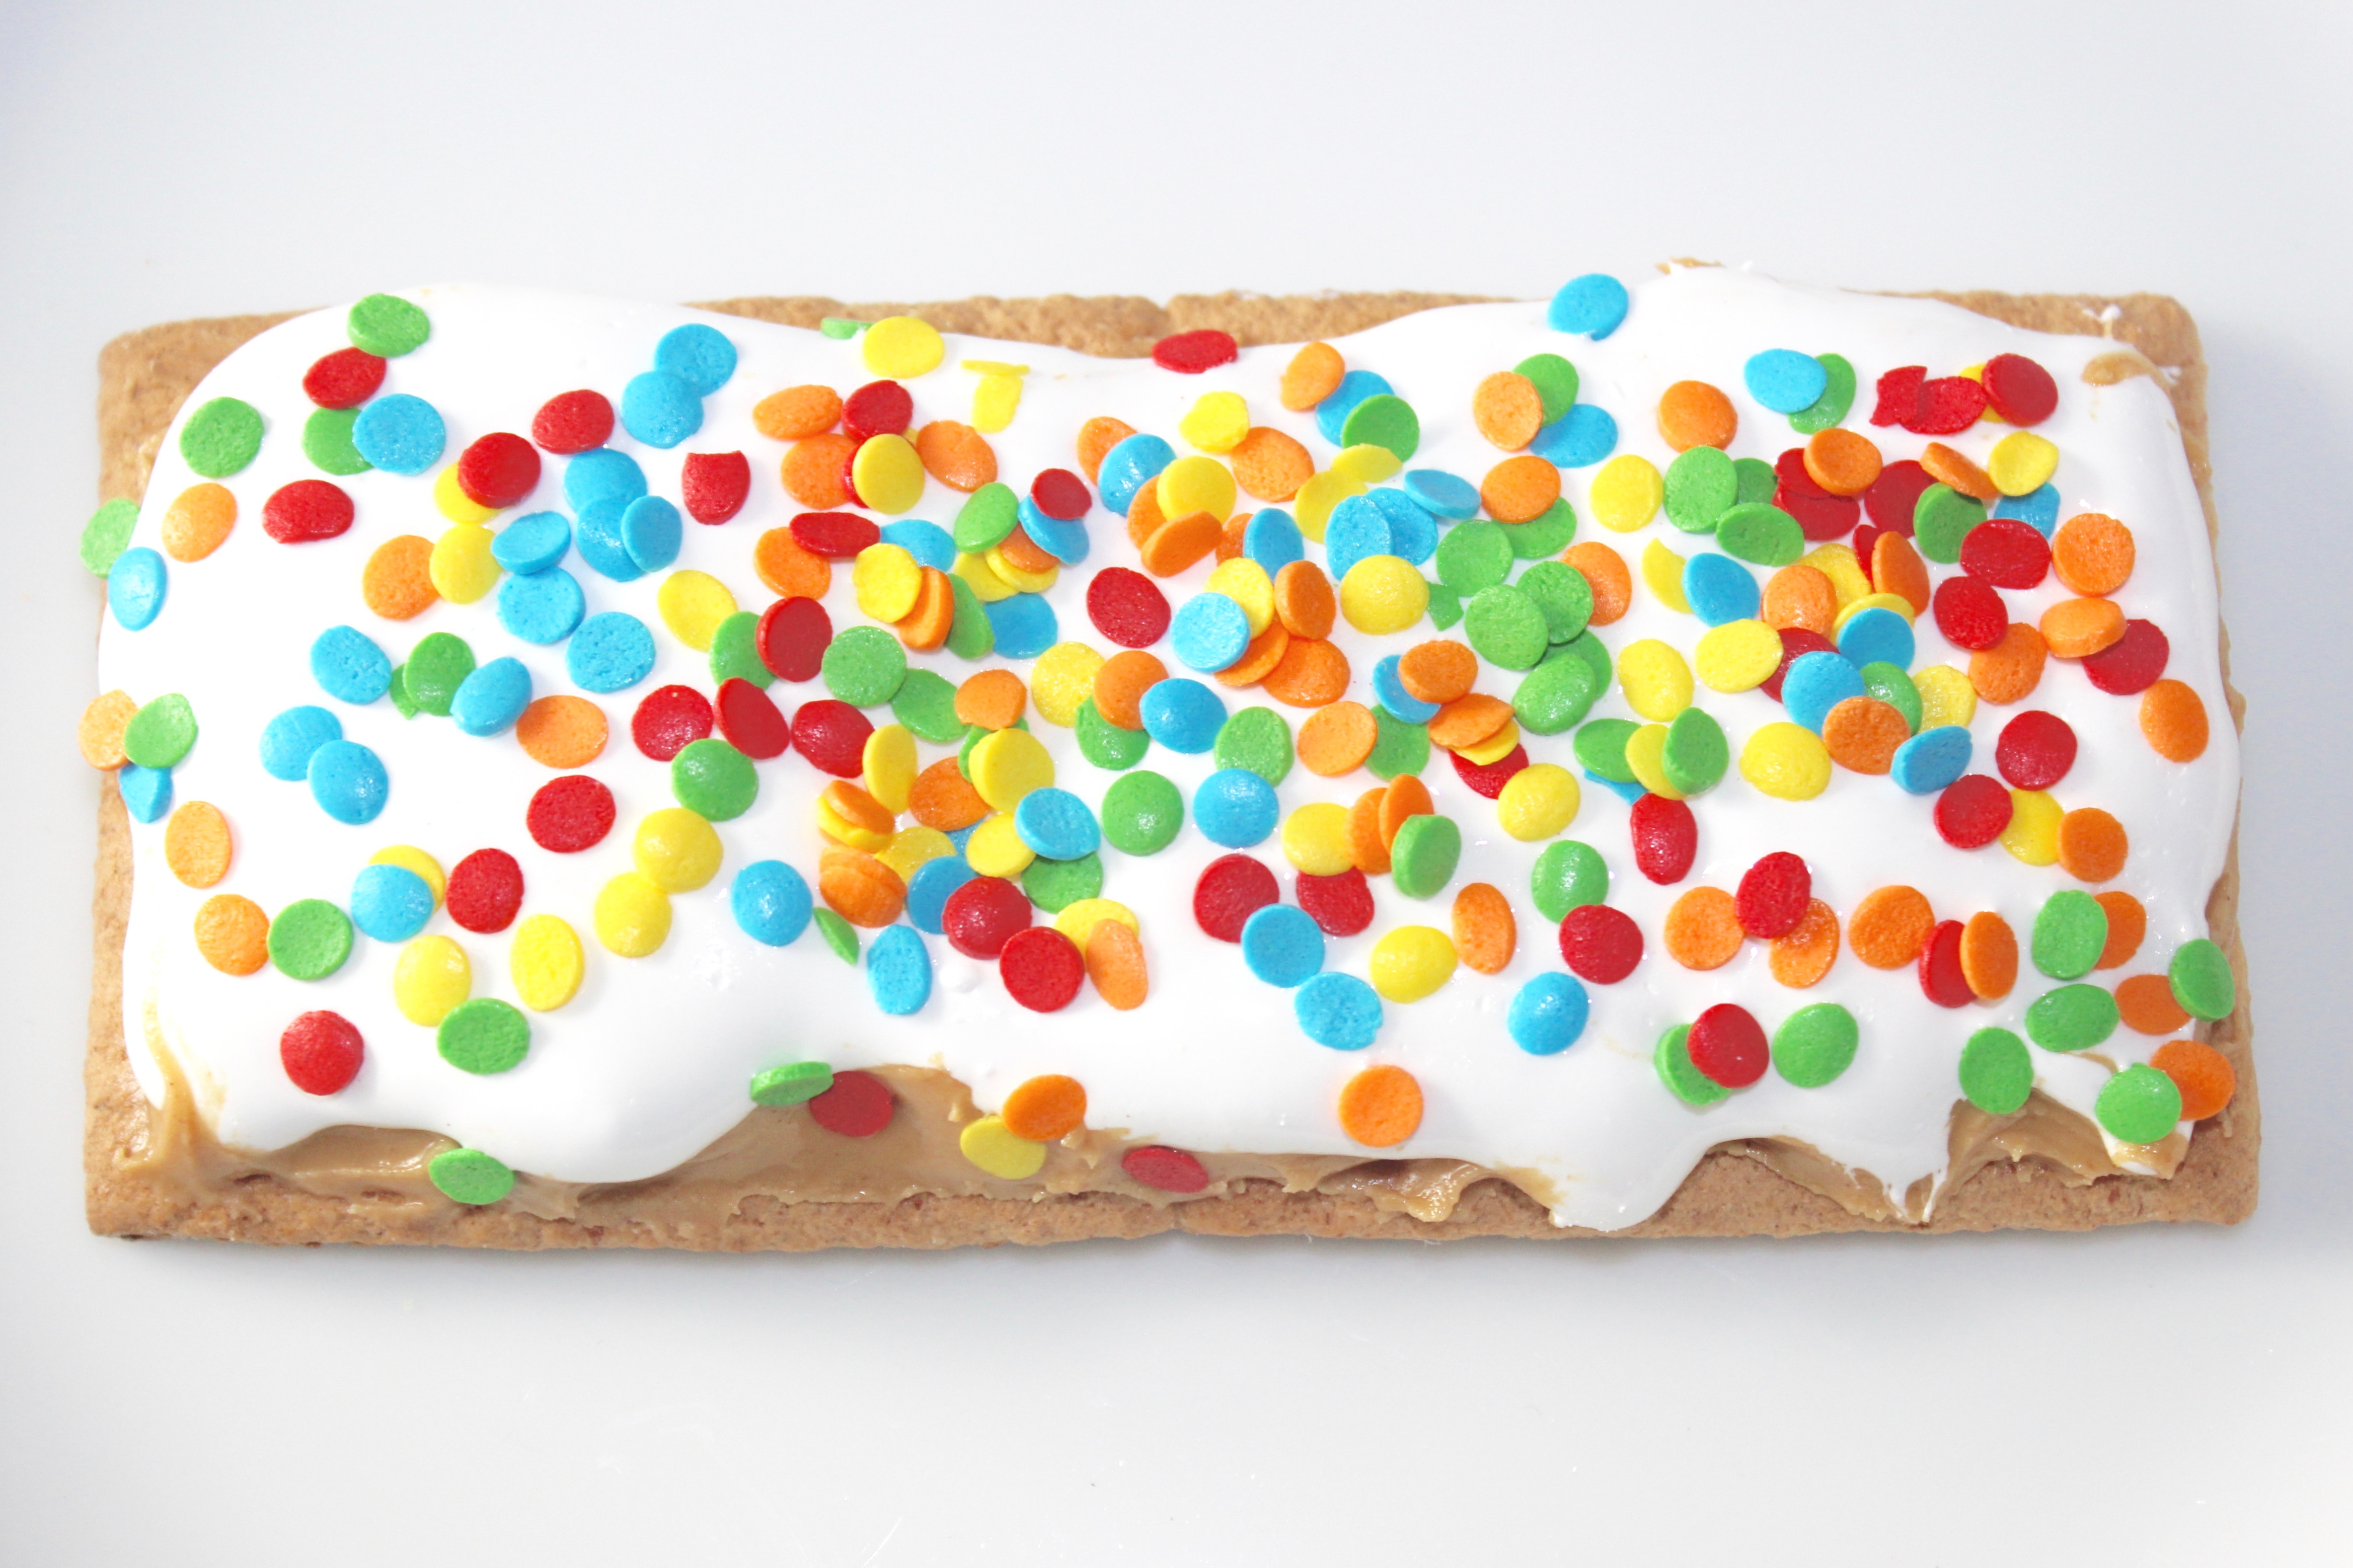
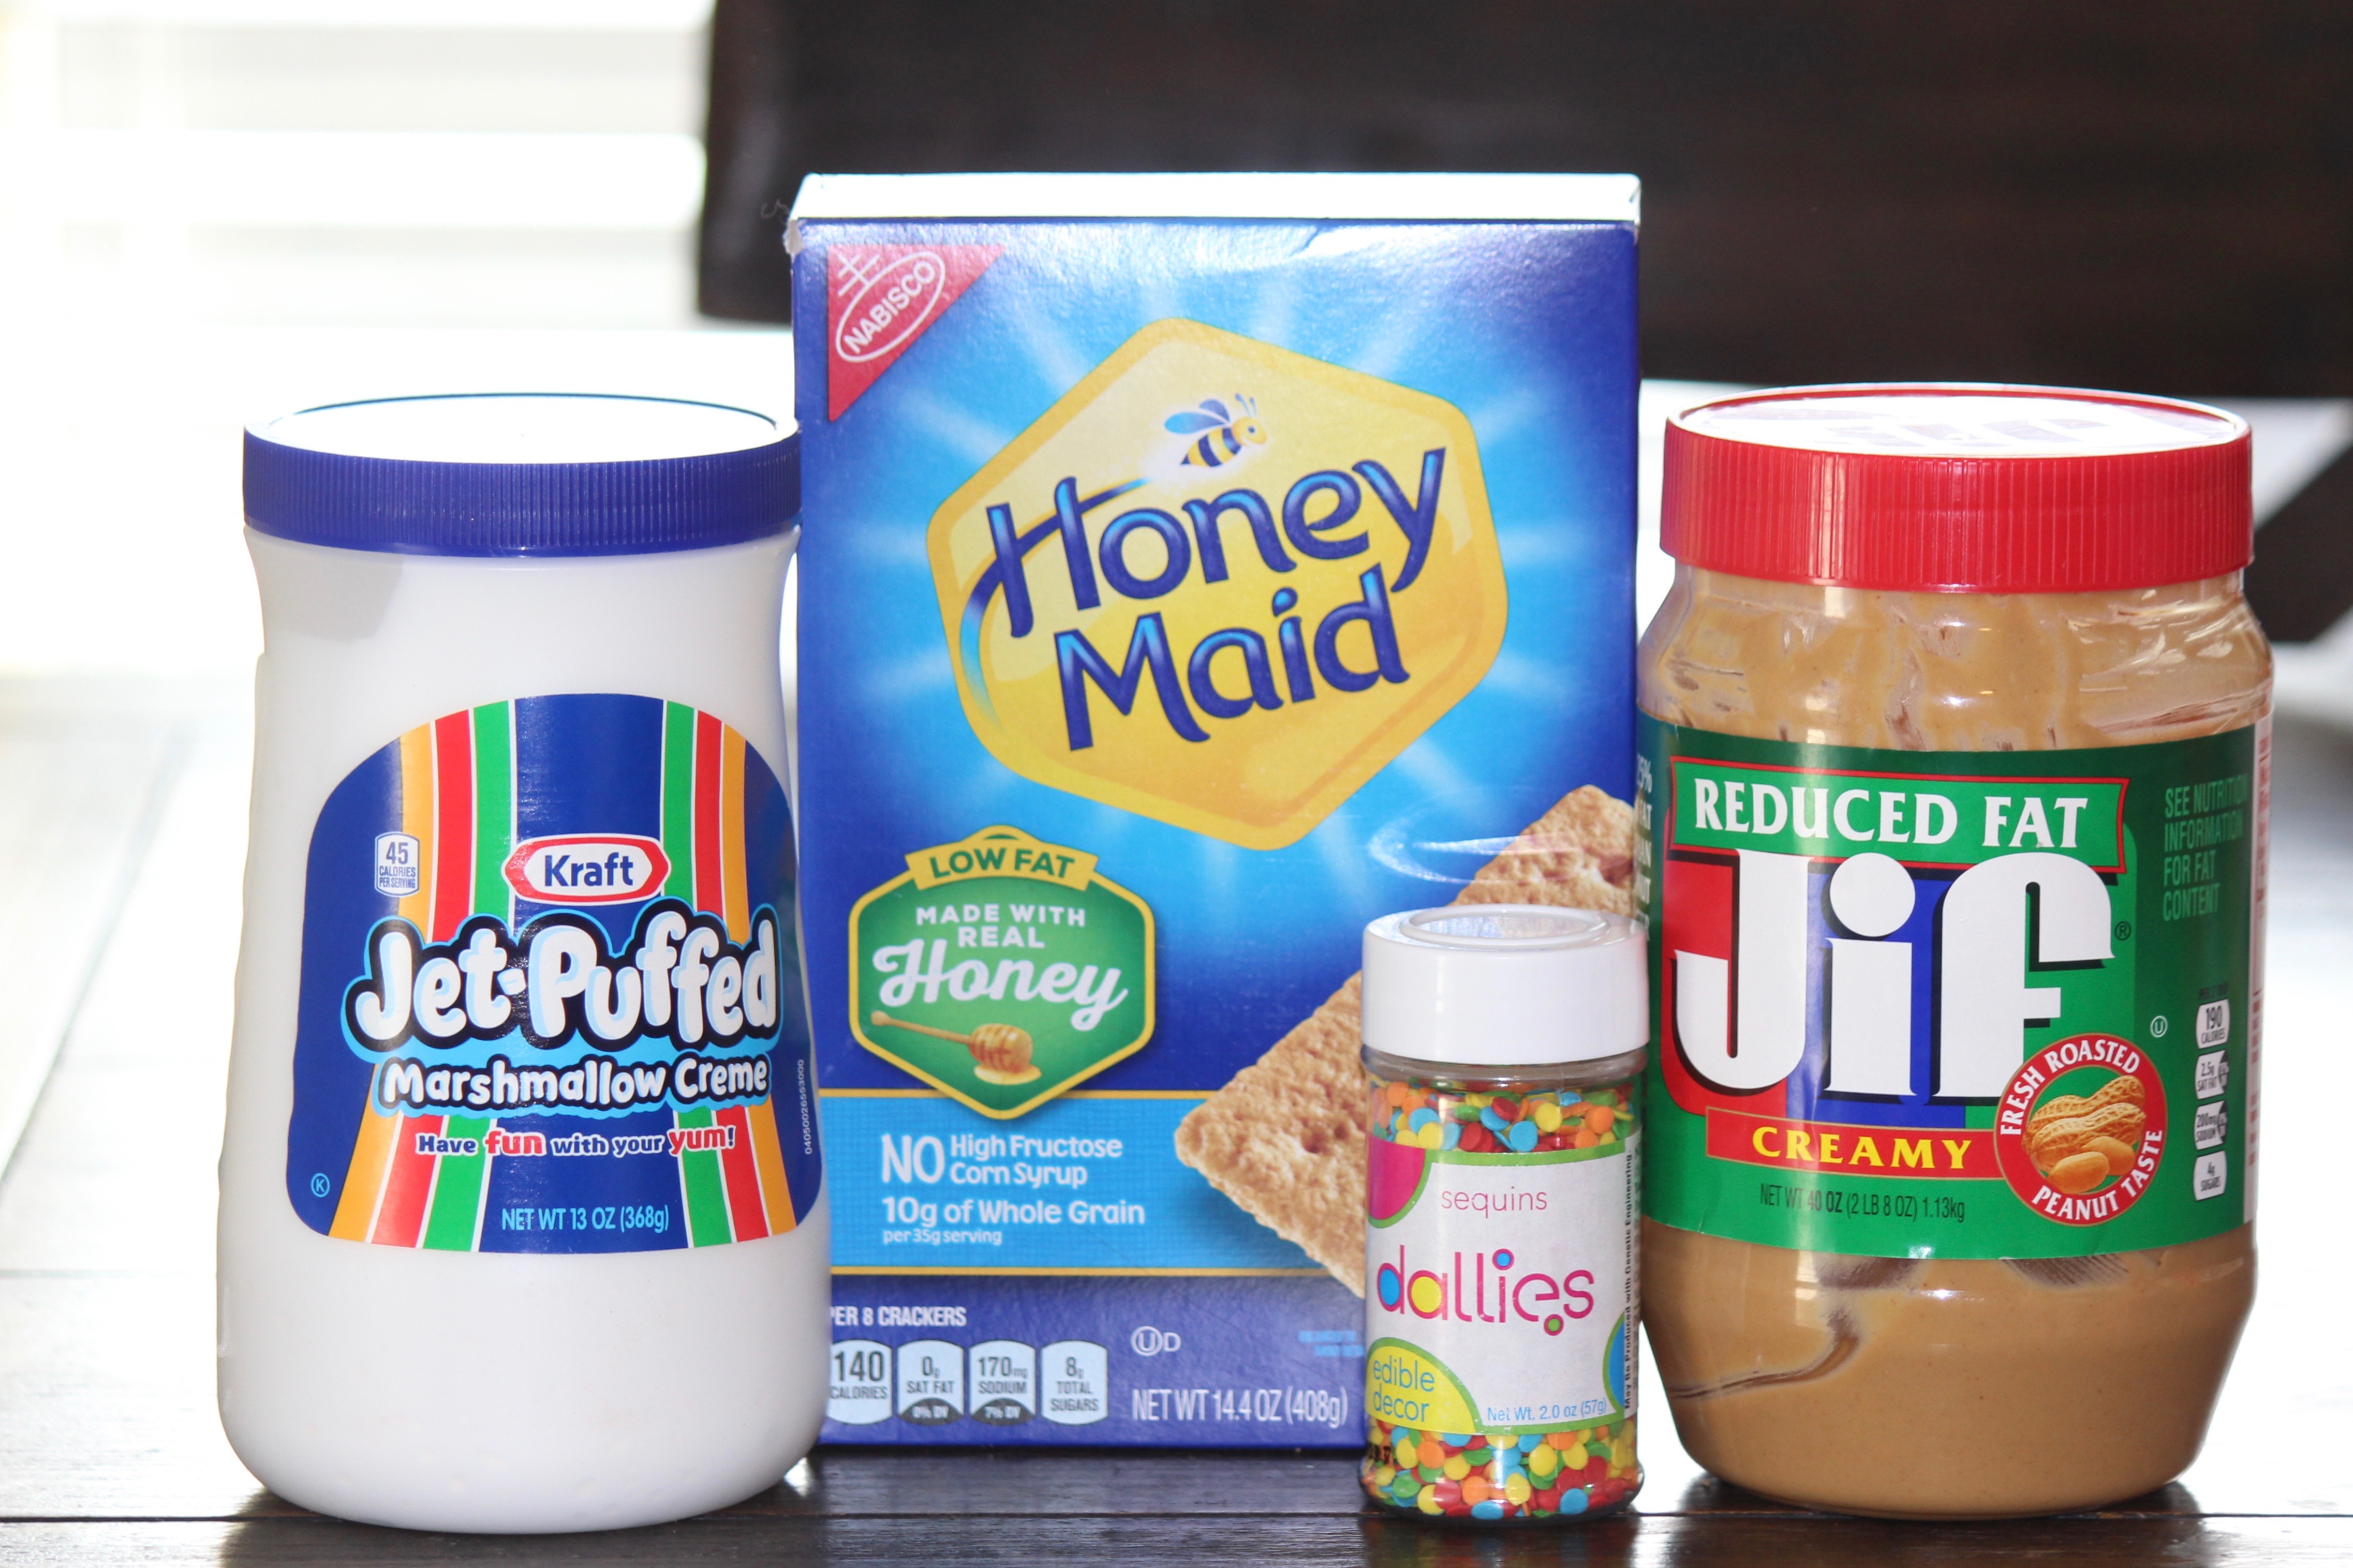
- Oreos – I found these adorable Spring and Easter Oreos at Target and just knew I had to use them, but you could use regular Oreos, and I promise they’ll still be just as delicious!
- Candy Wafers – I used these ones from Hobby Lobby
- Sprinkles – click here to get the ones I used.
- Wax Paper

Directions:
- lay out a piece of wax paper on your counter/table
- melt the candy wafers, and stir until the chocolate is smooth
- dip the Oreos halfway into the chocolate. If the Oreos have a cute design on them, be cognizant of how you’re holding the Oreo when you dip it so that you don’t cover up the design
- hold the chocolate dipped Oreos over a bowl while decorating with sprinkles
- set the Oreos on the wax paper. If you used the spring/Easter Oreos, or other Oreos with cute designs, make sure you set them on the wax paper with the cute design facing up.
- let the Oreos sit out until the chocolate has hardened
- once the chocolate has hardened, store them in an airtight container to keep the Oreos from getting stale.


I gave some of these goodies to one of my best friends for her birthday, and I got a text later that night after she had tried one saying, “These Oreos are the bomb!” And guess what – she wasn’t lying. They’re the bomb! The moral of the story is that people really love these! So, make tons, gift them like crazy, and you’ll be the most adored little baker who only spent 20 minutes making the tastiest treats ever!

Never miss a post!