Crafts

Hand Stamped Farmhouse Coasters

What do you do when your water heater breaks, and you’re stuck at your house for hours while the plumber replaces it? You cry a little (because money) and you craft a lot (because distractions needed)! So here I am with my dry shampooed messy bun (we haven’t had hot water in 2 days #firstworldproblems) and craft supplies, bringing you the cutest DIY hand stamped farmhouse coasters tutorial!

I found some really cute coasters at Michaels last week for 30% off. I had already found some different ones at Hobby Lobby that were plain wood, which I was planning on painting white, so when I saw these I had to grab them! They were already painted white and distressed which saved me 2 steps! Woo hoo!

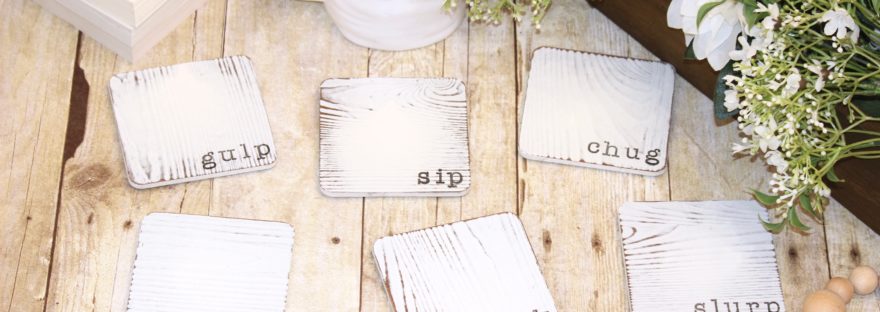
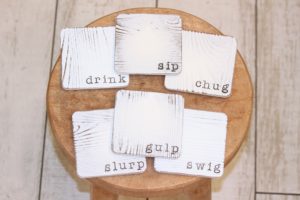
These farmhouse coasters are a super easy DIY project, and they are perfect for keeping your furniture safe while still showing off your farmhouse style.

coaster stamping supplies

Disclosure: My posts may contain affiliate links. If you buy something through one of those links, you won’t pay a penny more, but I may receive a small commission, which helps me keep this DIY blog up and running, and partially supports my Coke Zero addiction. This includes links to amazon.com, because I am a participant in the Amazon Services LLC Associates Program.

I like to provide links to both craft stores and Amazon because I know that some of you might not live close to craft stores, or you might have little ones that make it difficult to shop for craft supplies – which I TOTALLY understand! Not too long ago I had 3 little girls all under 3.5 years old! I’m not even sure how I survived that ha! Anyways, below are some links. And remember that for most items online Michaels has a “buy online, pick up in the store (same day)” option, and they also have free shipping for online orders of $49+
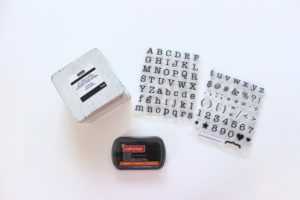
Supplies:

  • stamps – click here to get the ones I used. These are my absolute favorite alphabet stamps! They are made by Recollections, which is a Michaels brand, so you can only find them at Michaels.
  • acrylic blocks – click here to shop Michaels acrylic blocks, or click here to buy similar ones on Amazon
  • ink pad – click here to get the one I used from Michaels, or click here to get a similar one from Amazon
  • coasters – the coasters I used are no longer for sale, but you can use these coasters – and then you can just paint them white and sand them using this paint and this sand paper.
  • polyurethane spray paint – this is the one I used. I used a satin finish. I would recommend using matte or satin, and not semi-gloss or gloss. Most likely you don’t want the coasters to be shiny.
  • felt pads – I got mine from Walmart, but click here to see some similar ones I found on Amazon

Watch the video below to see how I made the coasters, or scroll down for the step by step directions.

Directions:

  1. put your stamps on the acrylic stamping block
  2. press the stamps into the ink pad, making sure the letters are fully covered in ink
  3. stamp the words onto the coasters in the desired location
  4. let the ink dry on the coasters for at least 30 minutes
  5. spray the coasters with a few coats of the polyurethane spray. You don’t want to reapply coats too close together, so make sure you follow the directions on the back of the can. 
  6. after the coasters are fully dried, put the sticky pads on the bottom of the coasters, to ensure that the coasters won’t scratch your furniture.
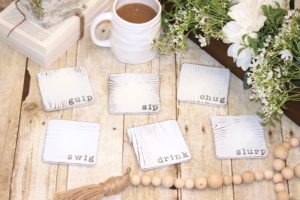
  7. enjoy your favorite beverage on your new adorable hand stamped farmhouse coasters!

hand stamped farmhouse coasters

If you are new to stamping, click here to watch our tutorial on how to clean your clear stamps.

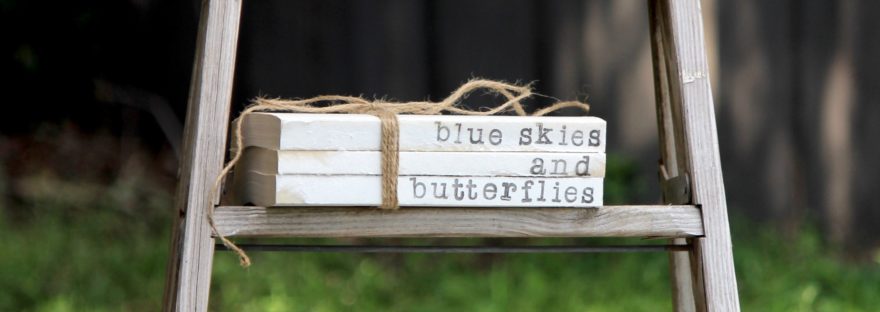
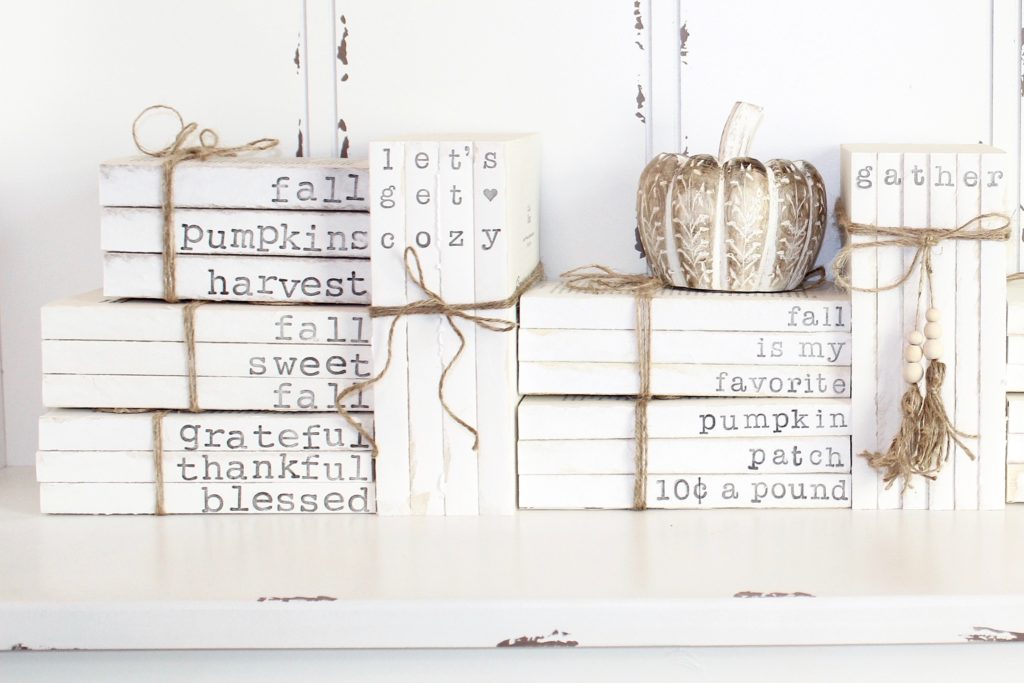
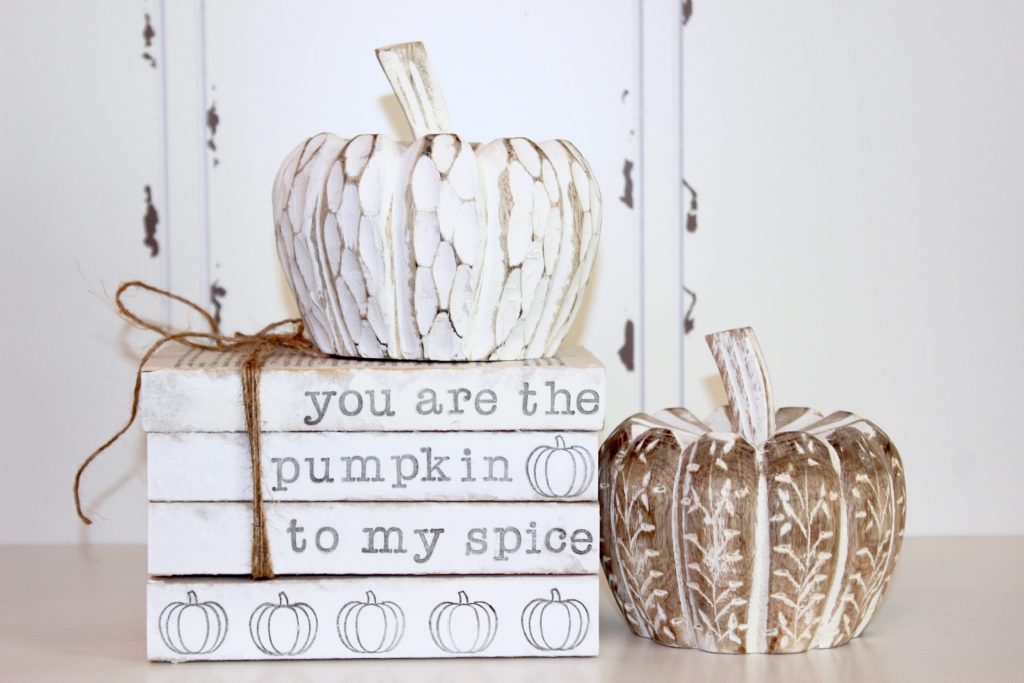
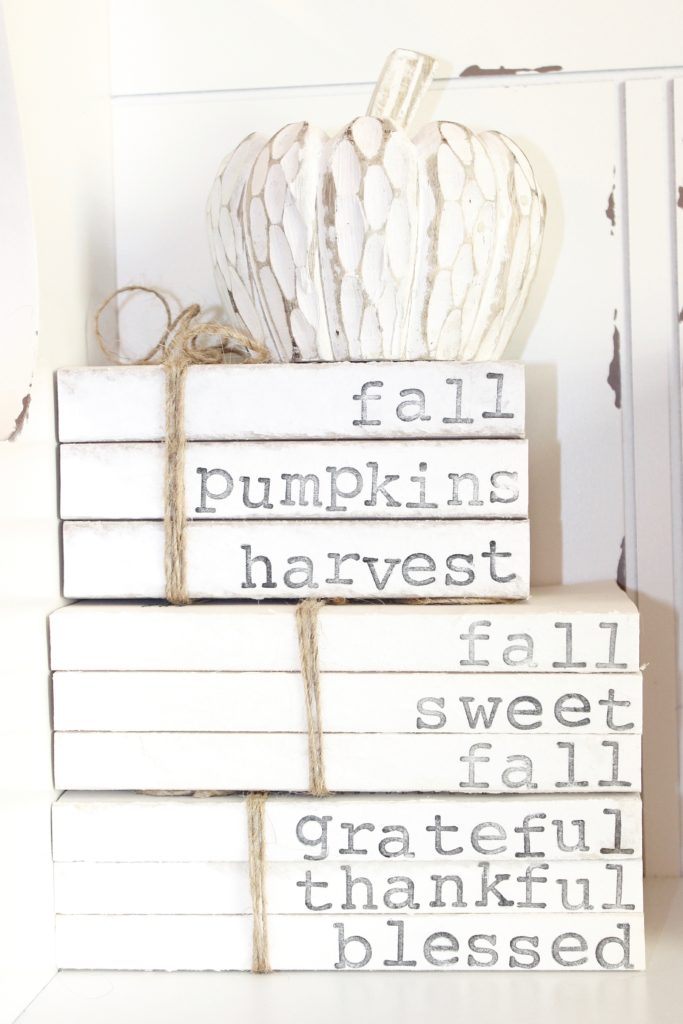
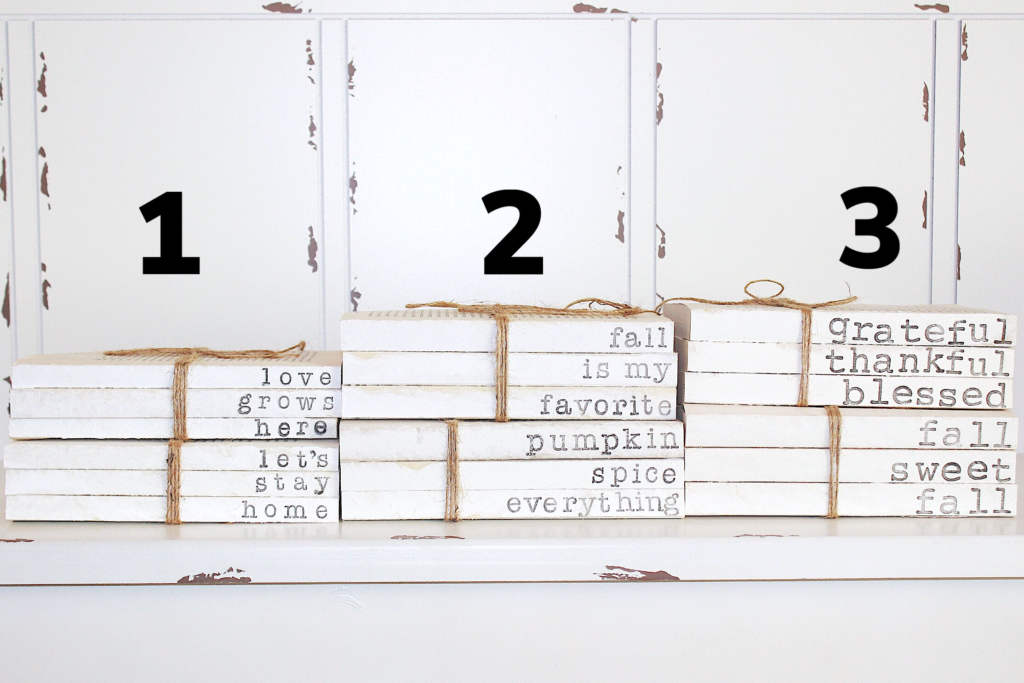
We also have some other fun stamping tutorials, including our popular DIY Hand Stamped Book Stack tutorial

hand stamped book stack

Never miss a post!

Crafts

Hand Stamped Book Stack

Hand stamped book stacks are probably my favorite craft of all time, and they are perfect for all of you farmhouse lovers! You guys – I have a book stack in just about every room of our house. It’s getting a little out of control really…but can you blame me? They’re so cute! And the best part is, they are so cheap and so easy to make, and you can make new ones for each season/holiday. It just doesn’t get any better than that!

Disclosure: My posts may contain affiliate links. If you buy something through one of those links, you won’t pay a penny more, but I may receive a small commission, which helps me keep this blog up and running, and partially supports my Coke Zero addiction. This includes links to amazon.com, because I am a participant in the Amazon Services LLC Associates Program.

Supplies:

  • paperback books measuring the same size – the number of books you need depends on the words/quote you want to put on them. I have made stacks ranging from 2-5 books. I get my books from Dollar Tree for only $1!
  • stamps – I’ve listed a few different options of alphabet stamps because my favorite stamps are often sold out online. Check out the options below!
    • click here to get the ones I used from Michaels. These are my favorite stamps, and I have used them for SO many craft projects!
    • click here for another set of great alphabet stamps from Michaels. This is a set of rubber stamps (not clear stamps like the ones I used in the video), and therefore you do NOT need the acrylic blocks if you buy these. The rubber stamps work great, and I have used them myself for book stacks too! They are a little bigger than the other stamps which gives them a really cool look, and make them easier to read. The only word of advice I have with using the rubber block stamps is to clean off the rubber area around the letter after you press the stamp into the ink pad. Otherwise, ink will be all over the entire rubber area and when you stamp it, it will leave ink spots around the letters. I just use a makeup remover wipe to wipe away excess ink from the rubber area before stamping the letters.
    • Click here to get some cute clear alphabet stamps from Amazon. These are very similar to my favorite set from Michaels, however they are just a little bit smaller in size.
      CHECK OUT THE PICTURES AT THE BOTTOM OF THE PAGE TO SEE A SIZE COMPARISON OF ALL 3 OF THESE STAMP SETS!
  • ink pad – click here to see the one I used from Michaels, or click here to get a similar one from Amazon.
  • acrylic block (if using the clear stamps) – click here to shop Michaels acrylic blocks, or click here to buy similar ones from Amazon.
  • twine – click here to shop Michaels twine, or click here to shop twine on Amazon
  • scissors

Here is the quick DYI video:

Instructions:

  • peel the covers off of the books
  • find the book that you want to be on top (I always choose one that has a good/appropriate top page)
  • put your clear stamps on your acrylic block
  • press the stamps (on the acrylic block) into the ink pad, making sure the stamps are fully covered in ink
  • press the inked stamps onto the books – if a letter doesn’t show up as well as you’d like, just re-ink the stamp and try again. You can’t mess this up! If you re-stamp it and it’s a little “off” don’t worry about it – it adds character!
  • after you’ve stamped all the books, wrap twine around the book stack, and tie the twine in a bow

See? I told you it was easy! I can’t wait to hear about all of the book stacks that you make! But before you start crafting, look below to see part of my collection. Okay, it isn’t even half of my collection, but maybe seeing some of these will give you some ideas for what kind of book stacks you want to make! And you’ll notice the special best mom ever book stack below that I’m giving to my mom for Mother’s Day. I think she’s going to love it, and she is the best mom ever so she deserves to have this book stack displayed in her house like a prized trophy!

The perfect gift for your awesome mom!

I love Family Stacks! They are perfect to set in your living room, and they also make perfect gifts. And don’t forget about those grandma’s and great-grandma’s that would probably love a book stack with their grandchildren/great-grandchildren’s names on them.

Birth announcement book stacks are the perfect keepsake, whether it’s for your little one, or your bestie’s.

Don’t forget that you can make vertical book stacks too, like my joy book stack above! The sky is really the limit with book stacks!

The book stacks on the left were made using the rubber stamp set, and the rest of the book stacks were made using the clear stamp set from Michaels.

This pumpkin stamp is perfect for all of your fall/pumpkin book stacks! I used the smaller pumpkin stamp from this stamp set.

Here is a close up of the book stacks made using the rubber stamp set.

Here is a side by side comparison of all 3 stamp options (shown from smallest to biggest in size), and they are linked below according to the numbers.
#1 stamps#2 stamps#3 stamps

I can’t wait to see all of the book stacks that you are going to make! Make sure you tag me on Instagram @shescraftyandsheknowsit with your masterpieces! I always love to see what all of you come up with!

Never miss a post!