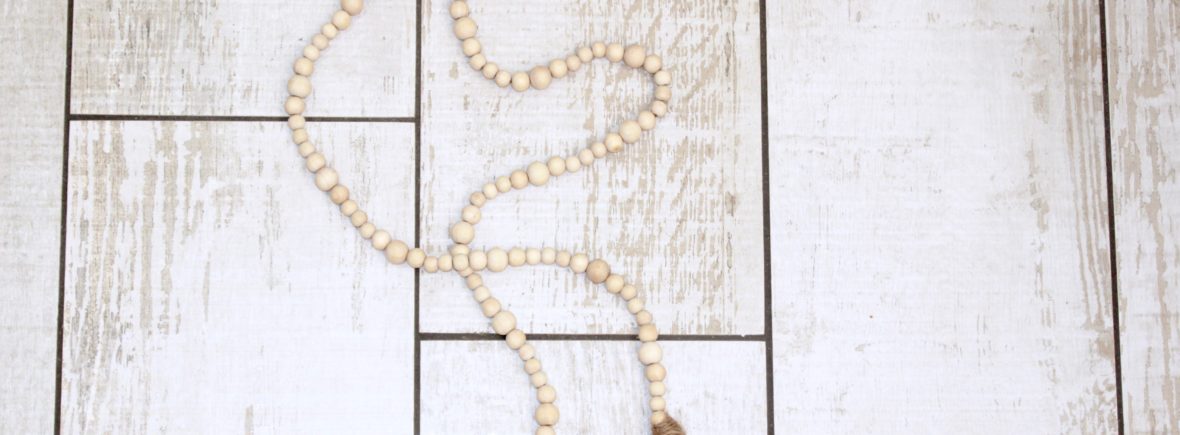
I absolutely love bead garlands! I’d put them all over my house if I could. The only problem is that sometimes they seem a little pricey – especially for the ones I want, with the cute tassels. So, here is a simple tutorial for a DIY bead garland.
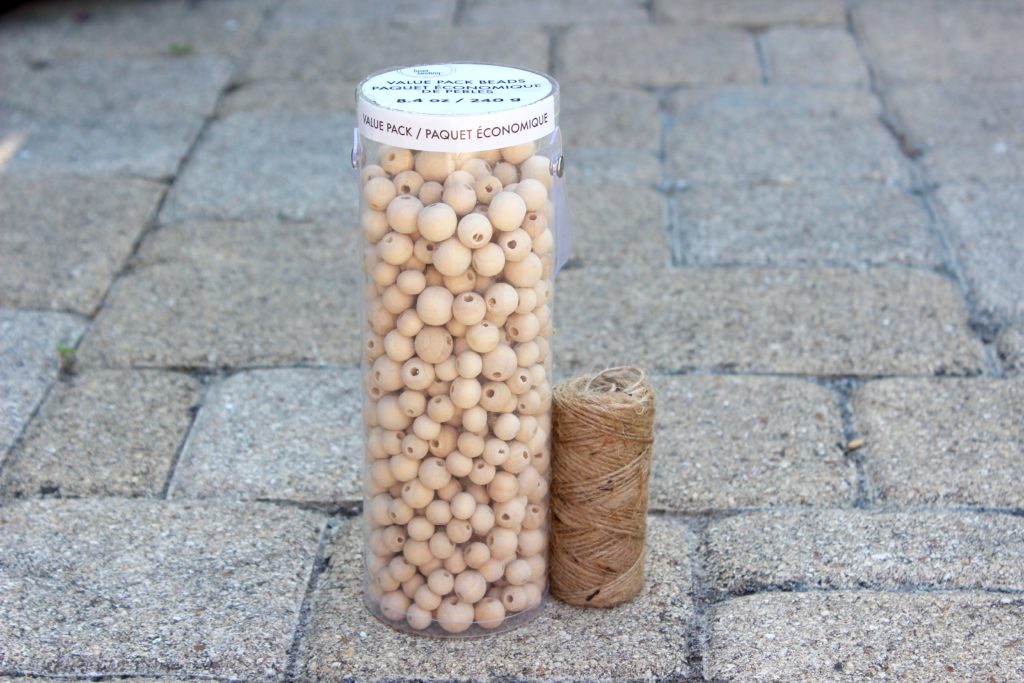
Supplies:
- wooden beads – I used these beads from Michaels, but these beads from Amazon would work too.
- twine – click here to shop Michaels twine, or click here to shop twine on Amazon
Instructions:
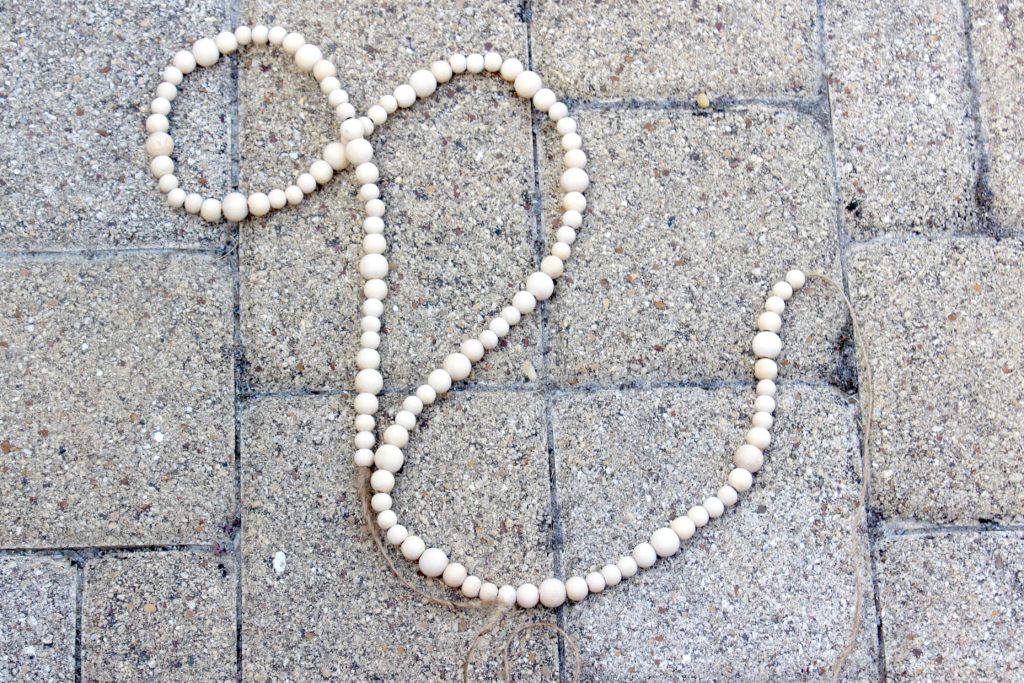
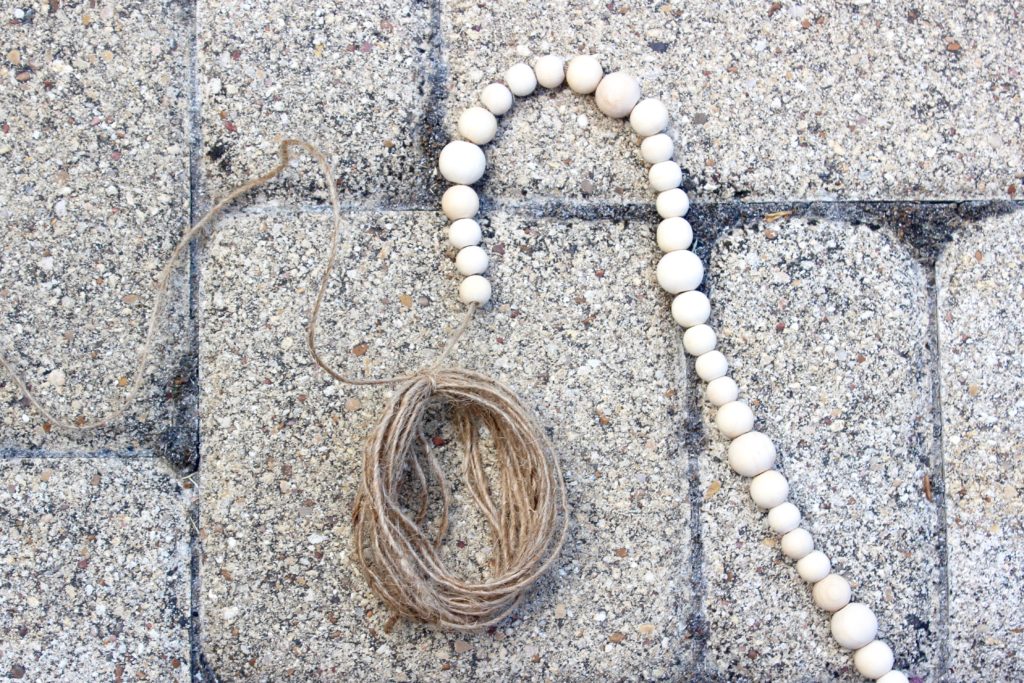
1. String the beads on the twine. I made my garland 46″ long (before the tassels). I’m not gonna lie, I just strung the beads on the twine until the length looked right to me. You can make yours any length! Make sure you cut your twine plenty long, because you will need about an extra 10-12″ at each end of the garland for attaching the tassels. (Please ignore the not so pretty background, and the bad lighting, in most of these pictures. I made this garland on our patio – in full sun – while our girls played in the backyard.)
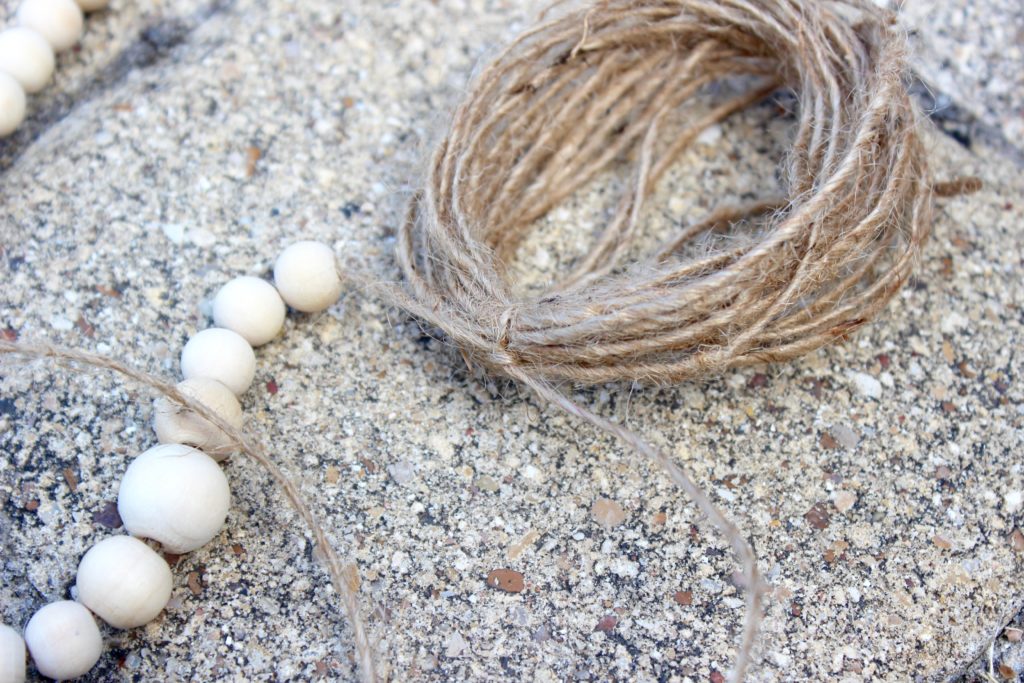
2. Now that you’ve strung beads on the twine to your desired length, it’s time to make your tassels. To make the tassels, wrap twine around the palm of your hand 20 times. Now use the twine at the end of the bead garland to tie a knot around the loops of twine.
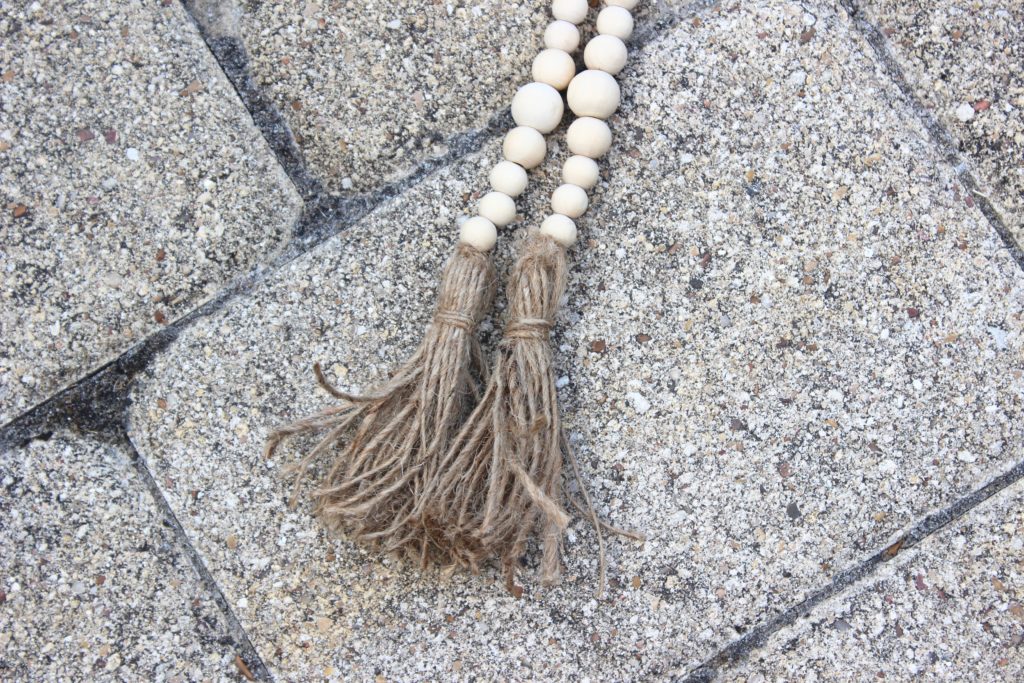
3. Tie a knot around the loops of twine, about one inch down from where it’s attached to the bead garland.

4. Cut the ends of the loops so that your tassels have cute little tassel fringe!
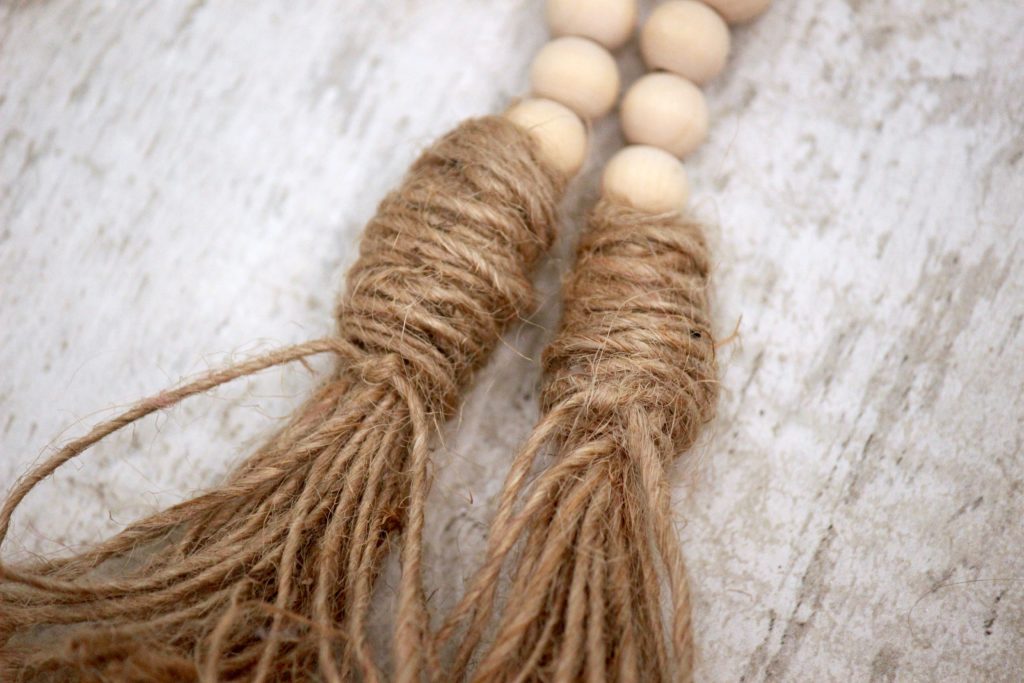
5. You can leave the tassels the way they are, but I decided to wrap more twine around the top part of the tassels. If you want to do this too, start wrapping twine around the tassel, covering up where the knot is already tied (one inch down from the top of the tassel). Start at the knotted area and wrap twine around the tassel, moving upwards to the top of the tassel. Then continue wrapping the twine around the tassel moving back toward where you started. When you get back to your starting point, tie a knot.
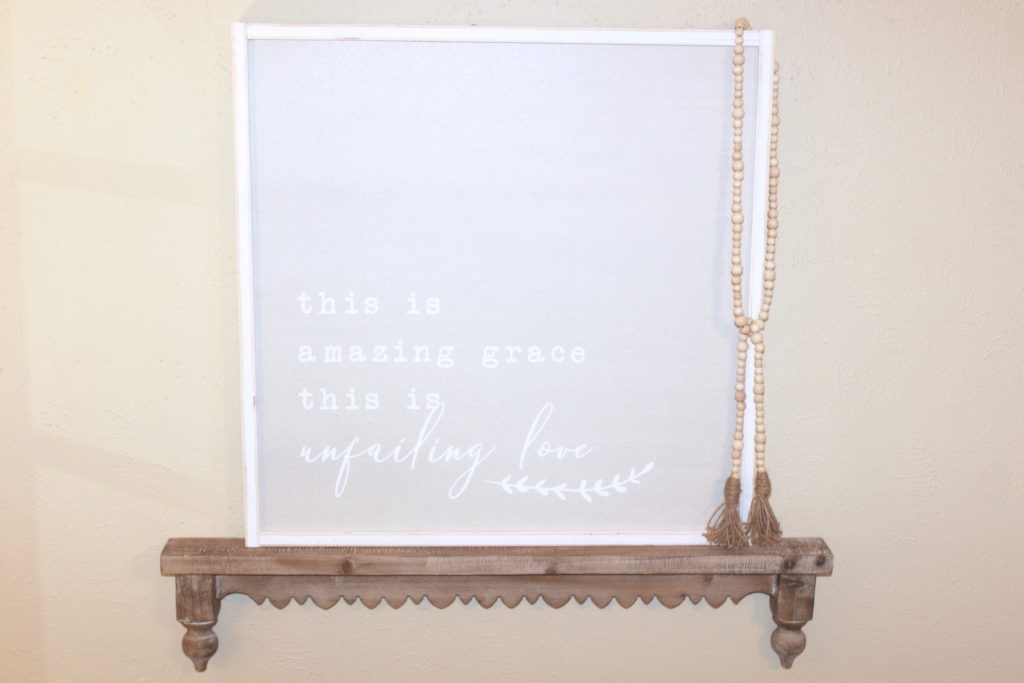
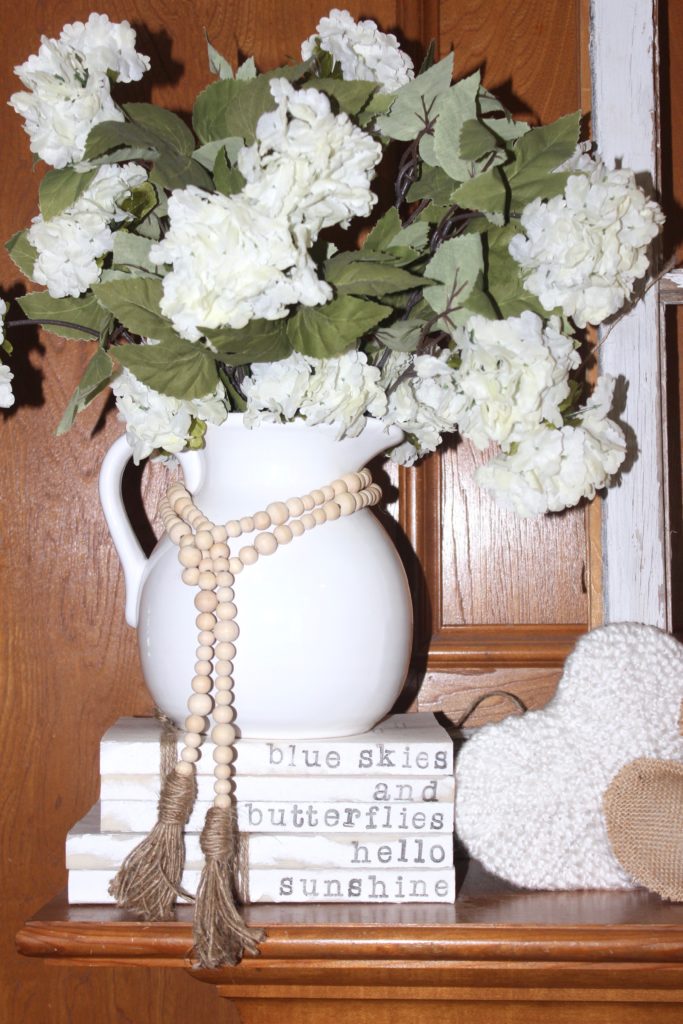
6. That’s it! Now hang your adorable bead garland wherever you want!

Never miss a post!
Check out some of my most popular craft tutorials:
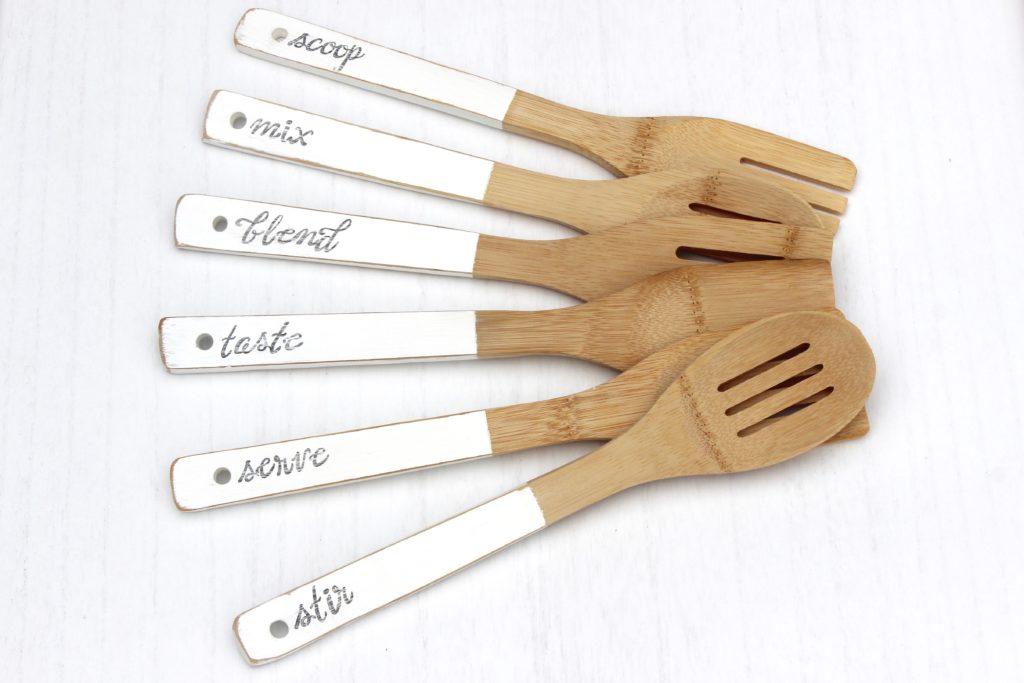
Stamped Wooden Kitchen Utensils