
I’m so excited to share this tutorial with you! These turned out so cute, I can hardly stand it!
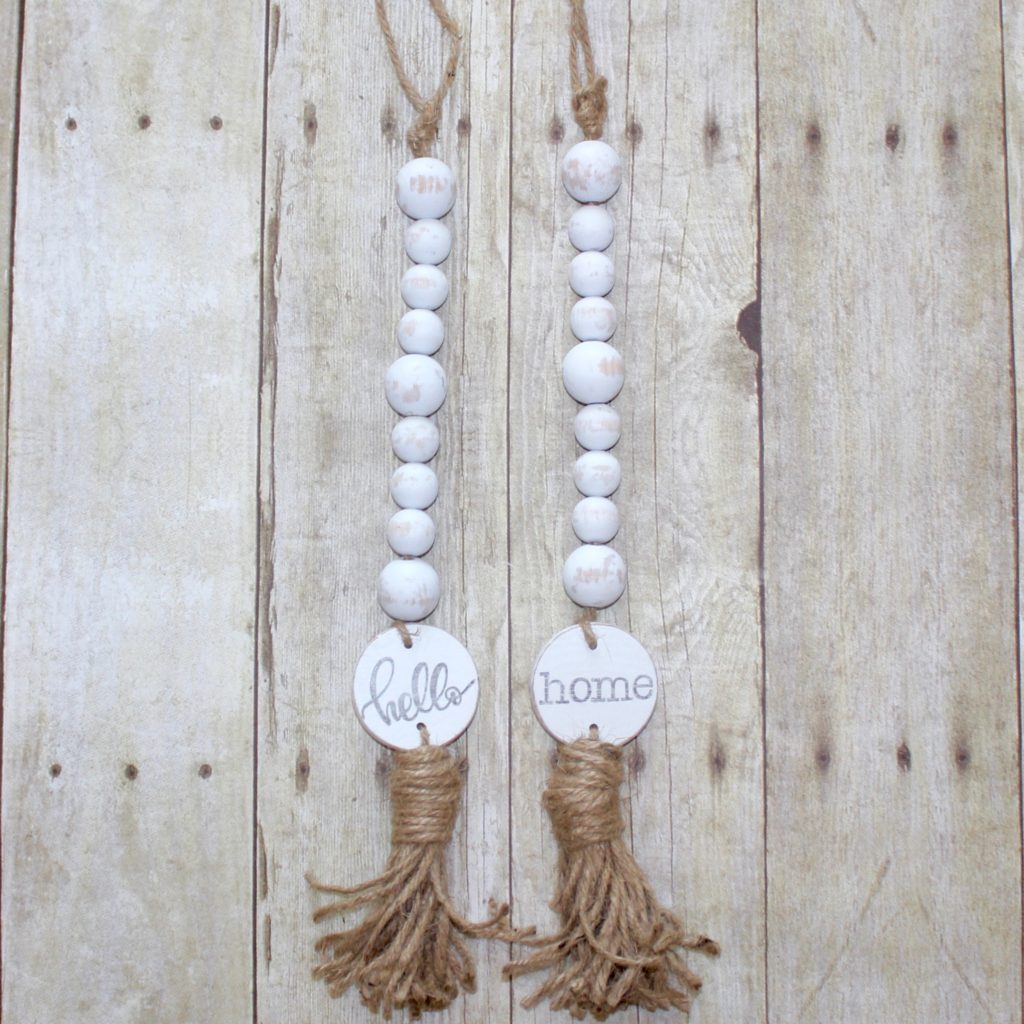

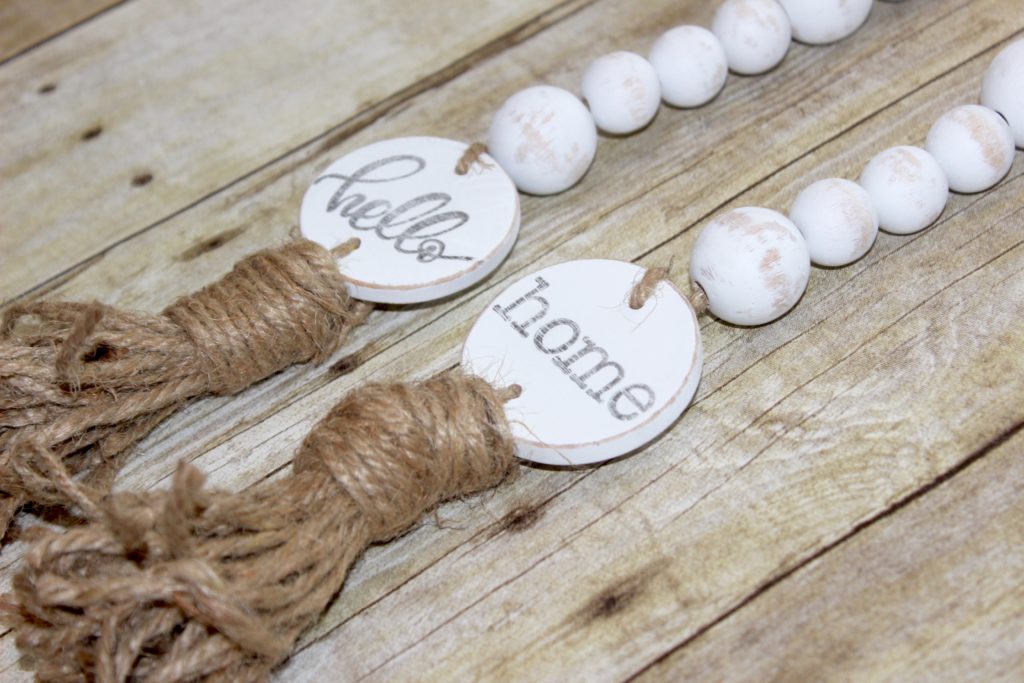
These hanging bead garlands can be hung on door knobs or decorative hooks, or used as ornaments etc. They’re so cute that I’m fully confident you’ll find the perfect little place to display them!
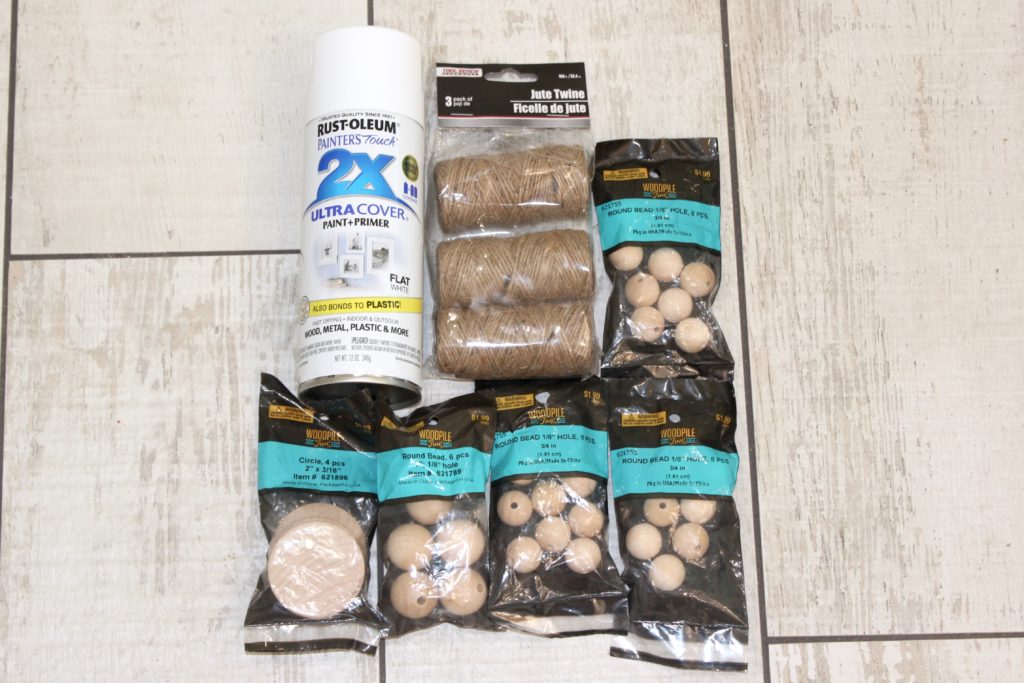
Supplies:
- twine – click here to shop Michaels twine, or click here to shop twine on Amazon
- jute
- white spray paint
- 1″ wood beads
- 3/4″ wood beads
- wood circles
- stamps – These are my favorite stamps, and I have used them for SO many craft projects!
- ink pad – click here to see the one I used, or click here to get a similar one from Amazon
- sand paper
- drill and 1/8″ drill bit
Instructions:
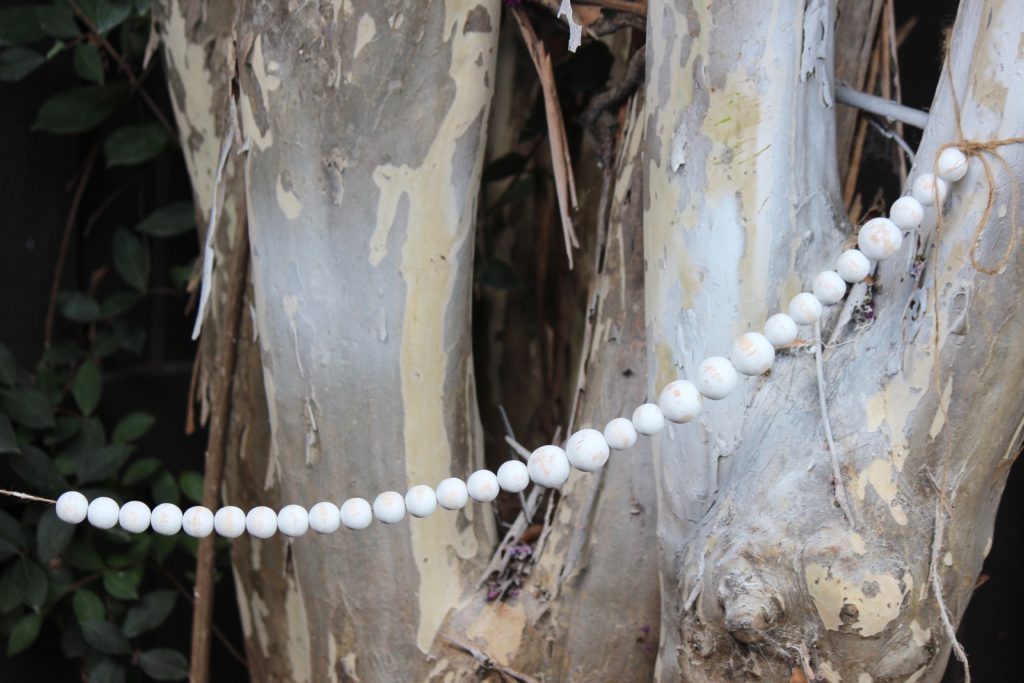
1. String the beads on the twine, making sure to leave long ends on the twine. You can use any string/ribbon that is easy to put the beads on.
2. Tie the string of beads up outside. I tied one end of the twine around a tree in our backyard, and I tied the other end to one of the poles on our fence.
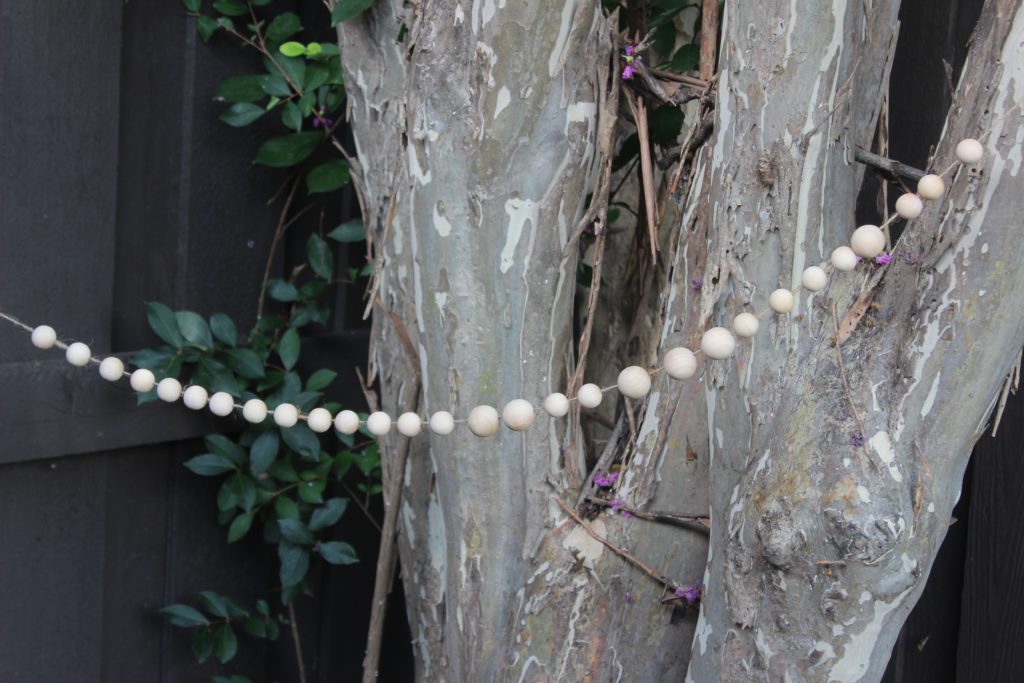
3. Paint the string of beads with the white spray paint. I spread the beads out on the twine so that I could cover them on all sides. Make sure to spray the underneath, and back side as well. It may take you a few coats to get them covered well enough.
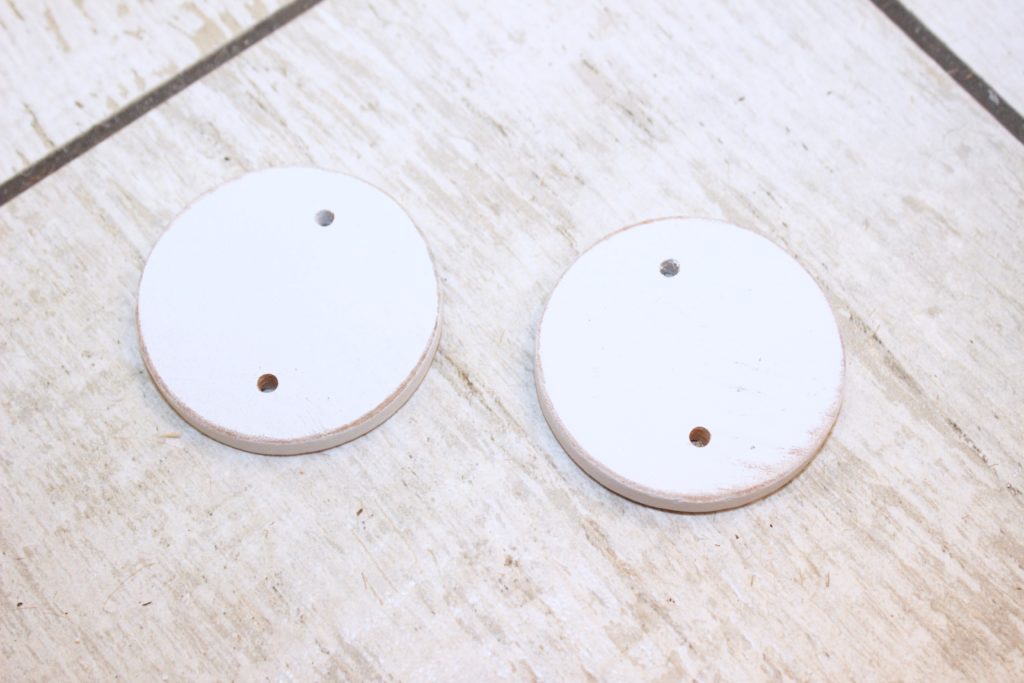
4. While the beads are drying, drill holes in the wood discs. You’ll want to drill 2 holes in each wood disc, on opposite sides from each other. I used a 1/8″ drill bit to drill these holes. I ended up having to drill the second holes later, because I didn’t decide to add the tassels until I was further into the project.
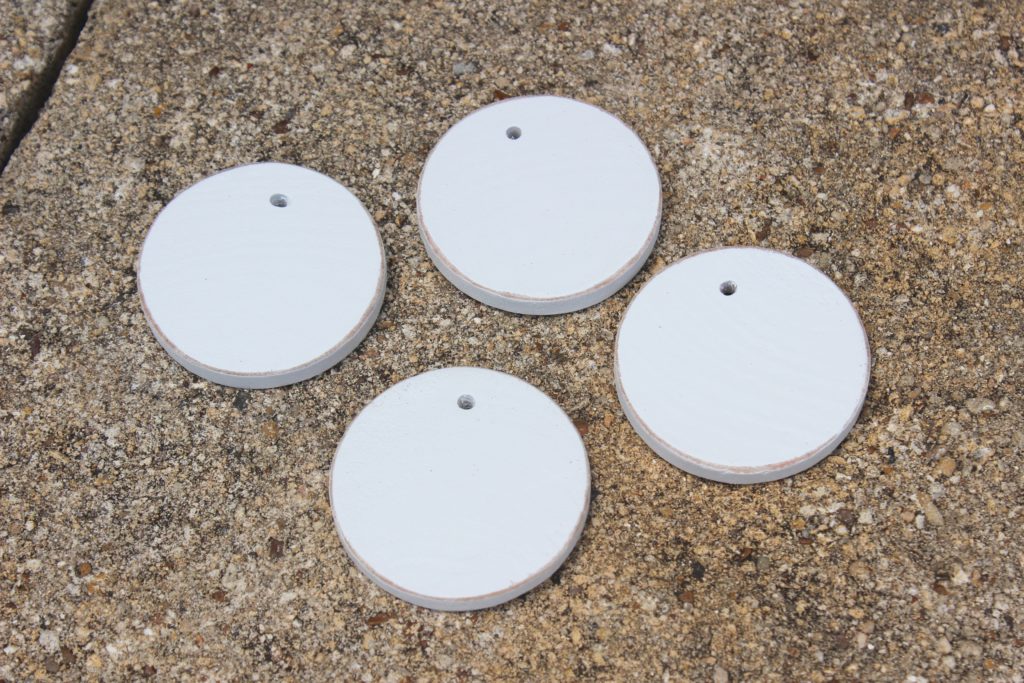
5. Spray paint the wood discs.
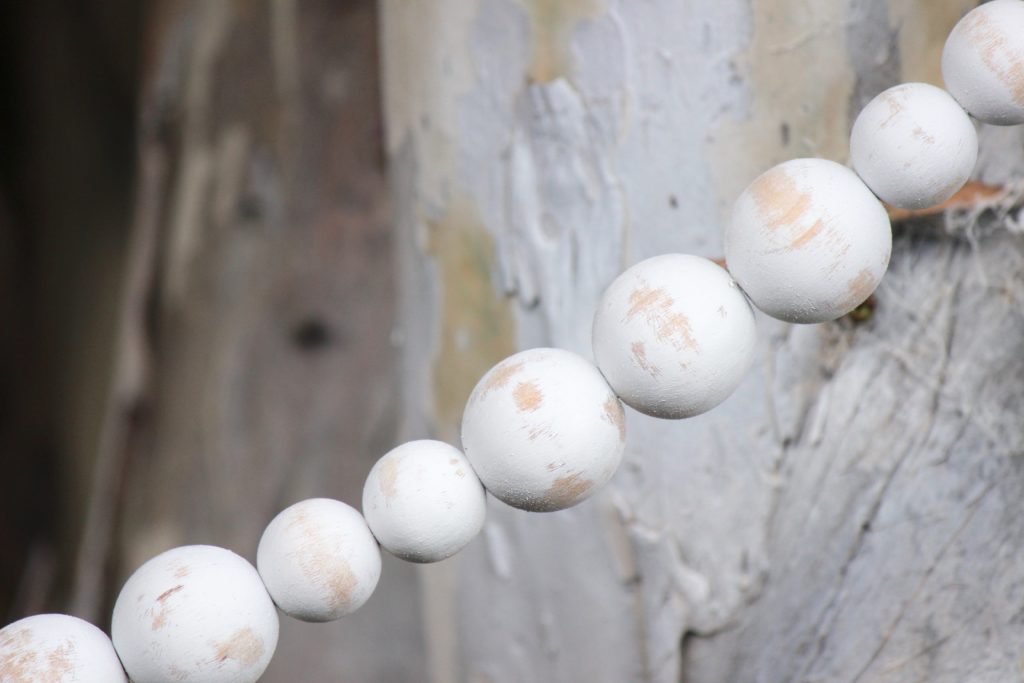
6. After the beads are fully dry, it’s time to sand them. To sand the beads I left them strung up the way they were when I painted them. I then pushed all of the beads to one end of the twine, holding my hand at the base of the last bead, so that the twine was pulled taut. Then I rubbed the sand paper up and down the strand of beads, making sure to spin them around every now and then so that all sides got sanded. This process is MUCH faster than sanding each bead individually.
7. After the wood discs are fully dry, you can sand them. You can see in the picture below that I hadn’t drilled the second holes yet, but since you can learn from my mistakes (you’re welcome haha), you’ll already have 2 holes drilled in each disc.
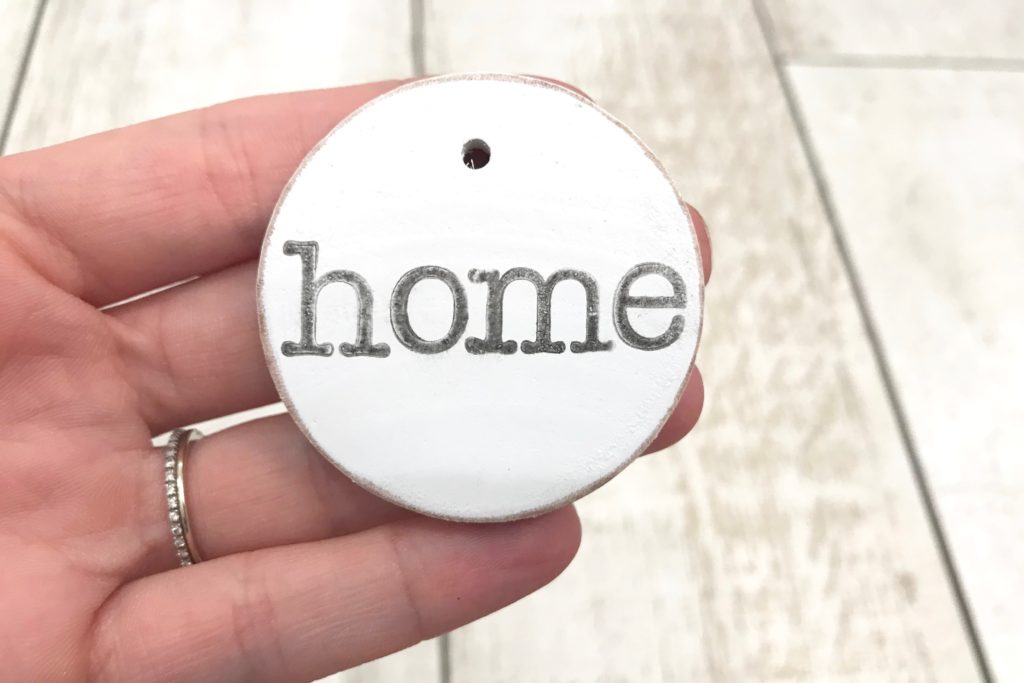
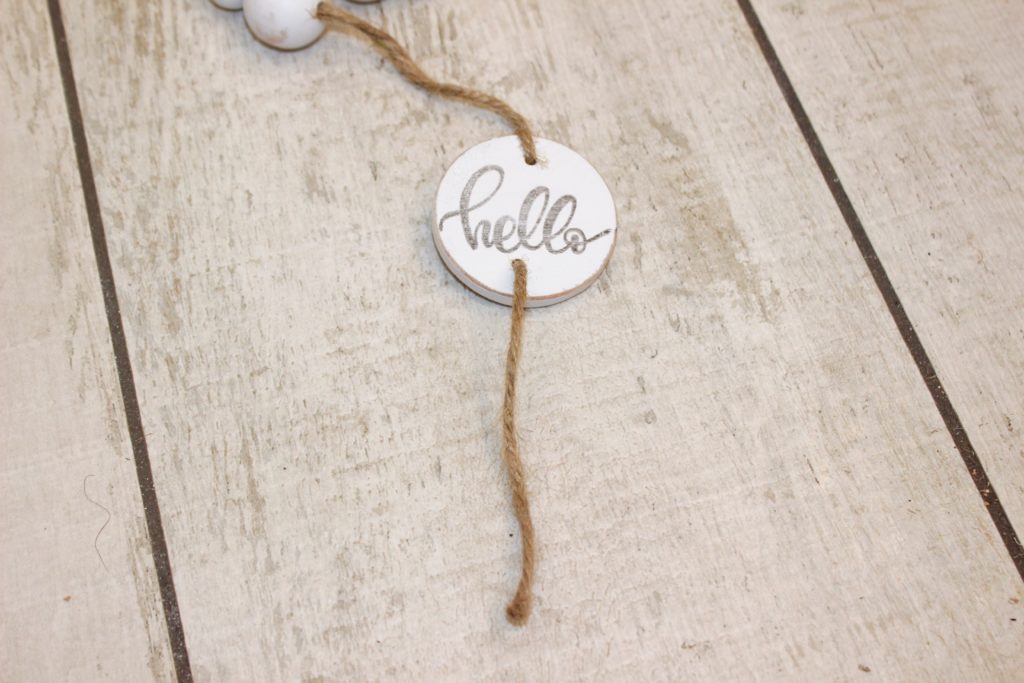
8. Stamp the wood discs with your desired words.
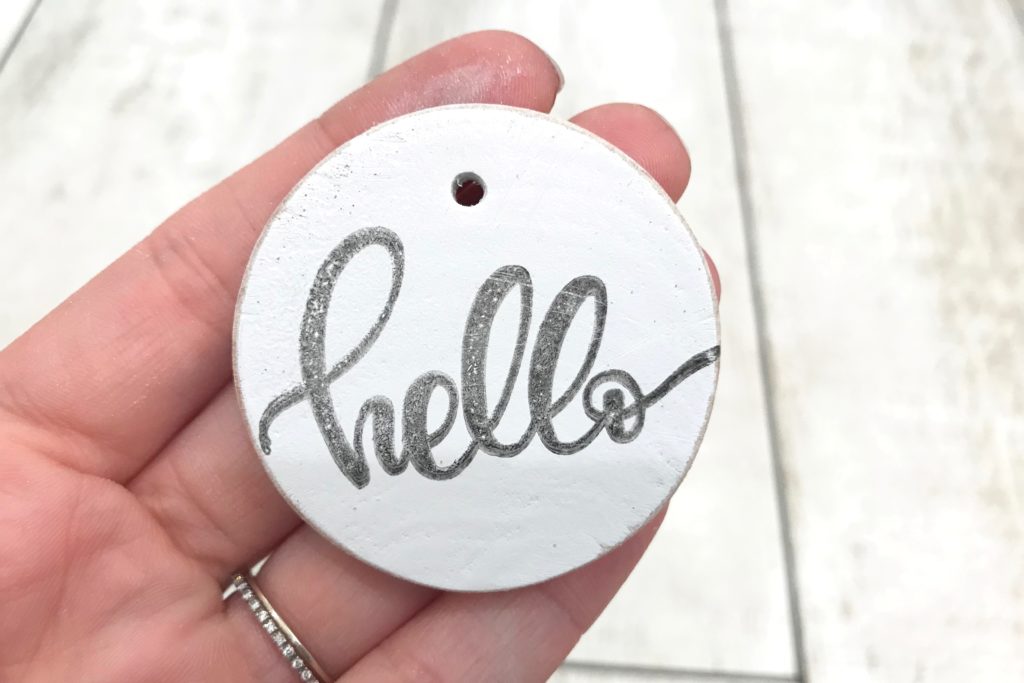
9. After the ink has fully dried, you can sand the stamped words if you so desire.
10. Cut one yard of jute.
11. String the beads on the jute, keeping the beads in the middle of the piece of jute. You can use as many or as little beads as you want, and do whatever beading pattern you like. If you’re going to use more than about 8″ worth of beads, make sure your jute is longer than one yard so that you have plenty to work with.
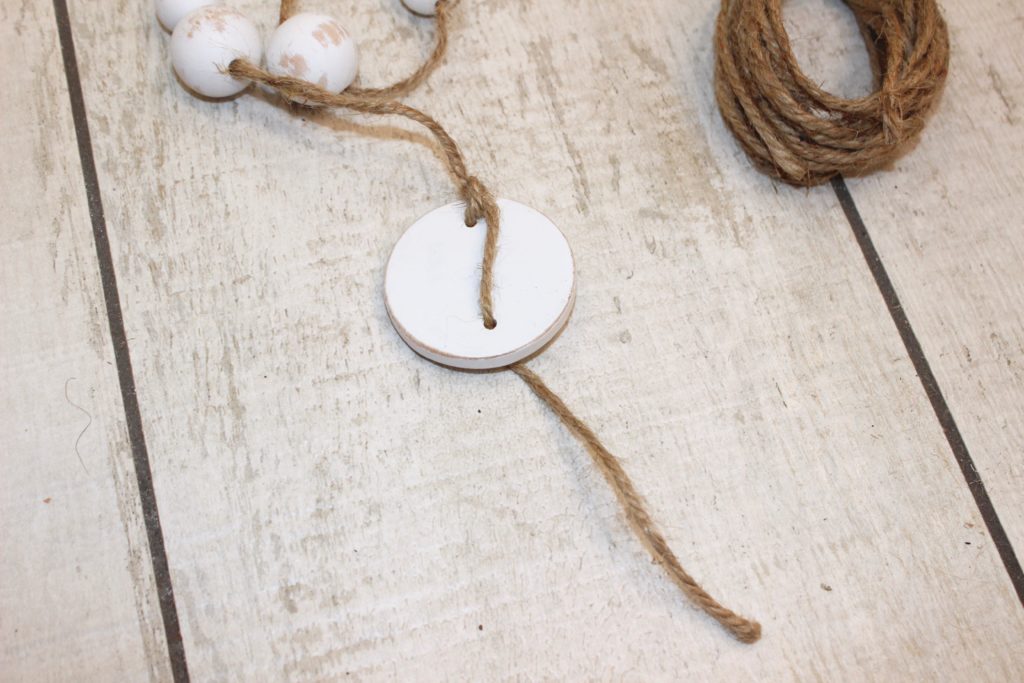
12. Thread the jute through the top hole of the disc, going through the back of the disc, and out the front.
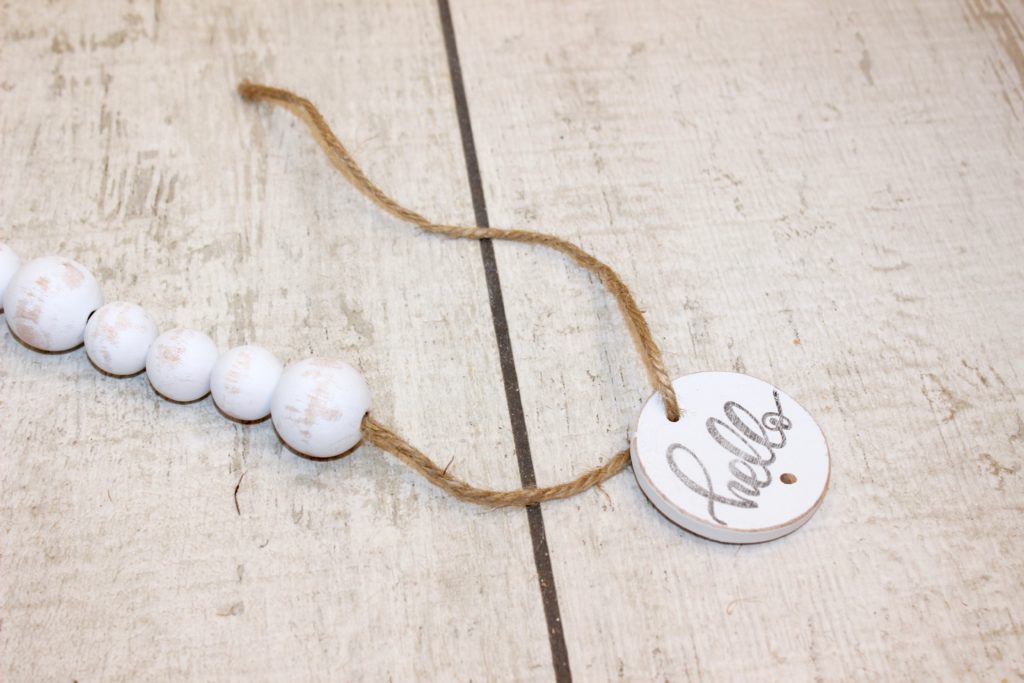
13. Tie a knot at the top of the disc so that the disc stays in place.
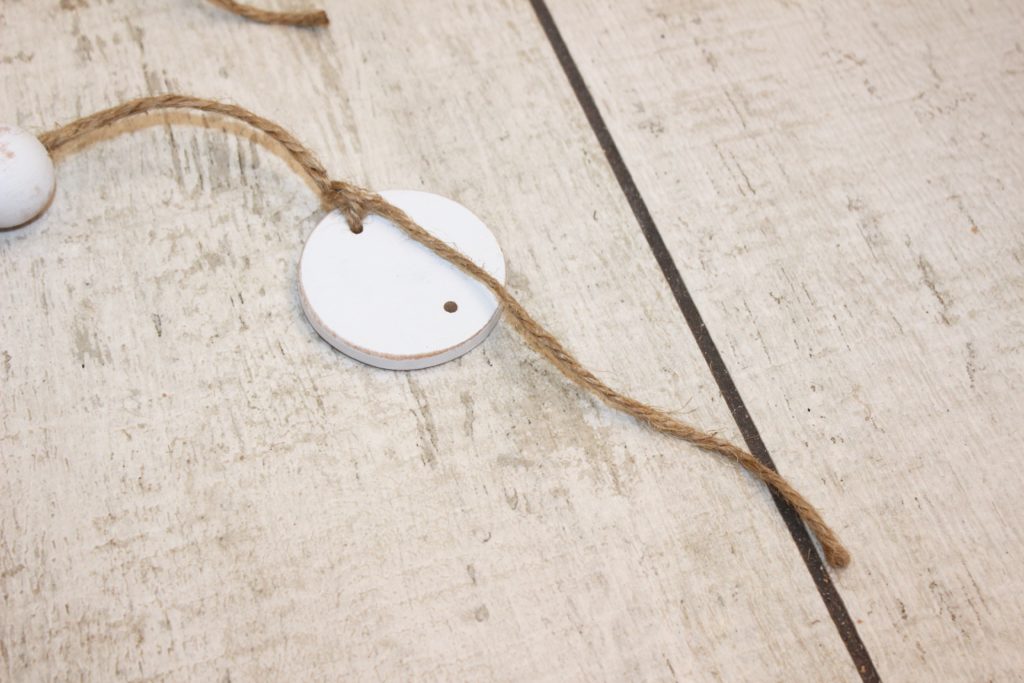
14. Now thread the string through the bottom hole of the dic, so that it comes out the front of the disc.
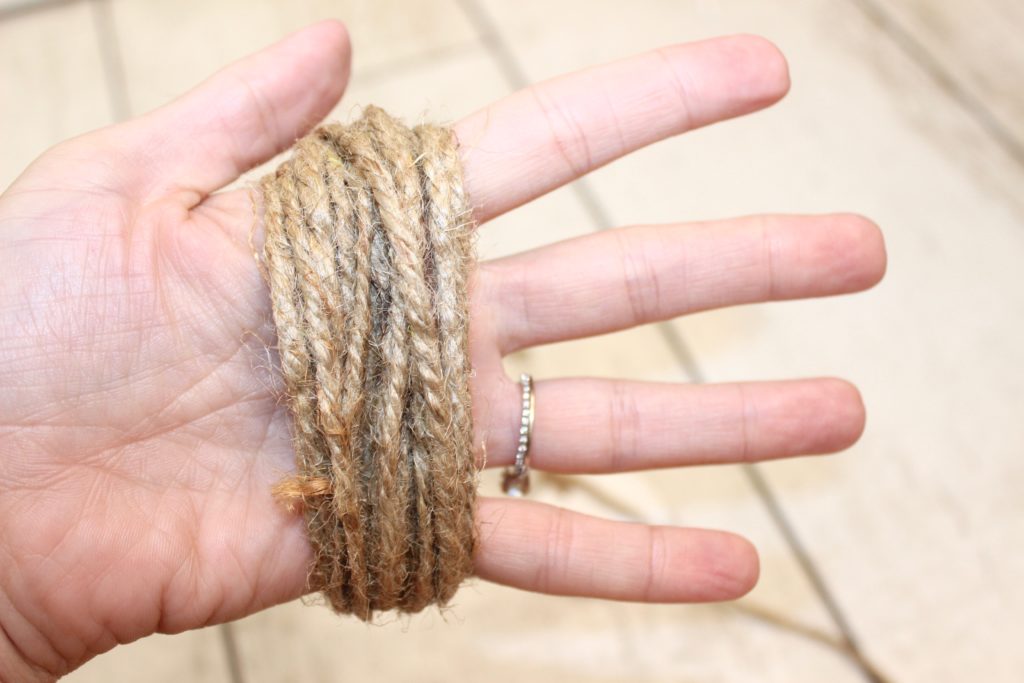
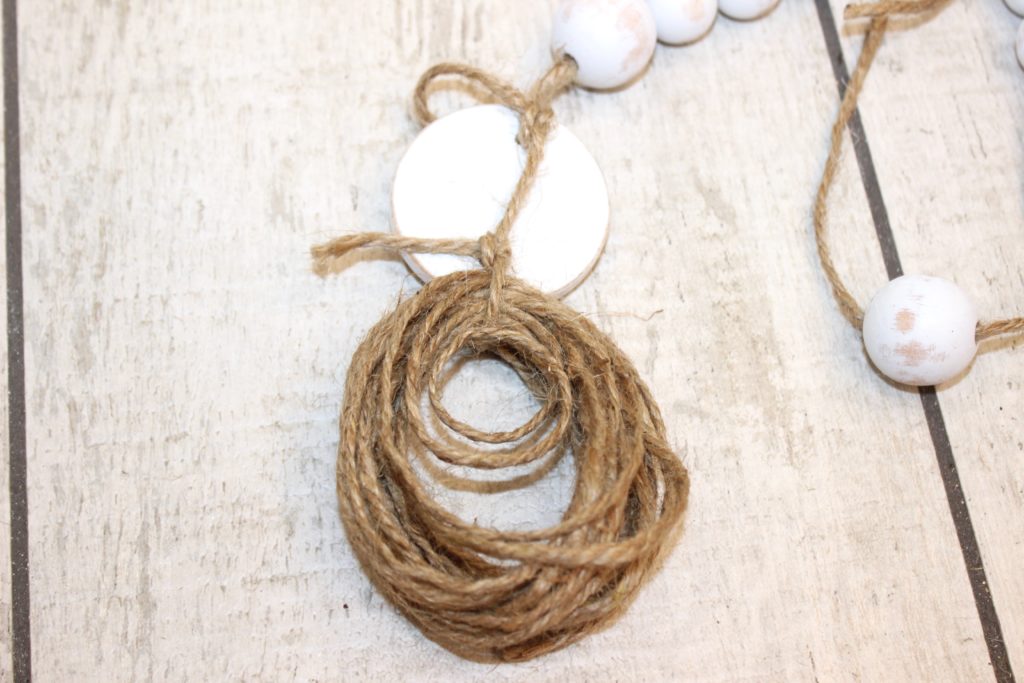
15. Using a different piece of jute (I didn’t even cut the jute first, I just used it straight from the roll), wrap the jute around your hand 20 times.
16. Thread the jute that is sticking out the bottom of the disc through the loops of jute you just wrapped around your hand.
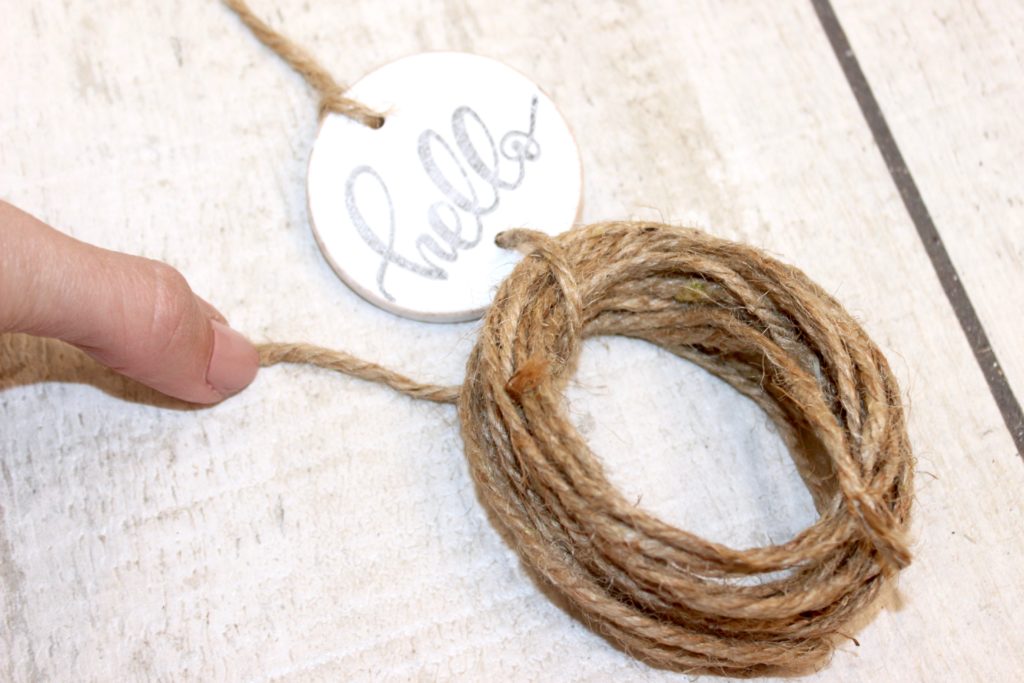
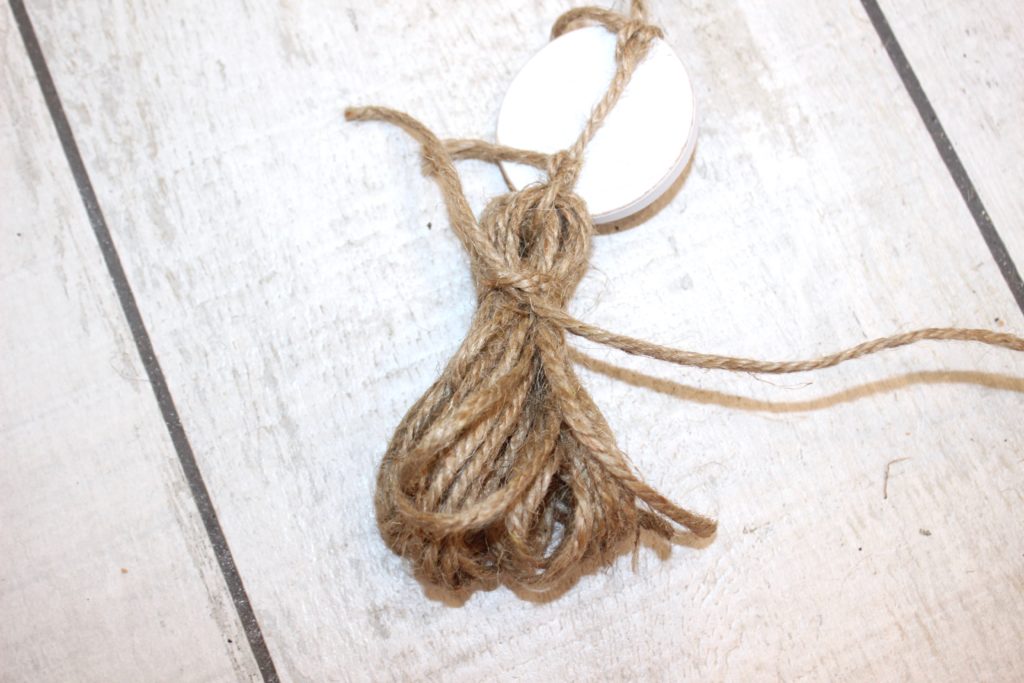
17. Flip the disc over, and tie a knot so that the loops are now attached to the bottom of the disc.
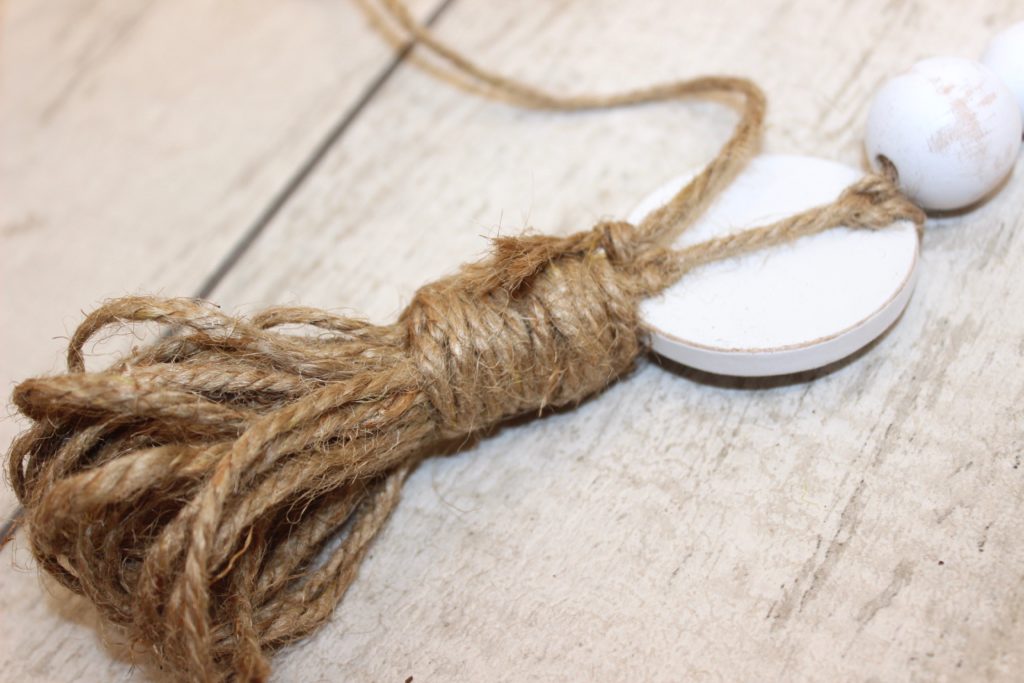
18. Tie some jute around the top part of the loops, about 1″ down from the disc. Tie this jute in a knot to secure, and then continue wrapping jute around the top part of the tassel. I wrapped mine all the way up to the top of the tassel and then tied it off in a knot.
19. Cut the loops at the bottom to make the tassel fringe. If any pieces are uneven, trim them so that all pieces are the same length.
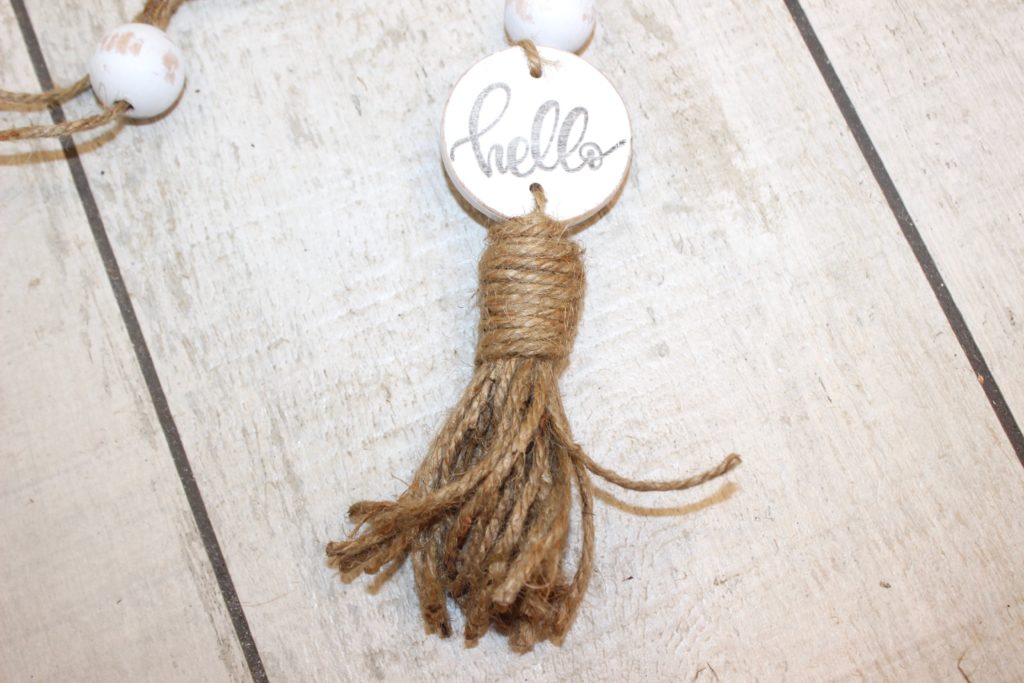
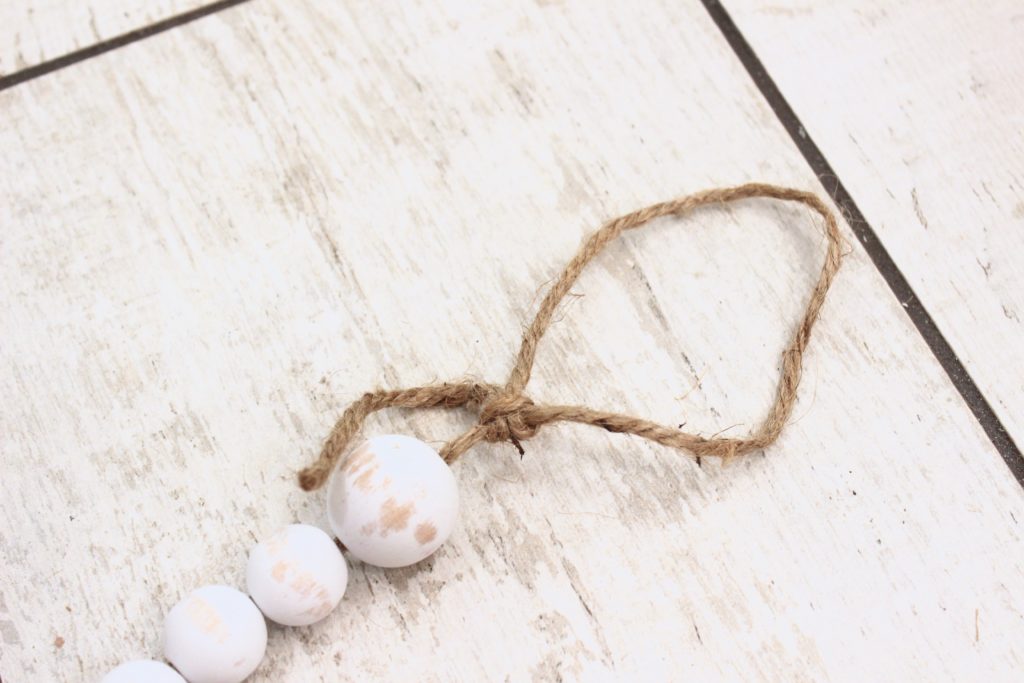
20. Slide all of the beads down to the top of the disc, and then tie a knot at the top (near the first/top bead) using the jute, leaving a loop big enough to hang on a door knob/hook/etc.
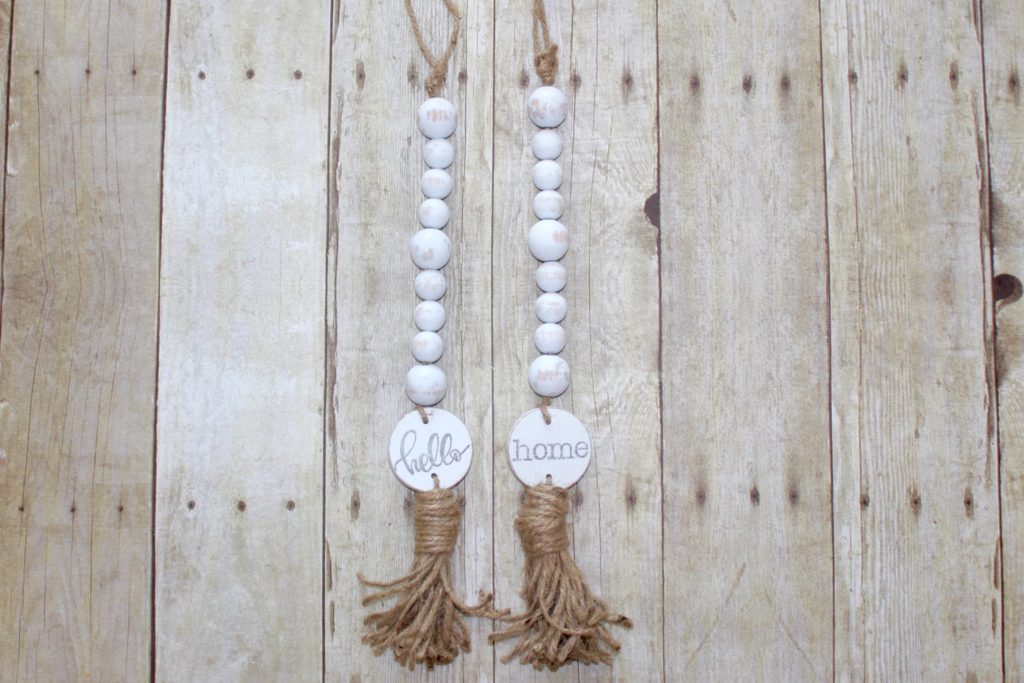
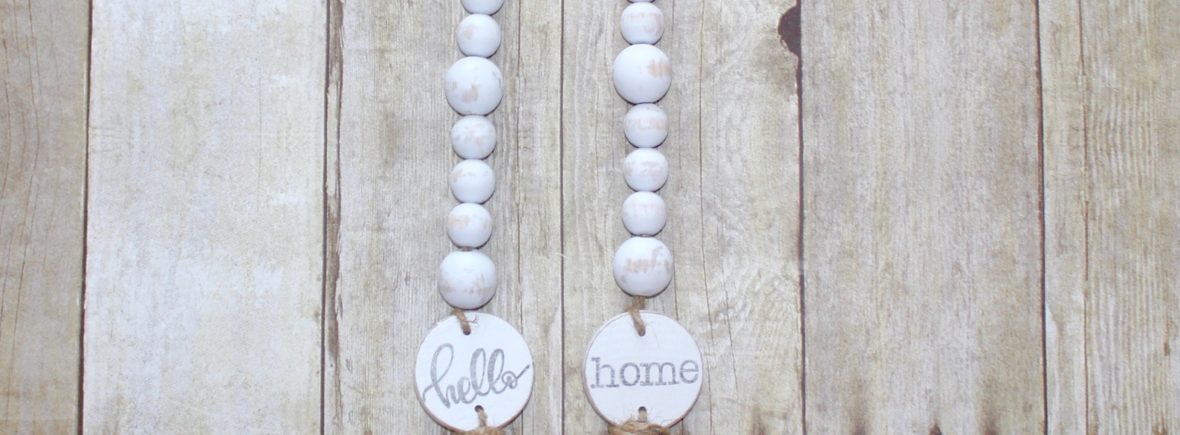
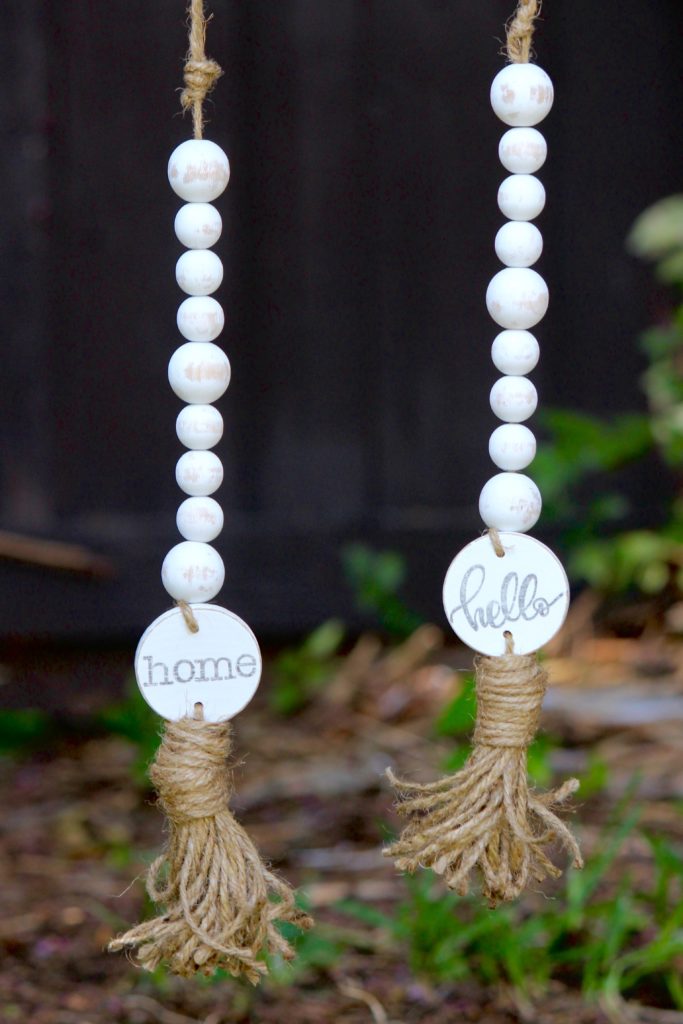
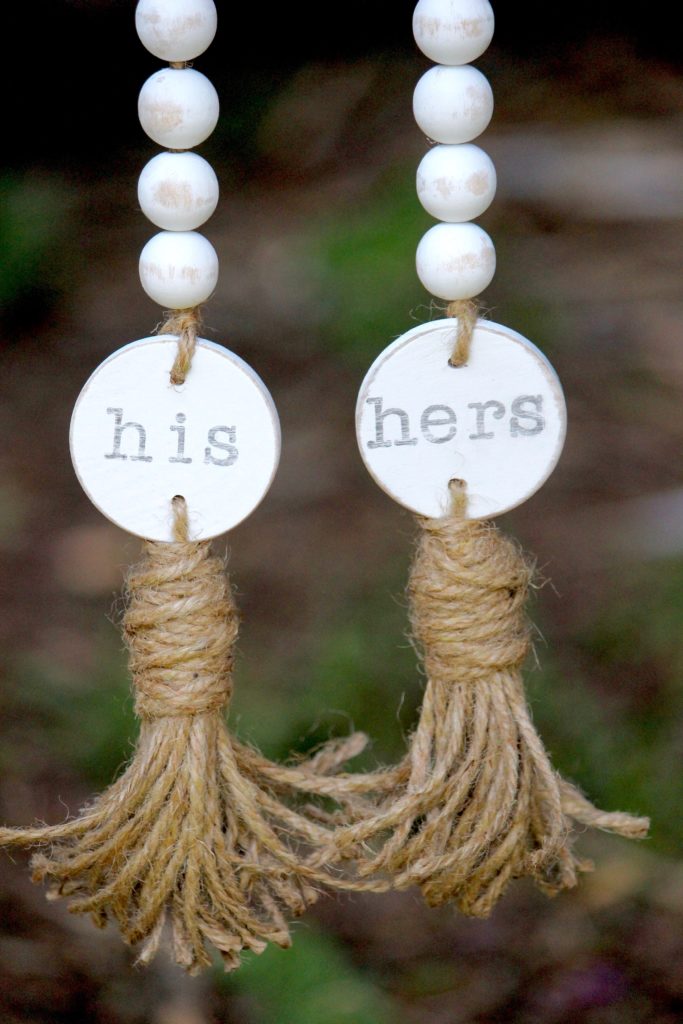
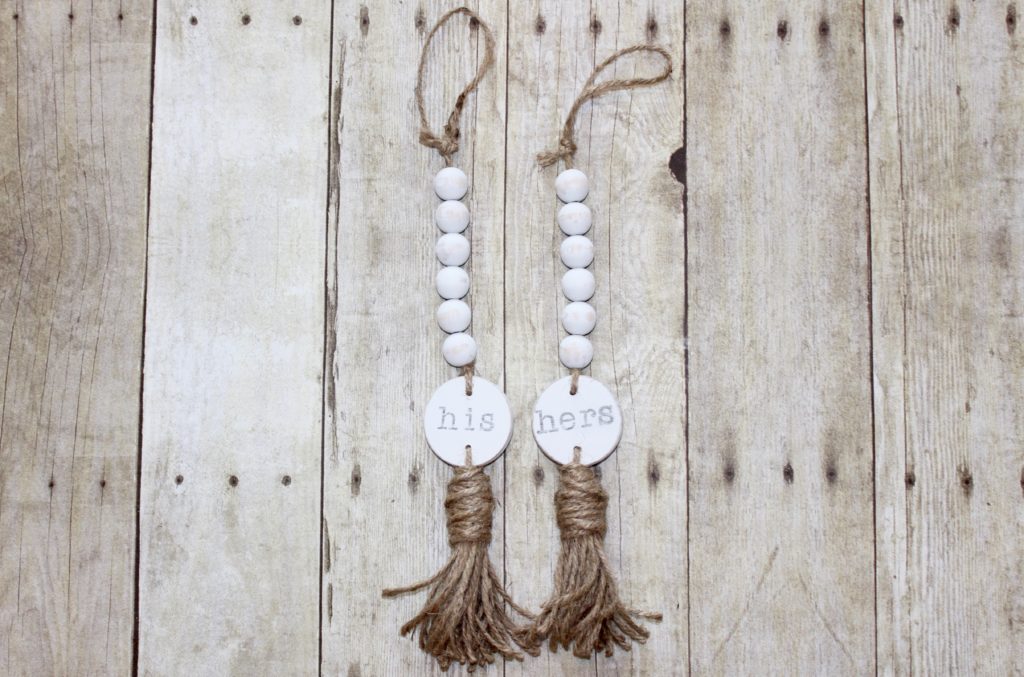
Now it’s time to hang your adorable hanging bead garlands where ever you want! I ended up making one that said home, one that said hello, and then a pair that said his and hers, for our closet doors in our master bathroom. They all turned out so cute, and they’re really cheap and easy little gifts for friends, coworkers, teachers, etc.

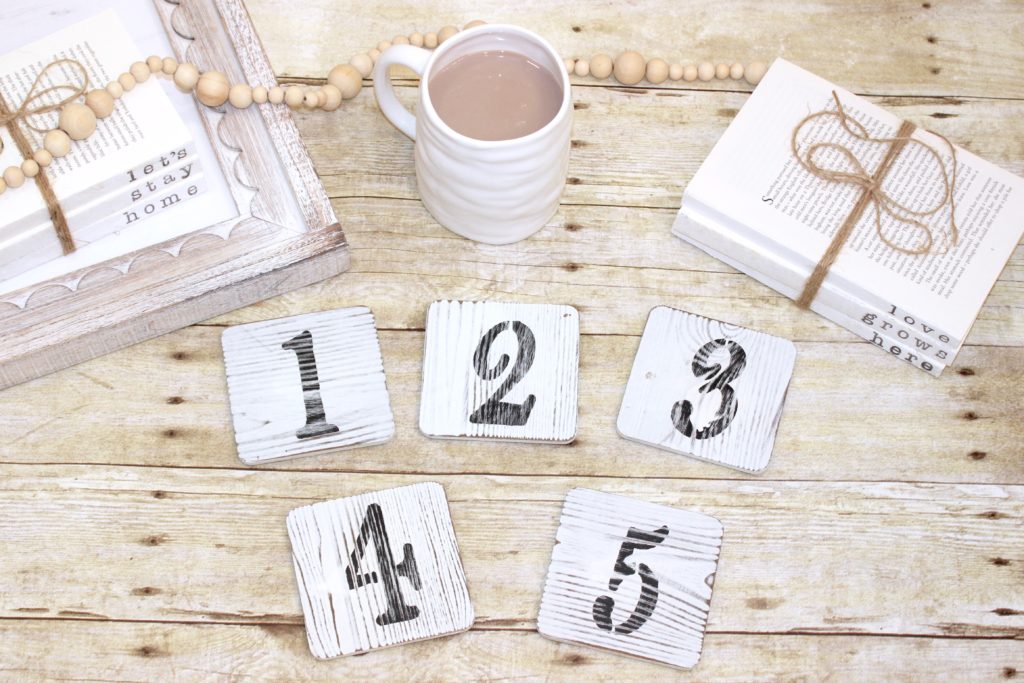
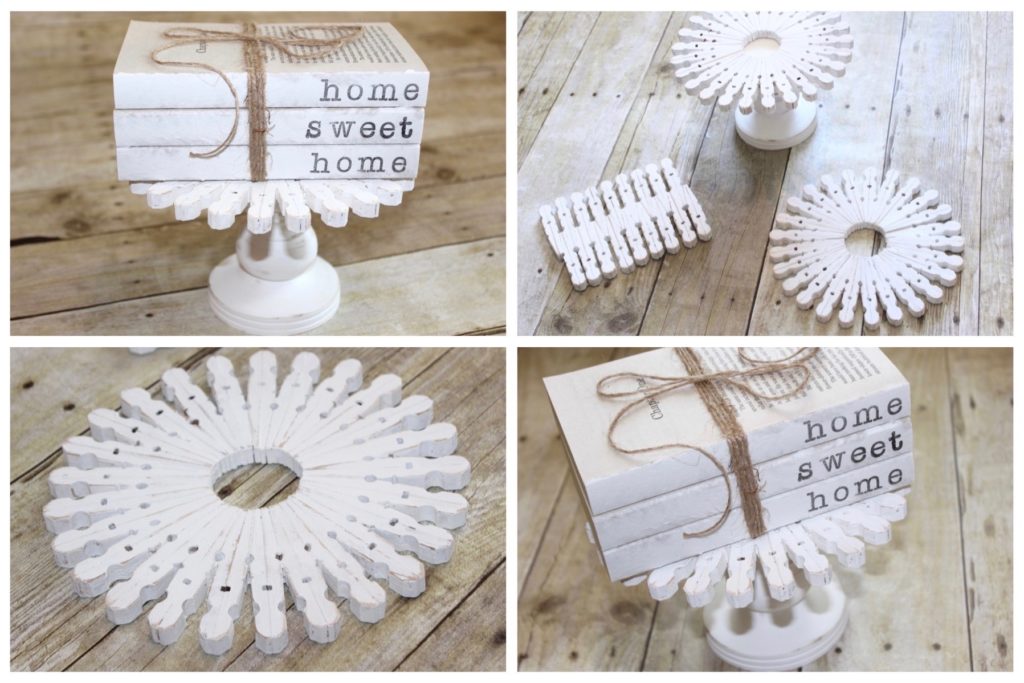
Want to try some other adorable farmhousey (don’t worry, it’s totally a word) crafts? Check out the ones below!
Never miss a post!