

This is a SUPER simple DIY bead garland that I know you’re really going to love! Just look at how cute it is! You can use it as decor on one of your hand stamped book stacks, or you can hang it on your mantle, or loop it around a large vase or candlestick – the options are endless!

Supplies:
- wooden beads – I used these beads from Michaels, but these beads from Amazon would work too.
- twine – here is a great option from Michaels, and here is another great option from Amazon.
- white spray paint
- sand paper
- jute – jute is very similar to twine, but a little bit thicker. The twine I used was 3mm, but it was a little difficult to get through the beads at times. The jute I’m recommending is about 2.3mm thick!
Disclosure: My posts may contain affiliate links. If you buy something through one of those links, you won’t pay a penny more, but I may receive a small commission, which helps me keep this DIY blog up and running, and partially supports my Coke Zero addiction. This includes links to amazon.com, because I am a participant in the Amazon Services LLC Associates Program.
Instructions:
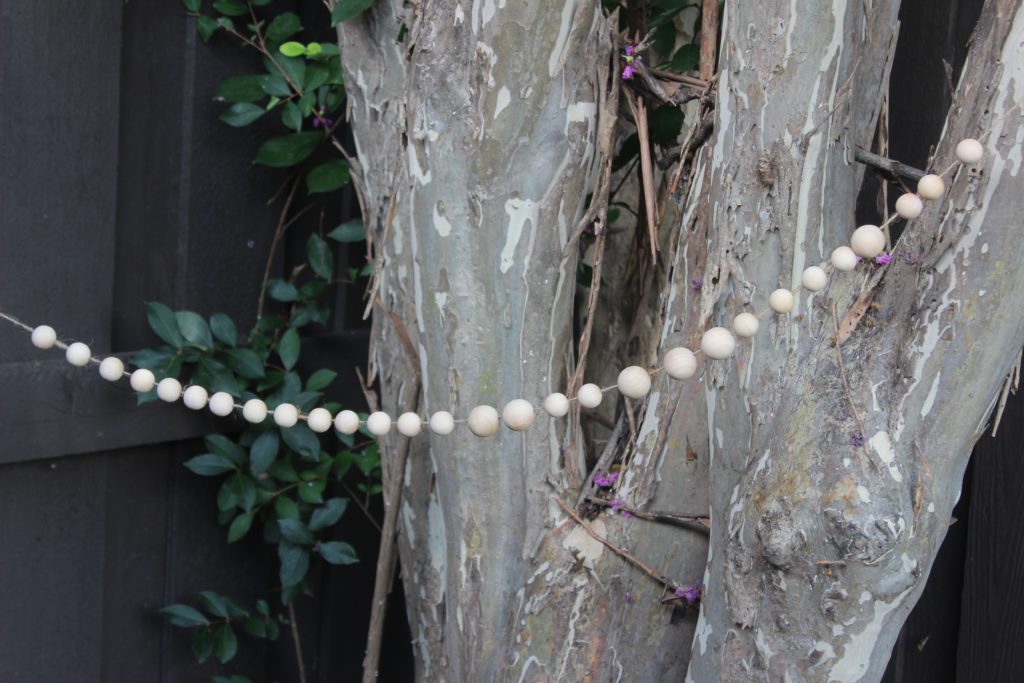
- String the beads on twine – leaving the ends of the twine extra long! Once you have them all strung, tie the twine up outside somewhere that you can spray paint.
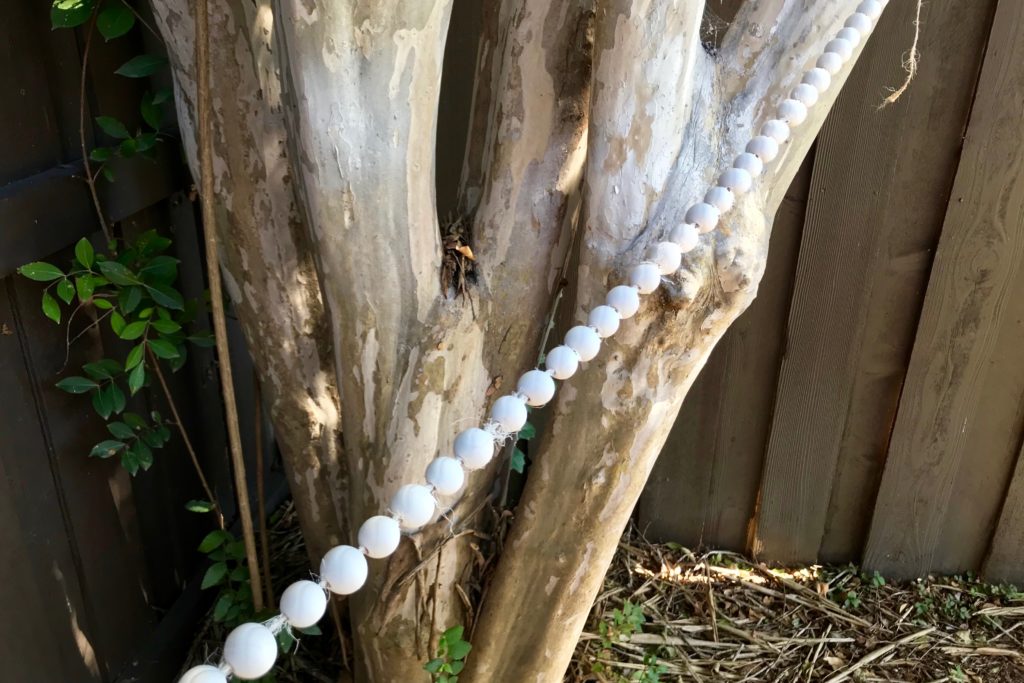
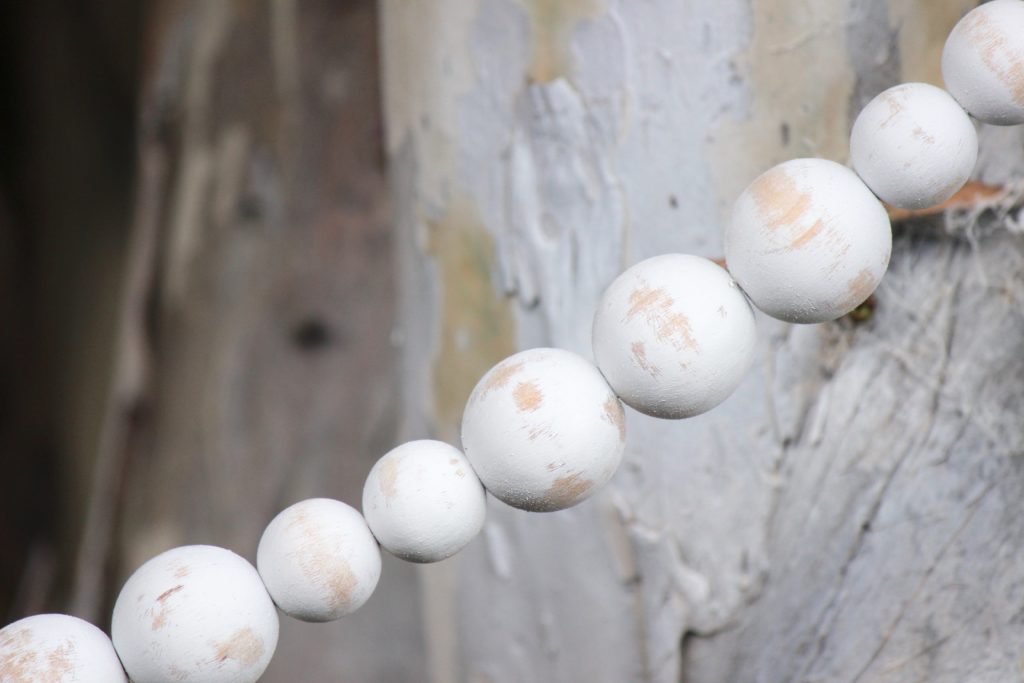
- Make sure the beads are separated a little bit so that you can paint all sides of the beads. Then spray paint the beads white – you should be able to fully cover them with paint in just one coat.
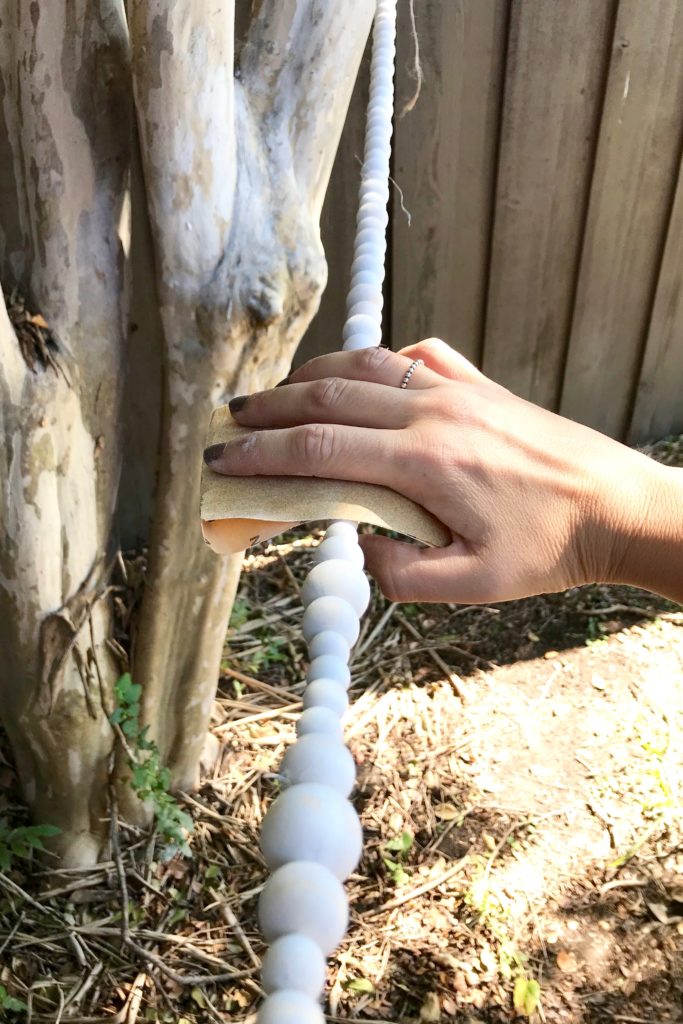
- After the beads are fully dry, it’s time to sand them. To sand the beads I left them strung up the way they were when I painted them. Then I pushed all of the beads to one end of the twine, holding my hand at the base of the last bead, so that the twine was pulled taut. Then I rubbed the sand paper up and down the strand of beads, making sure to spin them around every now and then so that all sides got sanded. This process is MUCH faster than sanding each bead individually.
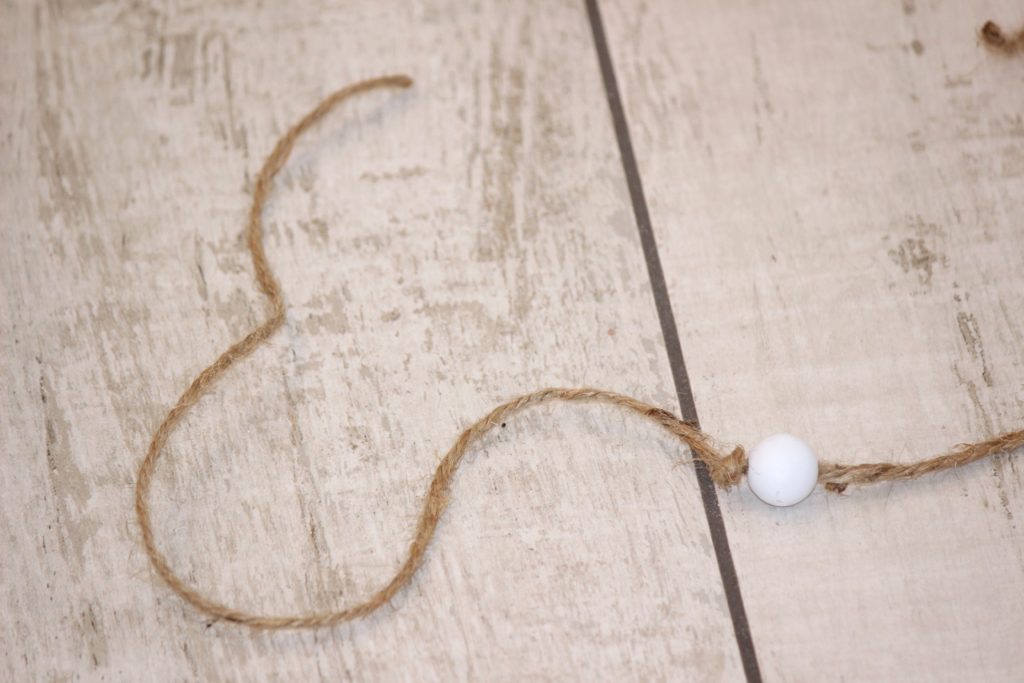
- Now you’re going to restring the beads onto the jute. To do this, you need to start by cutting a long piece of jute – remember to cut it longer than your desired finish length, because tying knots in the jute will use up some of the length. I left a tail about 2 feet long on my garland. After you have tied a knot, string your first bead on the jute and slide it all the way down until it reaches the knot you made. Then tie a knot on the other side of the bead.
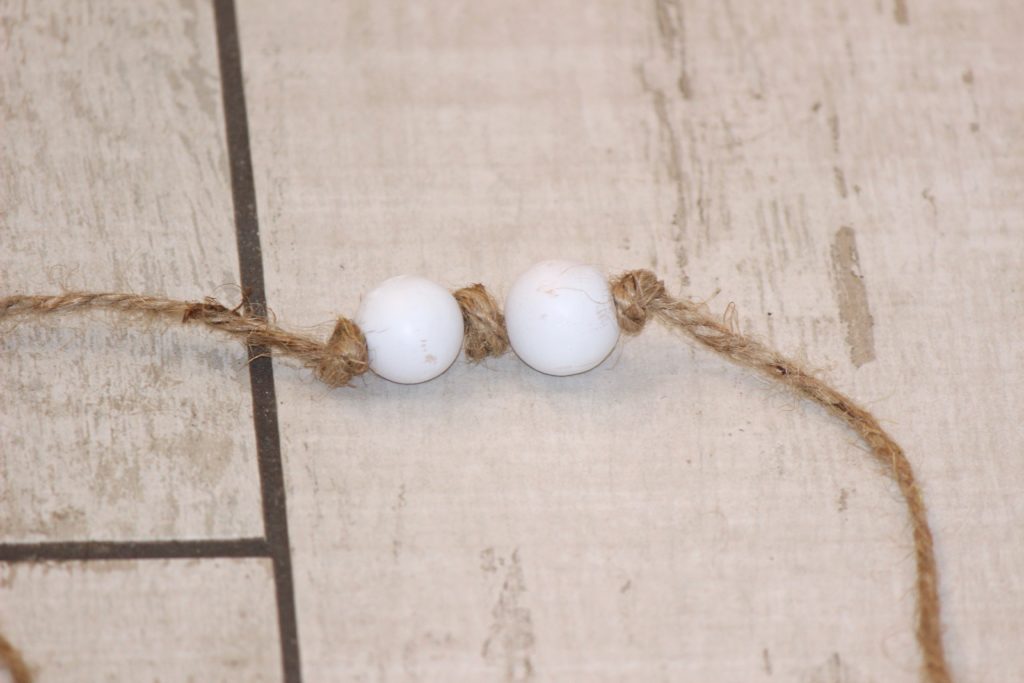
- Continue stinging the beads onto the jute, tying a knot in between each bead.
- Sometimes the jute gets hard to push through the beads because the end of the jute gets frayed. If this happens, just snip off the frayed end and continue stringing the beads. Once you’ve reached your desired length, you’re done! I didn’t put any tassels on this garland because I knew that I’d be hanging it in a place where tassels wouldn’t show anyways. If you would like your bead garland to have tassels – check out this tutorial here.
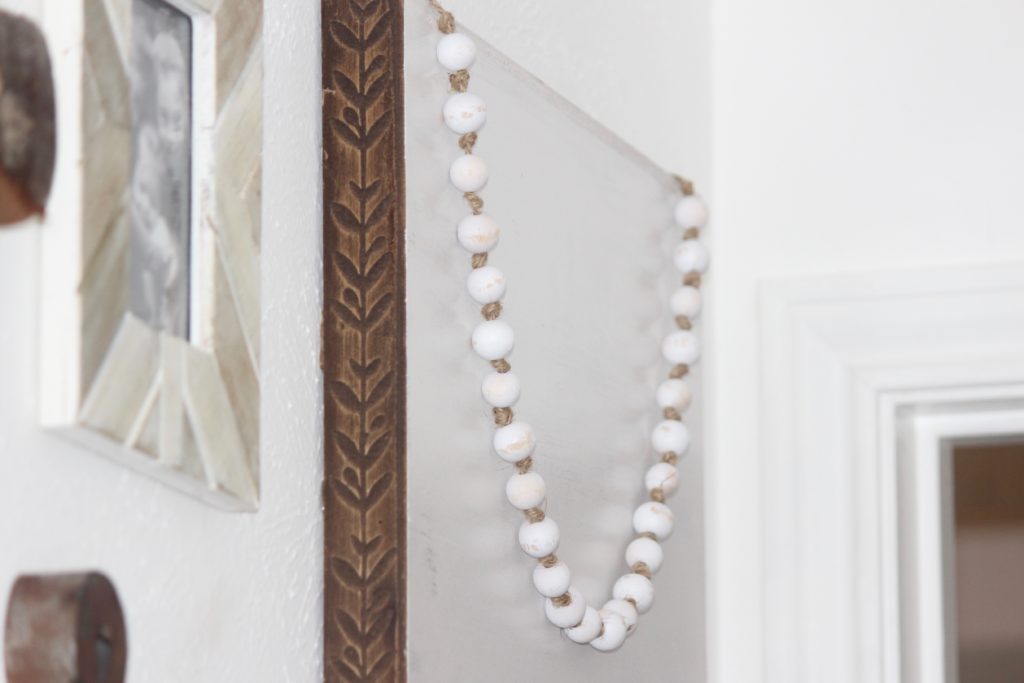
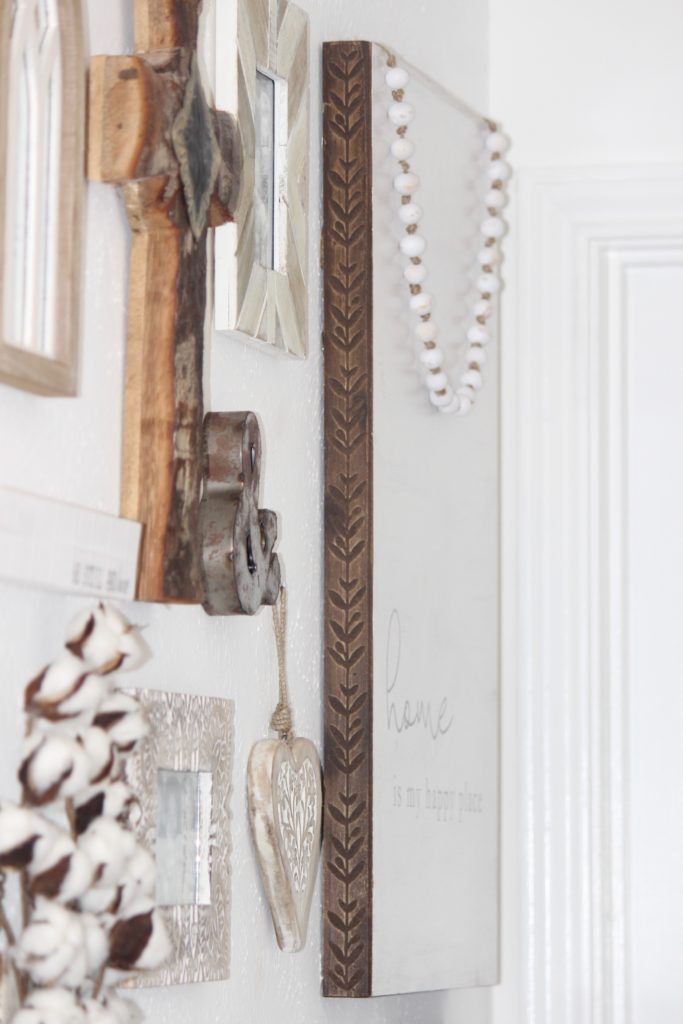
Don’t you just love how this garland turned out?! I have it hanging over the top of a big sign I got from Hobby Lobby.

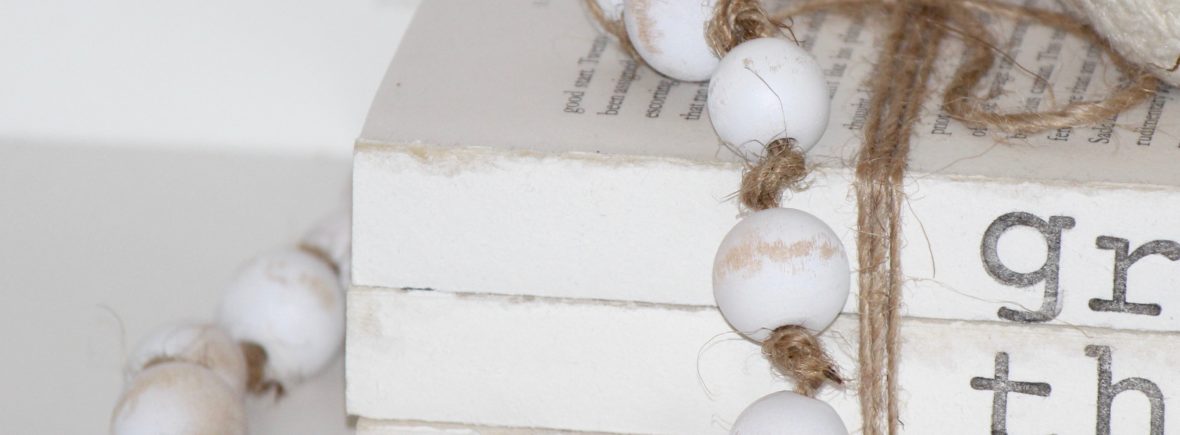
The garland also looks cute sitting on a hand stamped book stack!


While you’re here, check out some of my most popular posts!


How to Hand Knit a Chunky Blanket
Never miss a post!