
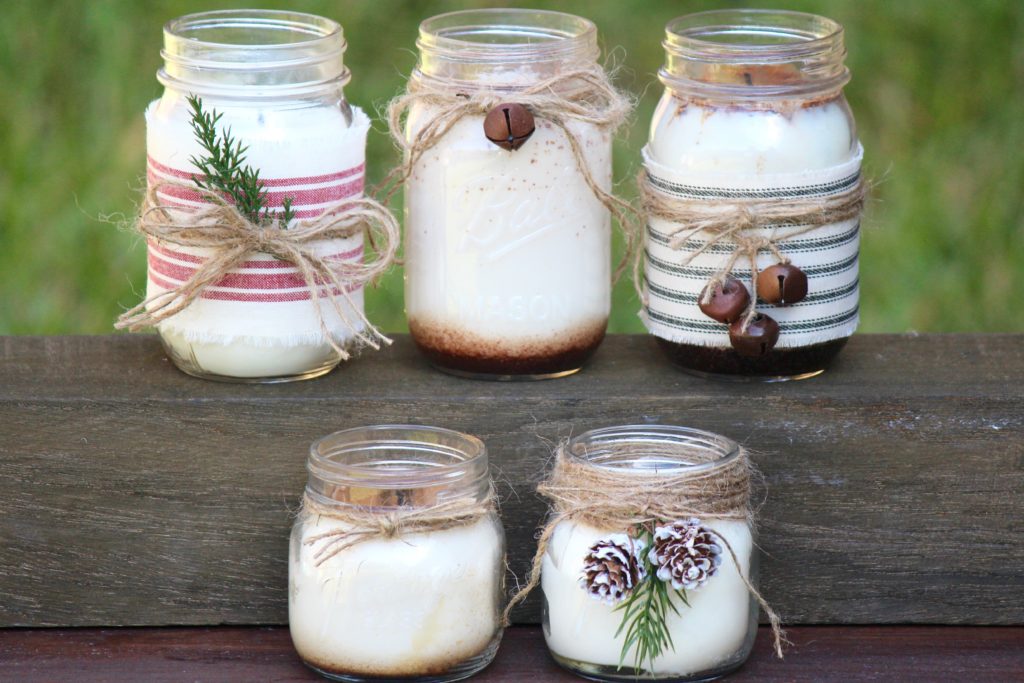
I love the endless possibilities that come with clear Christmas ornaments! Below are a few different ornaments I made that turned out super cute! I hope they inspire you to make some of your own!
Disclosure: My posts may contain affiliate links. If you buy something through one of those links, you won’t pay a penny more, but I may receive a small commission, which helps me keep this DIY blog up and running, and partially supports my Coke Zero addiction. This includes links to amazon.com, because I am a participant in the Amazon Services LLC Associates Program.
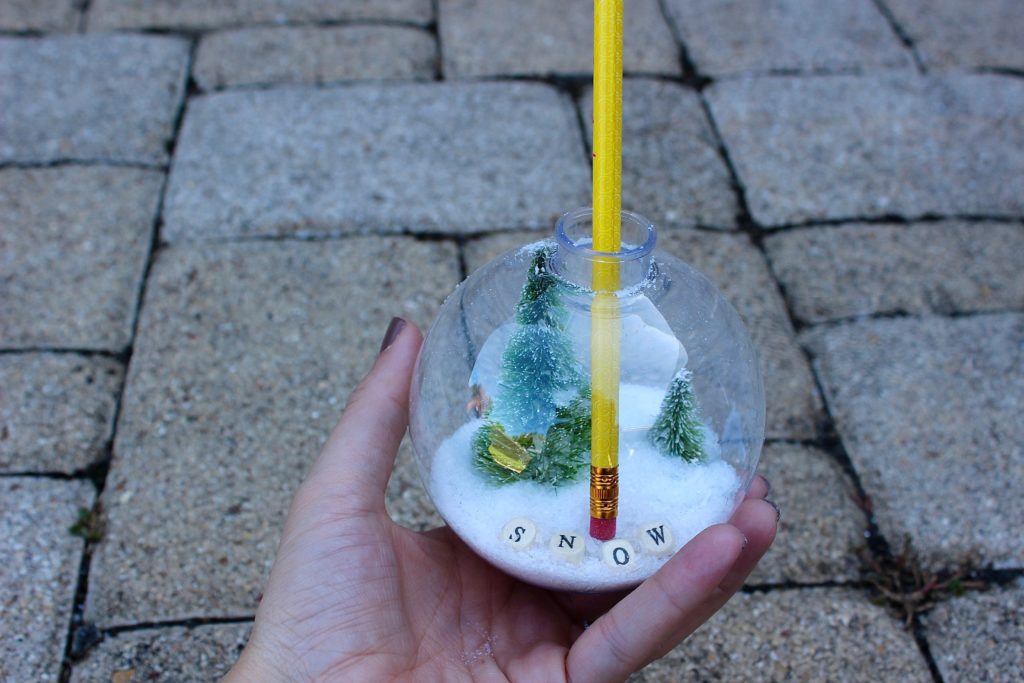
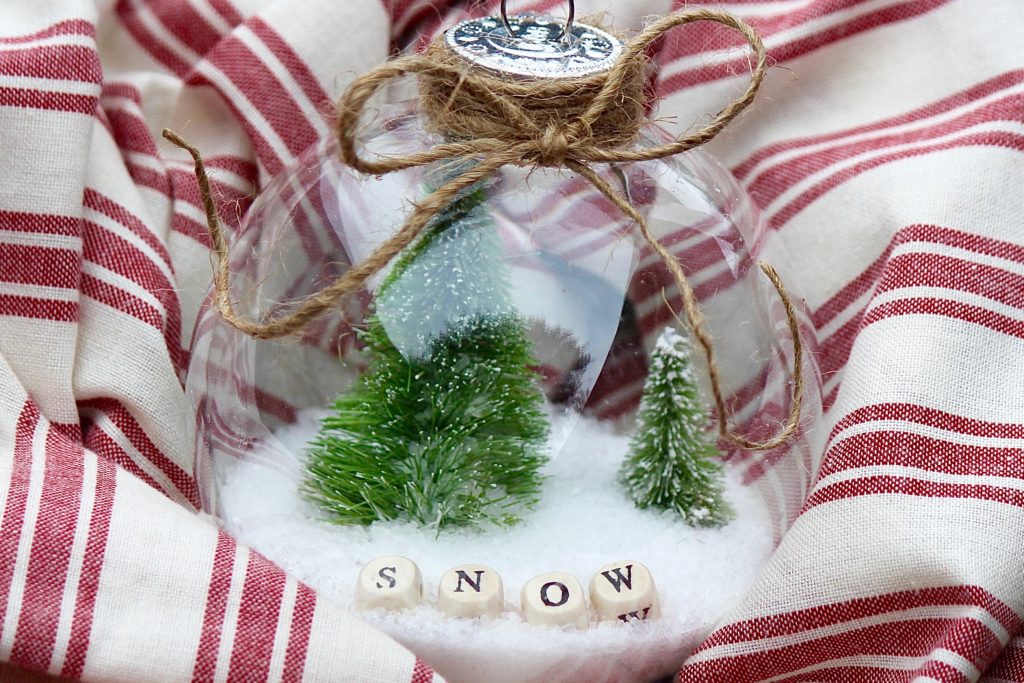
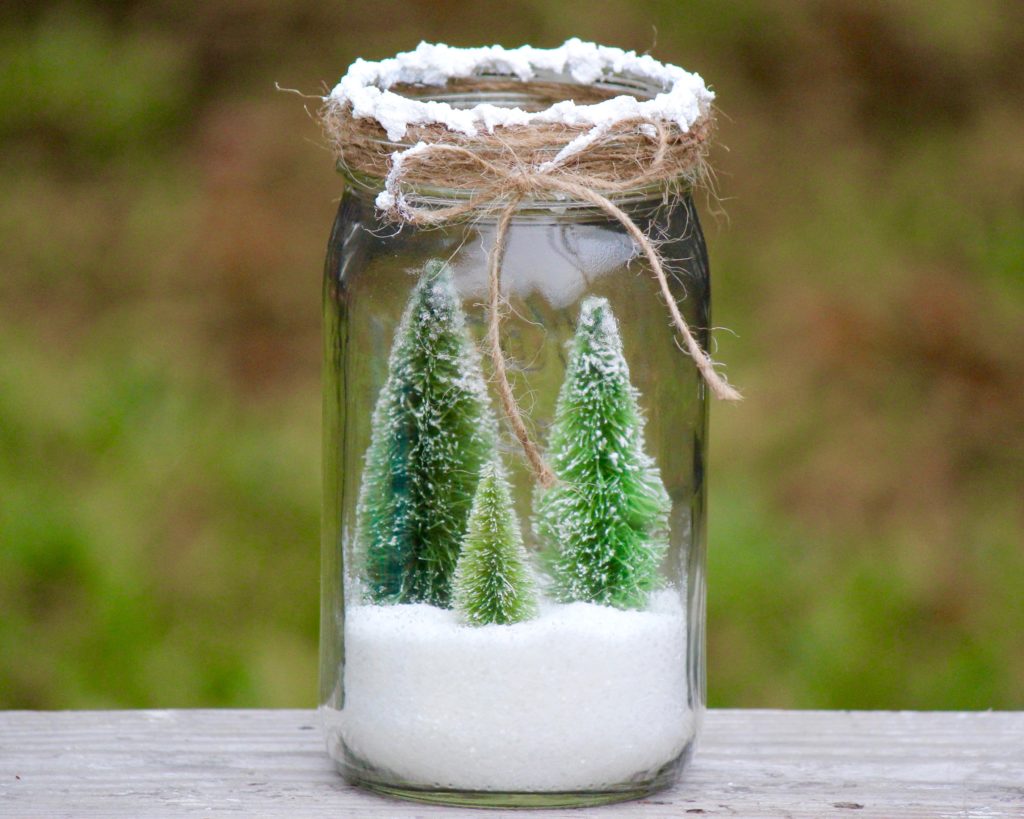
Snow Globe Ornament

Supplies:
- clear plastic ornaments (I used the 5″ ornament for this one)
- epsom salt
- glitter
- alphabet beads
- mini trees
- twine
- hot glue gun/hot glue sticks
Instructions:
- Mix a small amount of epsom salt and glitter together to make sparkly “snow.”
- Pour the “snow” into the ornament. I used a funnel I had on hand to pour the snow into the ornament without making a huge mess.
- Put the mini trees inside the ornament – use your fingers, or the end of a pencil to make sure the trees are standing up straight. Try to push the trees as deep into the snow as you can so that the snow helps hold them up.
- Drop the alphabet beads into the ornament one at a time, trying your best to drop them where you want them.
- Use a pencil to move the beads into the right position – this is actually a lot easier than you would think!
- Hot glue the cap (the silver part) to the clear ornament. (I did this because the amount of “snow” I put in the ornament made it too heavy, and the cap wouldn’t stay on unless it was glued).
- Wrap twine around the silver cap, and tie a bow in the front.
- Tie twine through the loop at the top of the ornament so that you can hang the ornament.
- You DO have to be extra careful with this ornament because the alphabet beads and trees are not glued to anything, BUT it’s the perfect ornament to hang from an ornament stand, set somewhere as part of a vignette, or to hang carefully on your Christmas tree!
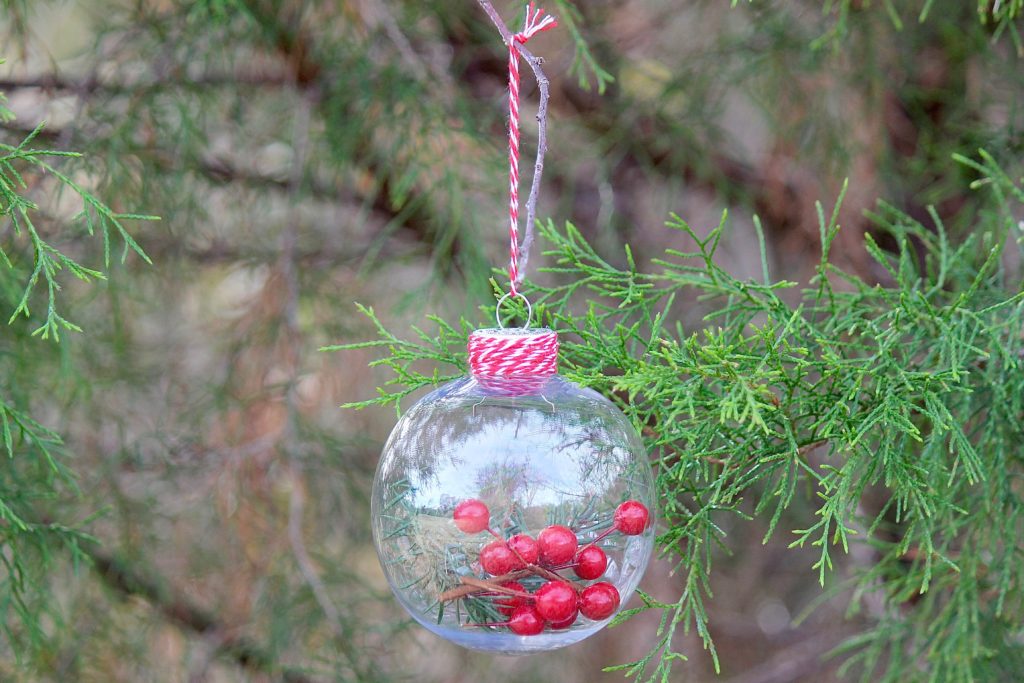
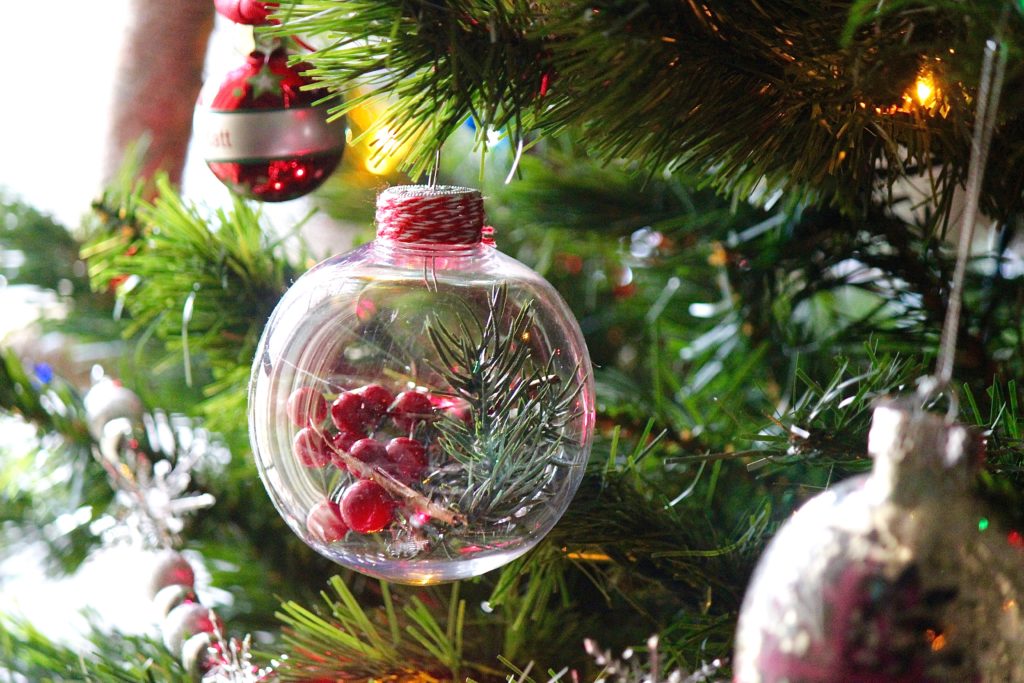
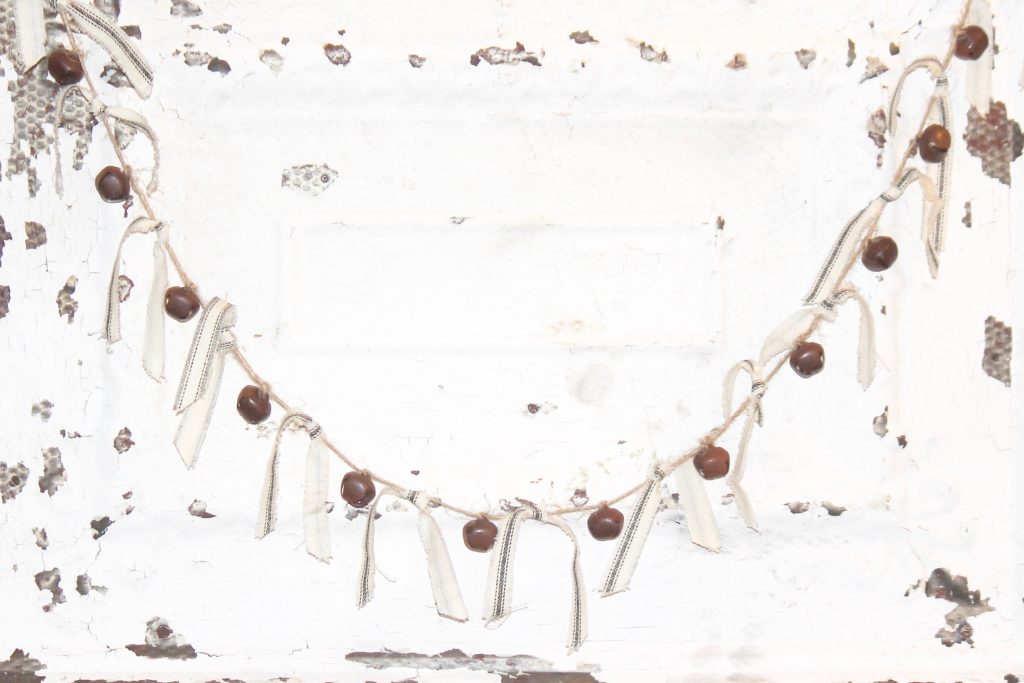
Berries and Pine Ornament
Supplies:
- clear plastic ornaments (I used the 4″ ornament for this one)
- pine and berries
- red and white twine – here is the twine I used, or you can shop all of the bakers twine options on Amazon here.
Instructions (this one is SUPER easy):
- Put pine and berries in the ornament.
- Wrap the red and white twine around the cap of the ornament.
- Tie a piece of red and white twine through the loop at the top of the cap so that you can hang the ornament.
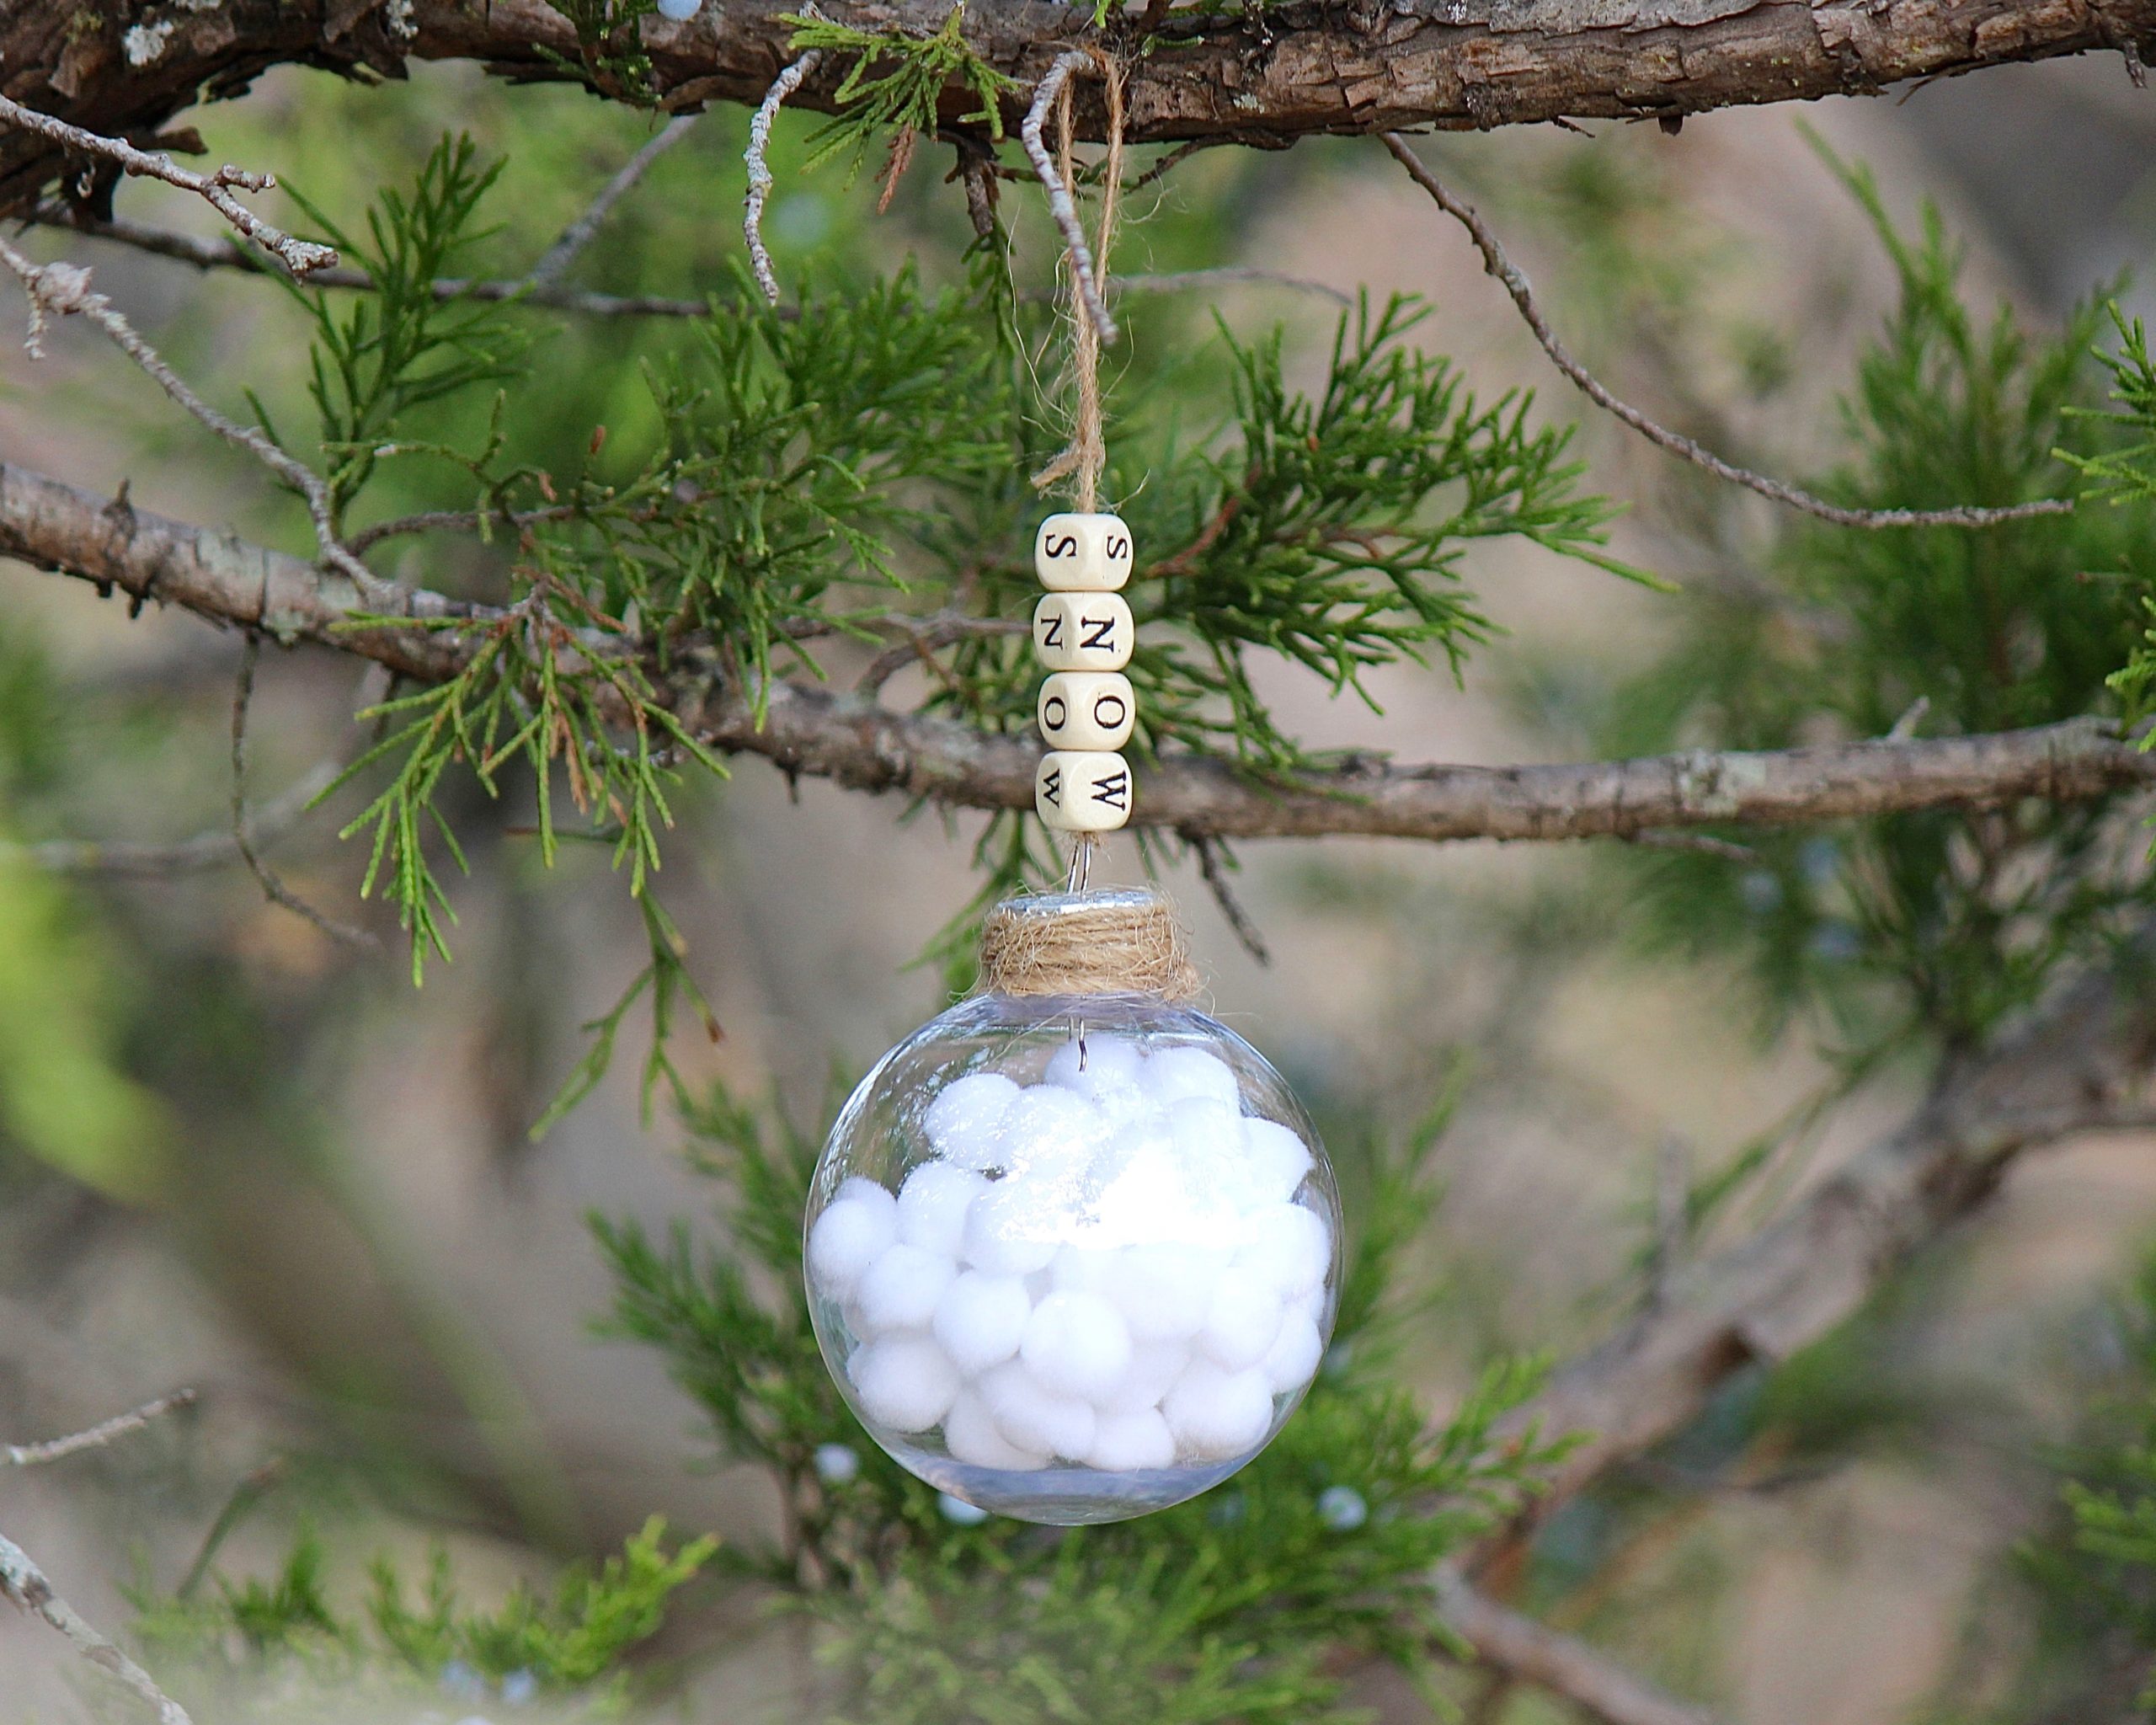
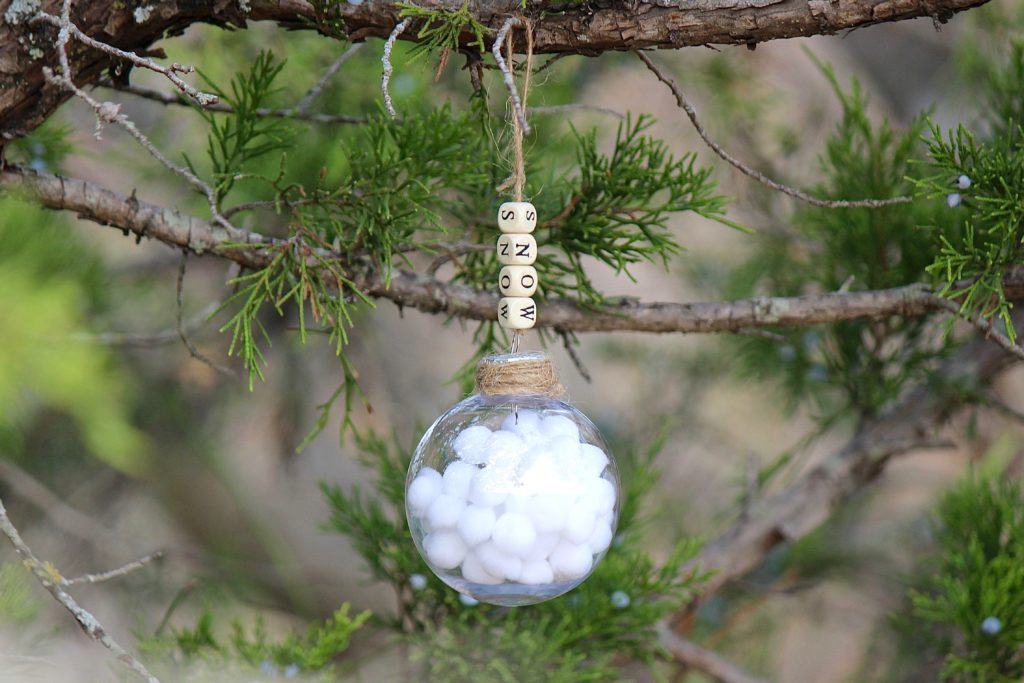
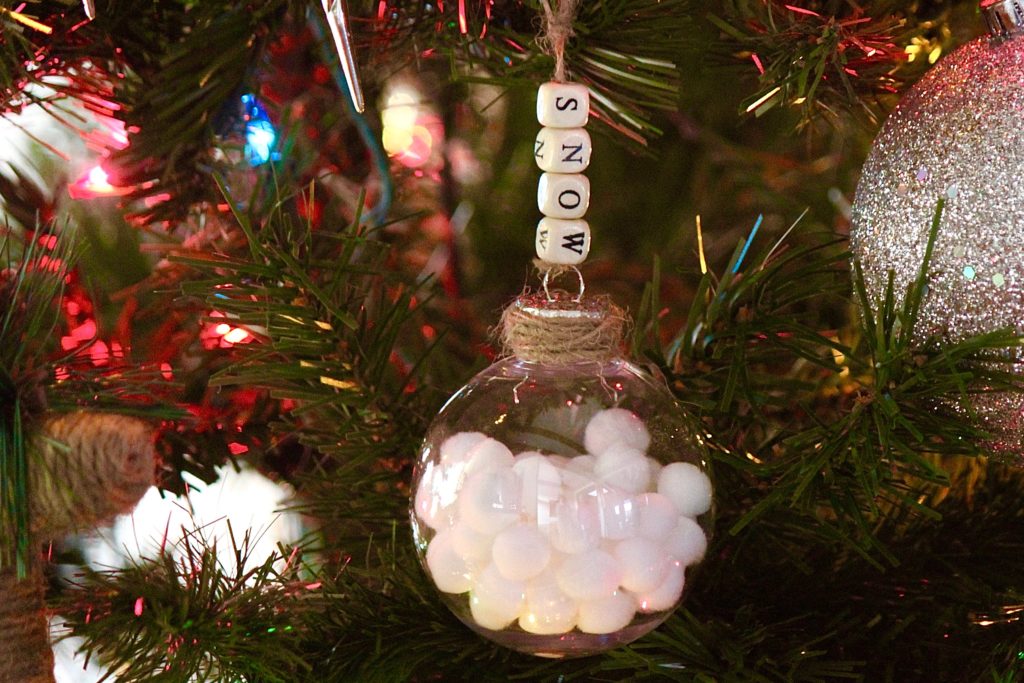
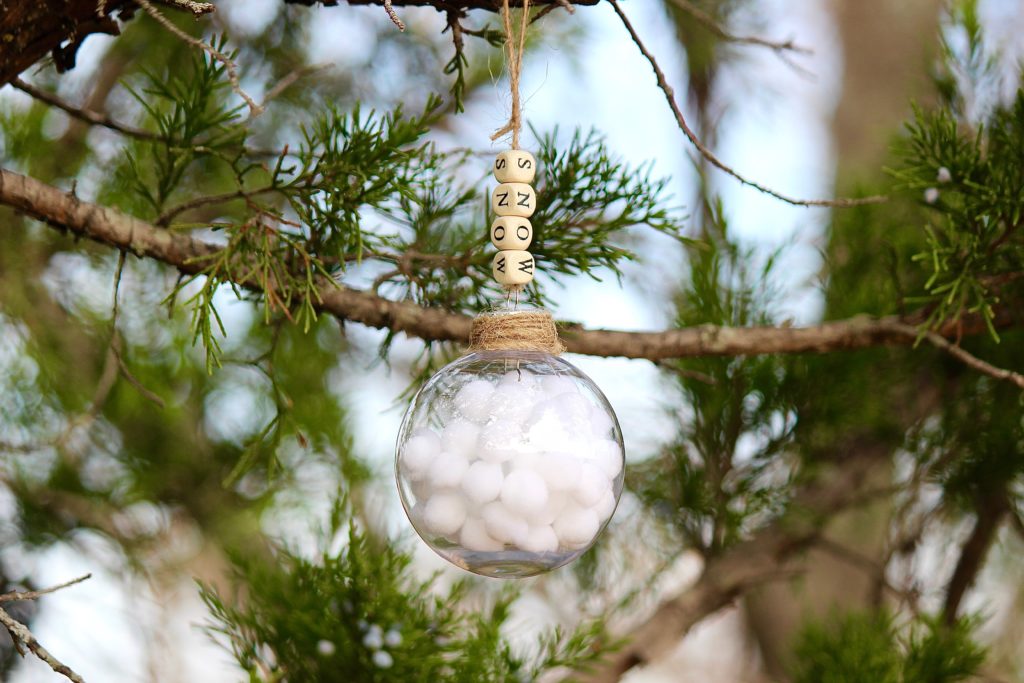
Snowball Ornament
Supplies:
Instructions:
- Put pom poms in the ornament.
- Put the cap on the ornament, and then wrap the cap with twine, and tie a knot.
- Tie a piece of twine to the silver loop on the top of the cap.
- String the alphabet beads on the twine.
- Tie a loop after the last letter to make the ornament hanger.
*There are so many options with this specific ornament. I’m going to list some of my favorite ones below:
- Put your child’s name on the twine, and put some little items in the ornament that your child loves (ie – small legos, glitter/confetti, Perler beads, sprinkles, tiny figurines).
- Fill the ornament with sand, and small seashells from your favorite beach, and put the name of the beach/state/etc on the twine.
- Roll up a love note from a loved one and put it in the ornament, and put the word love on the twine.
While you’re here, check out some of my most popular crafts!
How to Hand Knit a Chunky Blanket
Never miss a post!