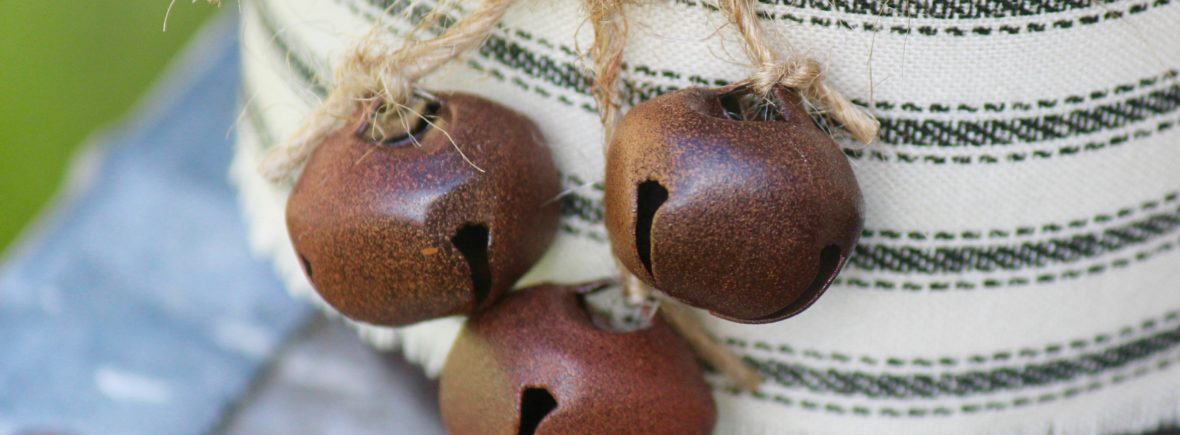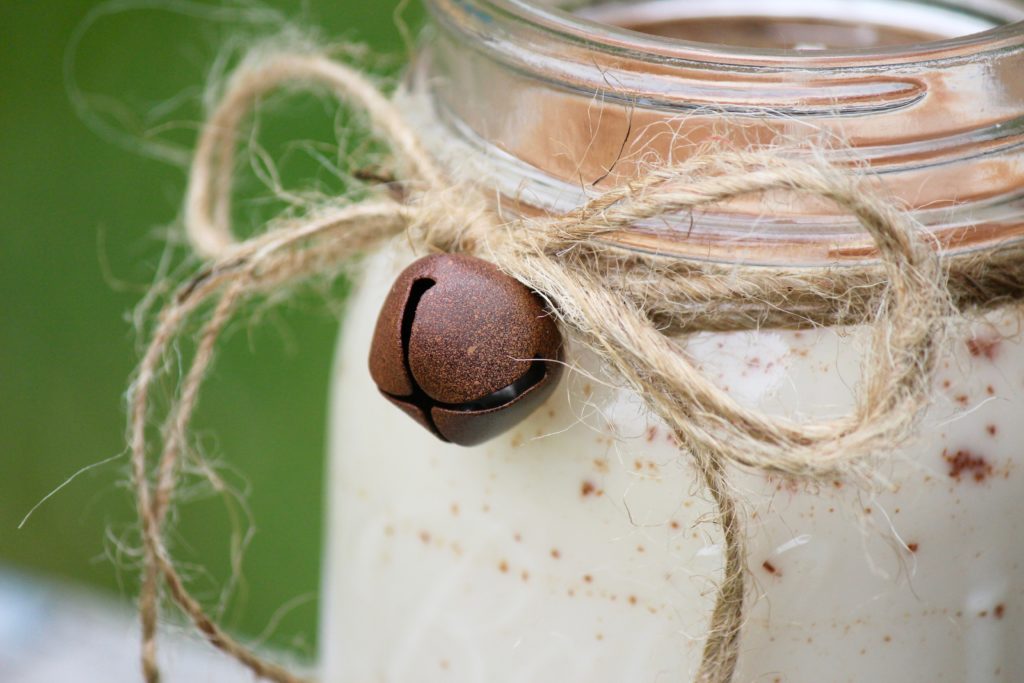
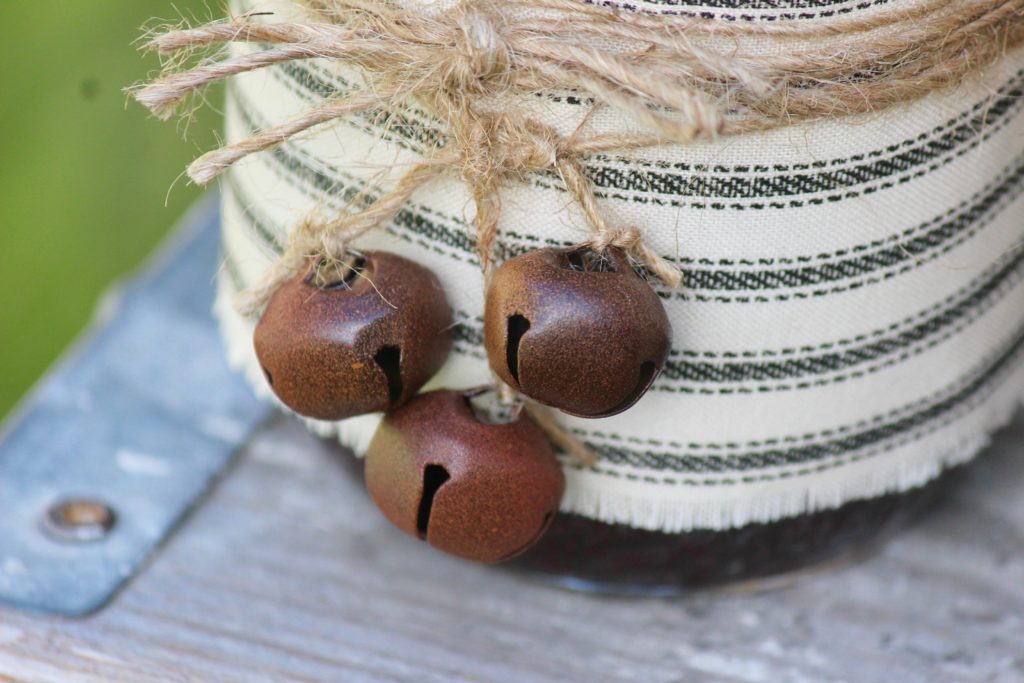
So…I tried rusting some little jingle bells using ALL the methods and ALL the chemicals, and I did NOT have much luck. After a week of working on it, and wasting about $15 on bottles and bottles of white vinegar, bleach, and hydrogen peroxide, I gave up. The chemical methods might work well with other metals, but the jingle bells proved to be a little more difficult. So here is a simple tutorial on how to paint a faux rust finish using spray paint. This method took me less than 30 minutes of actual work (about 3-4 hours if I include the dry time in between coats)! I’d say that is a huge win!
Supplies:
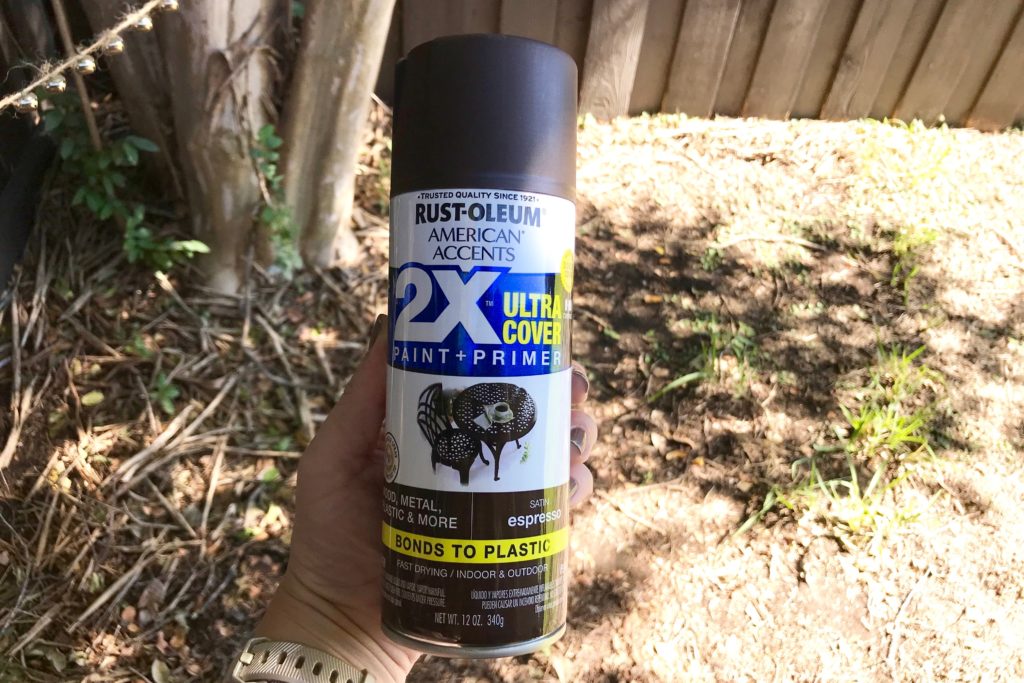
- Espresso (satin finish) Spray Paint
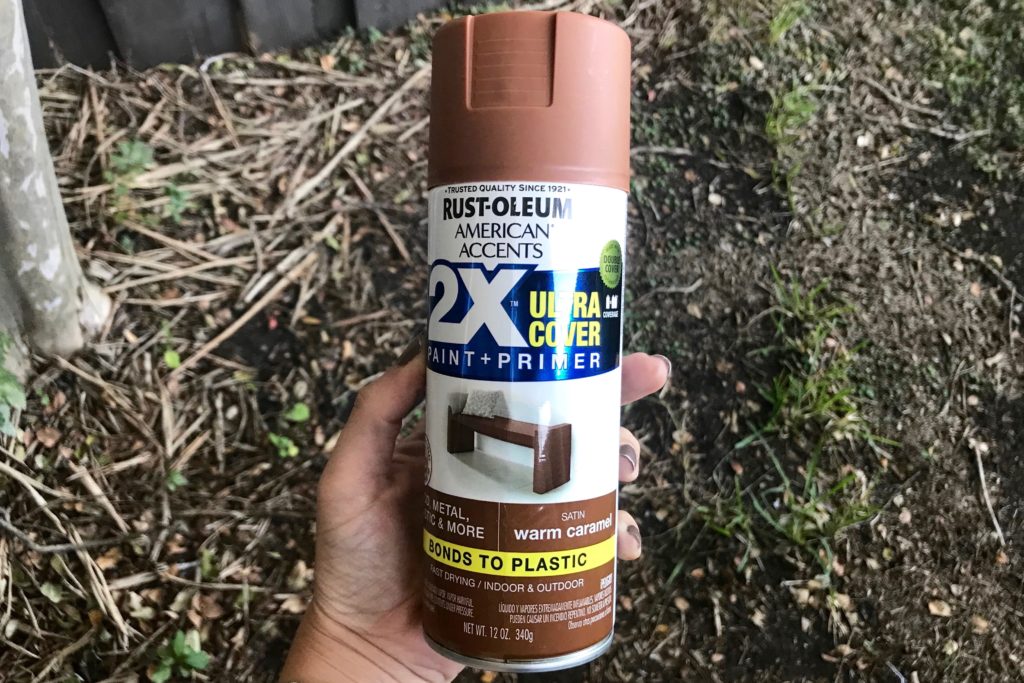
- Warm Caramel (satin finish) Spray Paint
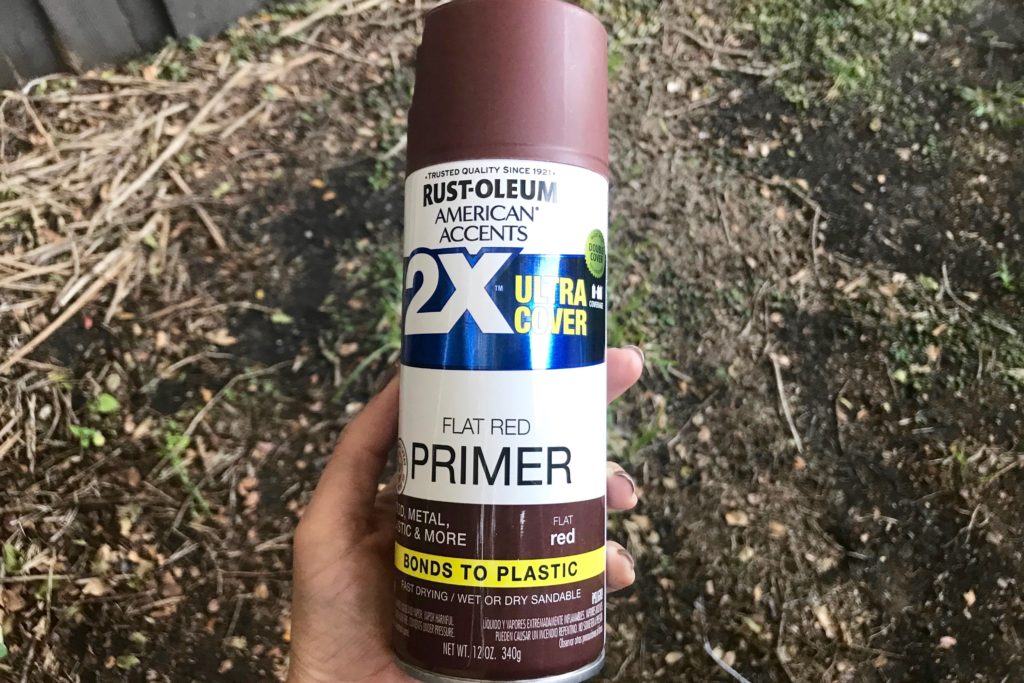
- Flat Red Primer Spray Paint
- Jingle Bells, or use whatever object you want to paint. It does not have to be metal! They sold out of the jingle bells I used, but THESE are a good option, and here is another option from Amazon.
- Twine – you will only need this if you are painting jingle bells, or other little items that hang.
Disclosure: My posts may contain affiliate links. If you buy something through one of those links, you won’t pay a penny more, but I may receive a small commission, which helps me keep this DIY blog up and running, and partially supports my Coke Zero addiction. This includes links to amazon.com, because I am a participant in the Amazon Services LLC Associates Program.
Instructions:
- Get your items ready to paint. If you are using jingle bells (or other little hanging items), string them on twine and hang the twine up outside.
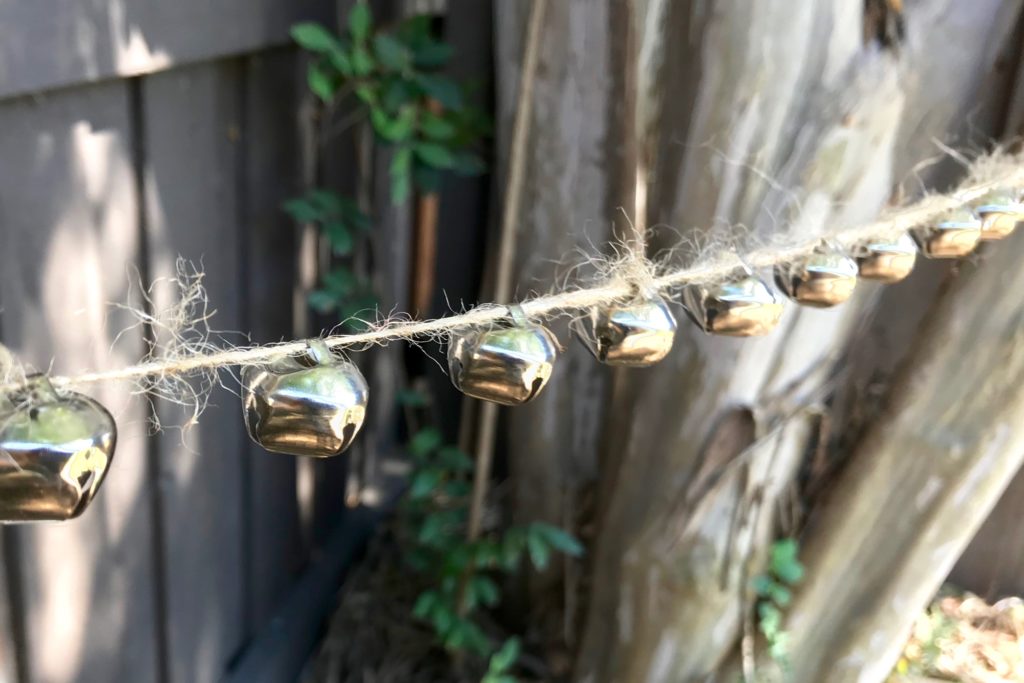
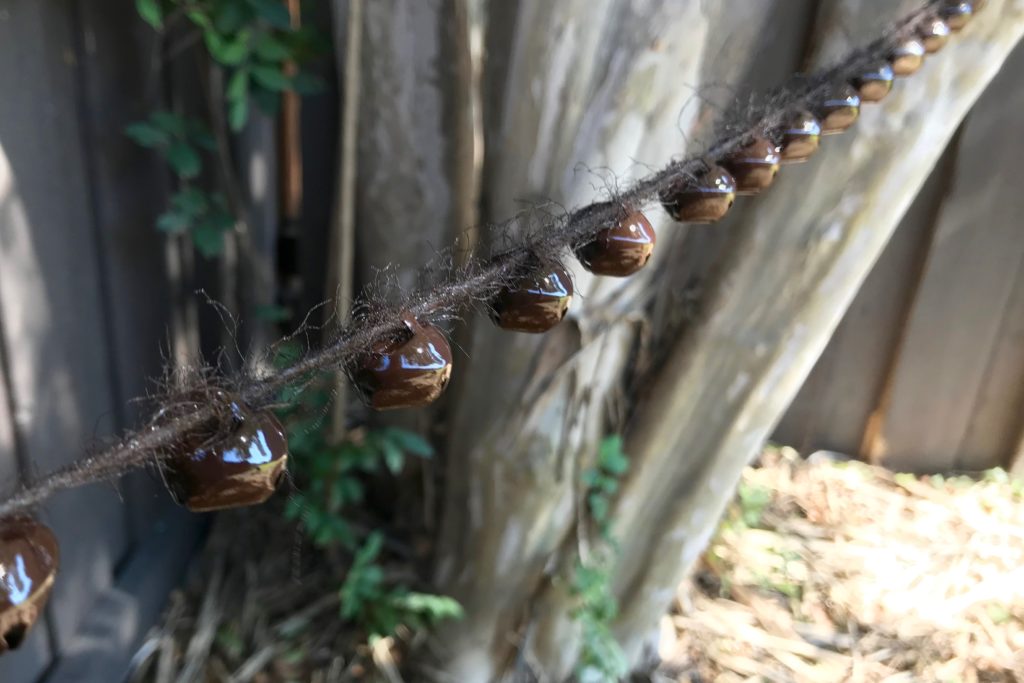
- Paint the bells using the Espresso spray paint. Try to cover them completely in the first coat – the goal is to cover up all of the silver metal color. Let the paint dry completely.
- Use the Warm Caramel spray paint to do a mist coat of paint on the bells. The idea behind the mist coat is that the paint wouldn’t fully cover the items, but instead leave tiny little dots, giving your jingle bells more texture, depth, and color variation. To do a mist coat you will need to do little puffs of paint by pushing down on the nozzle briefly. When I painted mine I pushed down on the nozzle for 1 second or less at a time. If you get too much of this color in one spot, don’t worry, it’ll be easy to fix later. You will also want to make sure you are further away from the bells so that just a little bit of the mist is hitting the bells. Make sure you hit the bells from every angle (top, bottom, and both sides).
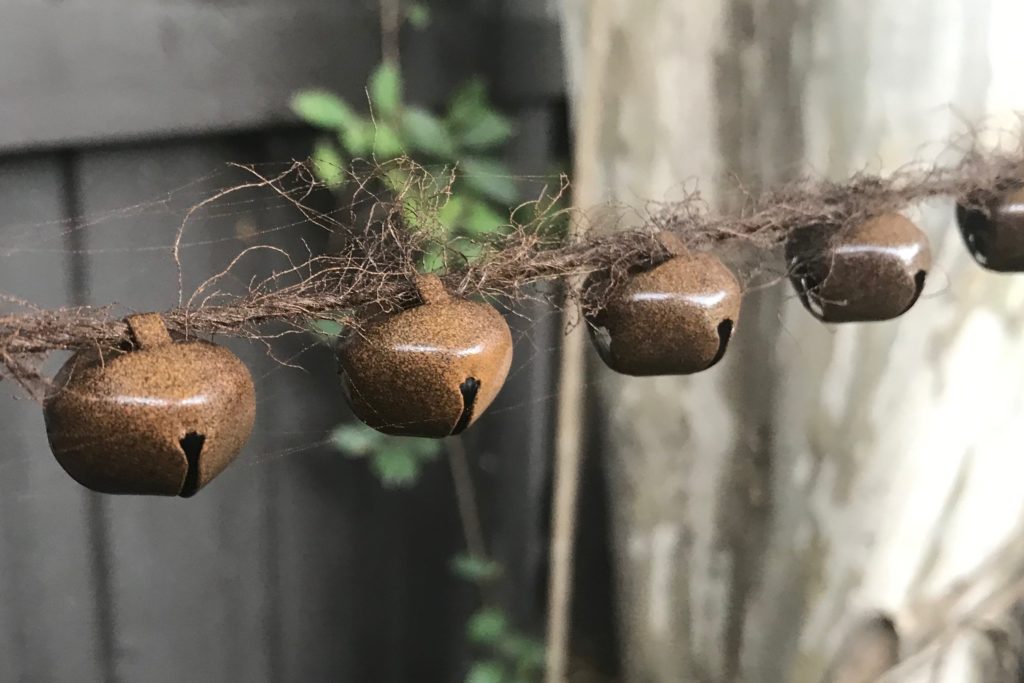
- Now you’re going to do a mist coat (using the same method described above) using the Flat Red Primer. You do NOT need to let the jingle bells dry in between the mist coats.
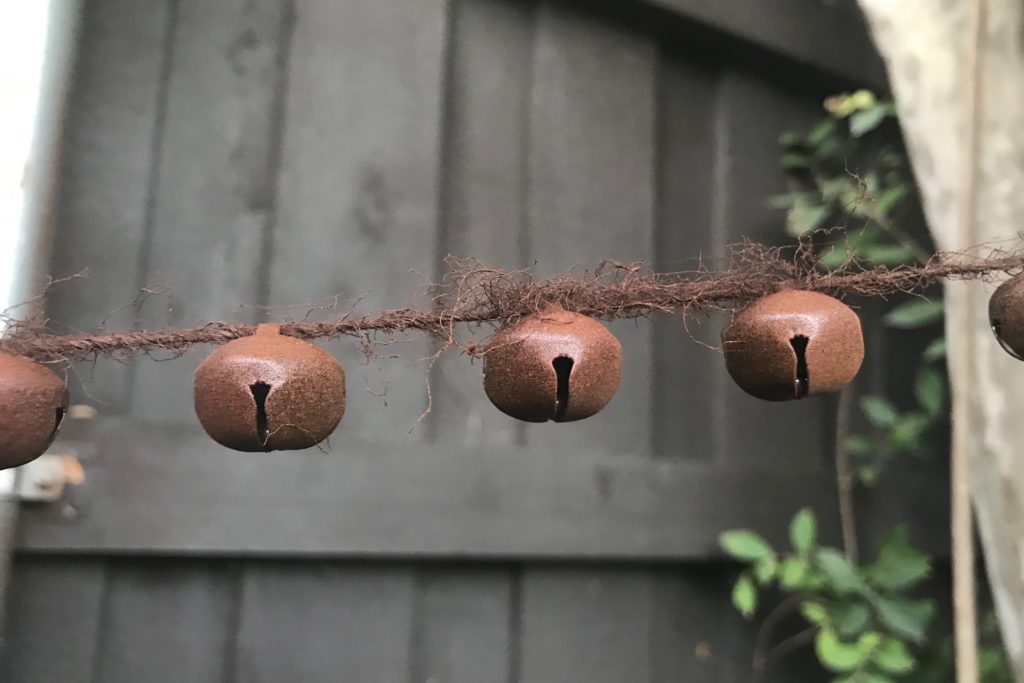
- Do another mist coat using the Espresso spray paint. Making sure to cover all sides of the bells like you did with the other colors.
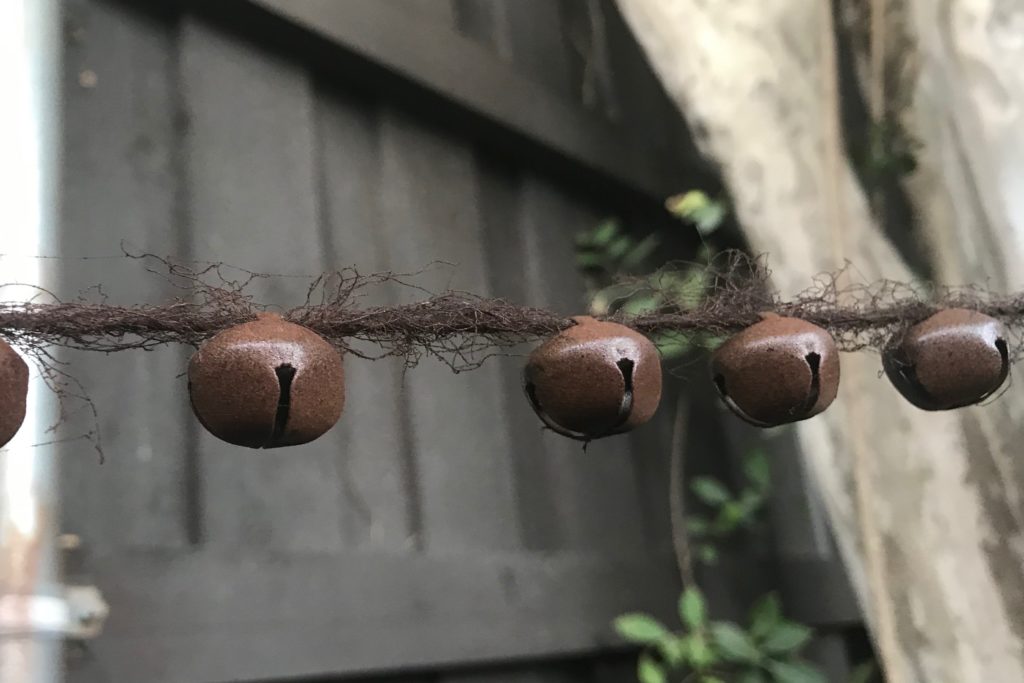
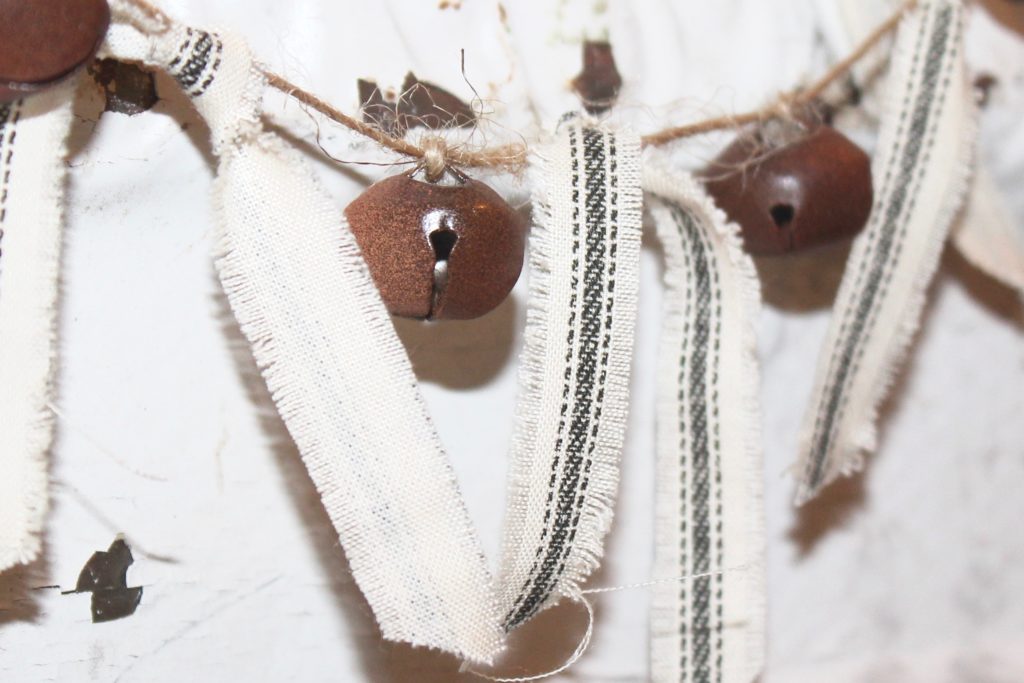
- Inspect the jingle bells, and repeat mist coats as needed/desired. If there is too much of one color on some of the bells, don’t worry. Use the other colors to do mist coats to cover up those areas. I did my mist coats fairly quickly. *It took me 10 minutes to do all of the mist coats back to back. I ended up doing 2 mist coats of each color, using the same order as above (warm caramel, flat red primer, espresso, warm caramel, flat red primer, espresso).
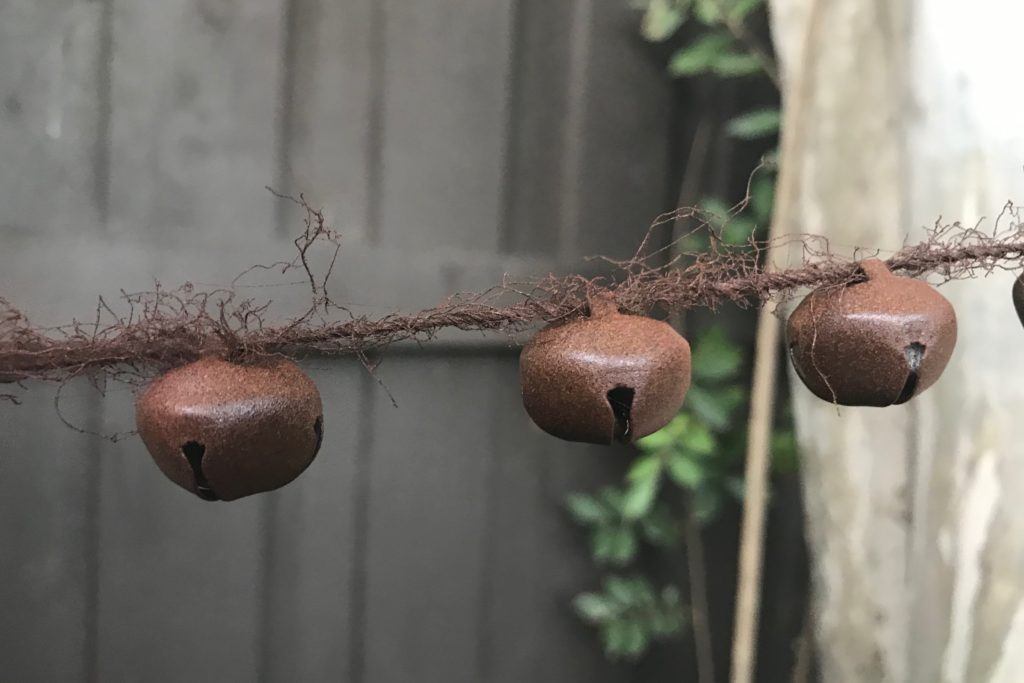
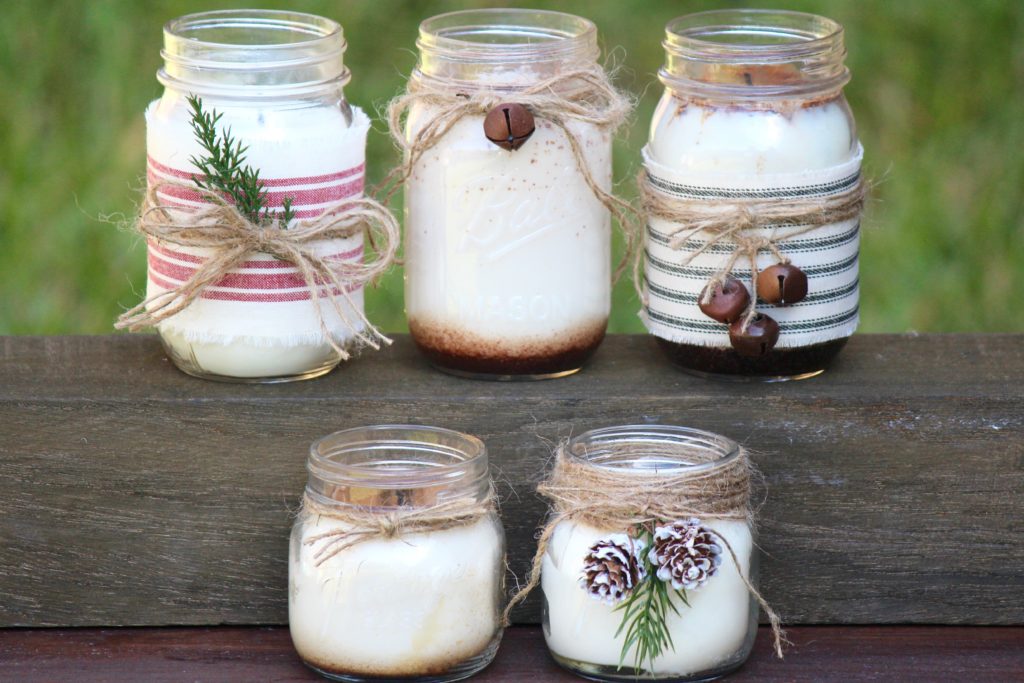
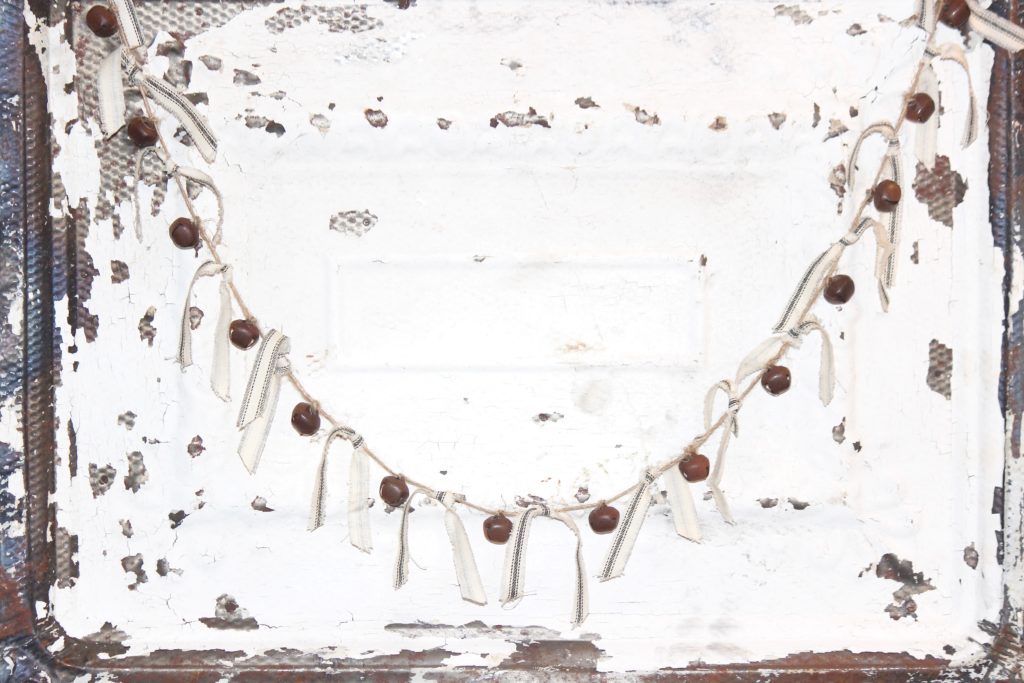
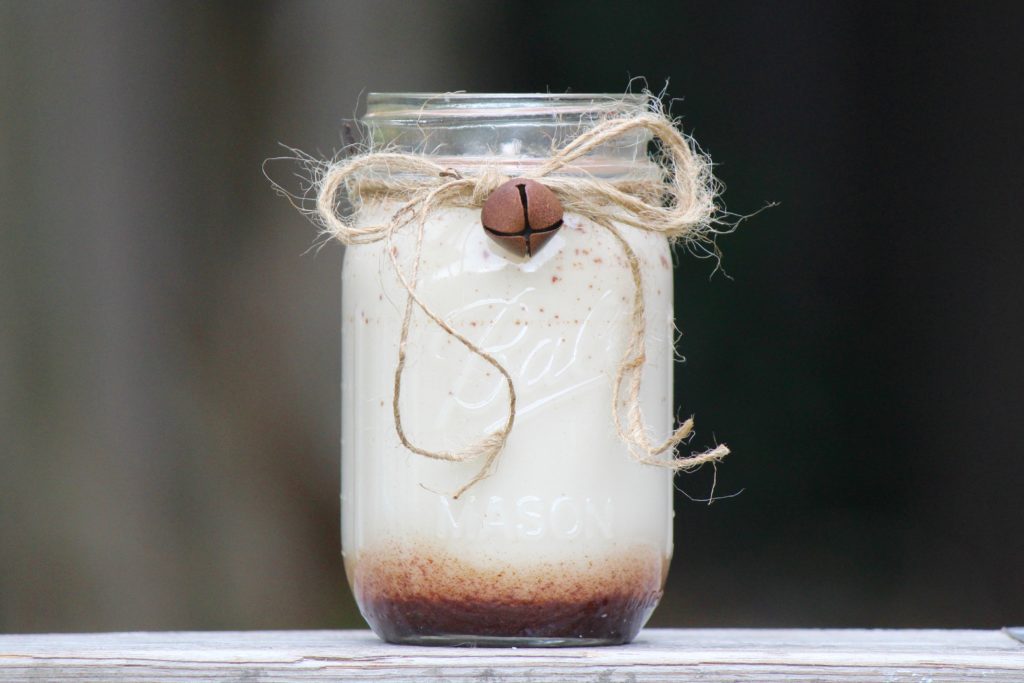
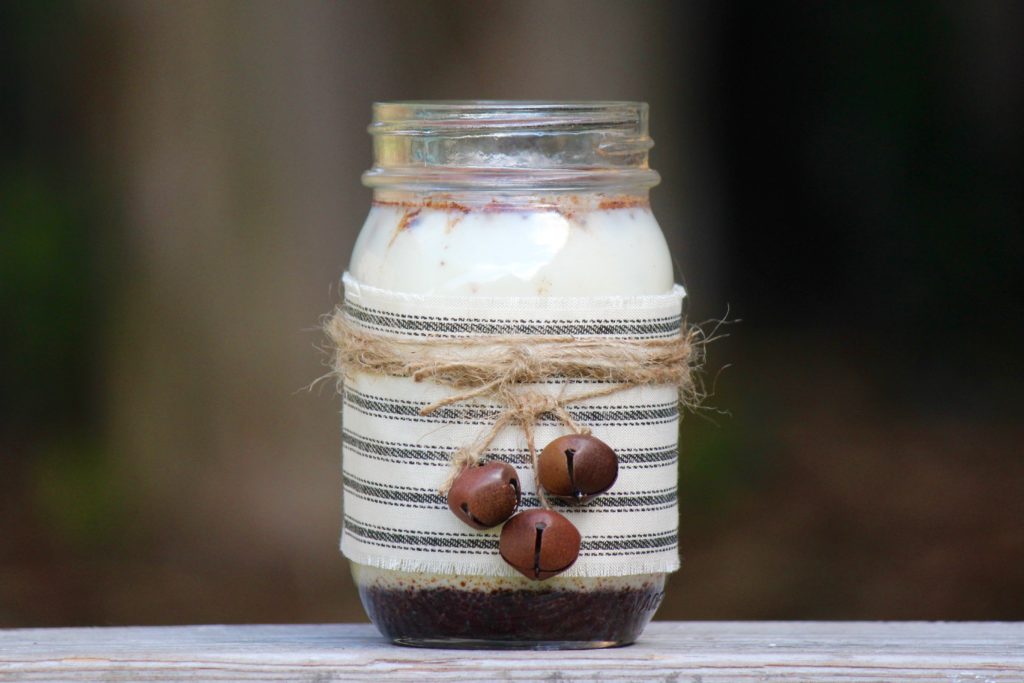
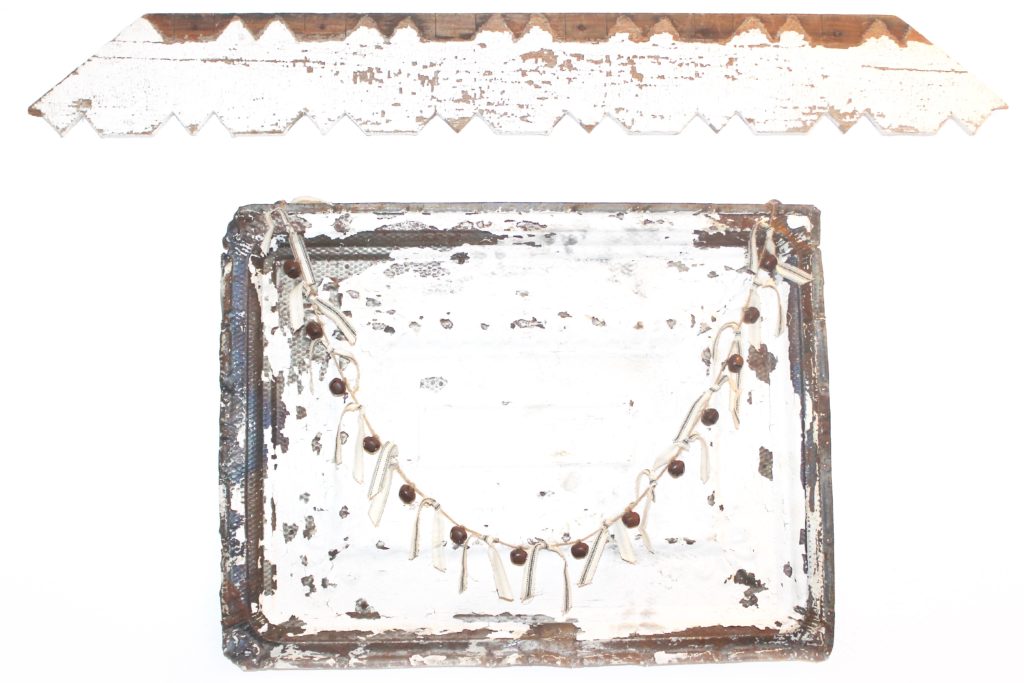
- Let the bells dry completely, then use them for all of your crafts! I used the rusty jingle bells for my Jingle Bell Garland and to decorate some of my DIY Mason Jar Soy Candles.
Want to check out my most popular posts? See below!
How to Hand Knit a Chunky Blanket
Never miss a post!

